Main » Entries archive
Make a soft dreamy effect using simple techniques to give fantastic and artistic look to your picture.

Stock:

1. Duplicate your pic. Use any method you like to soften the skin ( if
you use portrait photo). I use Blur Tool because my model skin is pretty
fine .

2. Ctrl+Shift+Alt+E. If your portrait has dark tone, use your favorite
choice to brighten it.You can use curves, Level and Brightness/contrast.
I use new layer filled with white, set to Overlay 10%.
 ...
Read more »
...
Read more »
|
Okay, retouch again... . I didnt know why i made this tut but i just followed my inspiration .In this tutorial i will tell you how to make a complete portrait
retouch. You will know how to remove blemishes, retouch and enhance the
skin, eyes, eyebrows, lips, as well as improve the highlight and shadow
to make your picture look natural, vivid and beautiful. During this process many different techniques are shown and everything is explained in detail. . I didnt know why i made this tut but i just followed my inspiration .In this tutorial i will tell you how to make a complete portrait
retouch. You will know how to remove blemishes, retouch and enhance the
skin, eyes, eyebrows, lips, as well as improve the highlight and shadow
to make your picture look natural, vivid and beautiful. During this process many different techniques are shown and everything is explained in detail.
After and before retouching:
...
Read more »
|
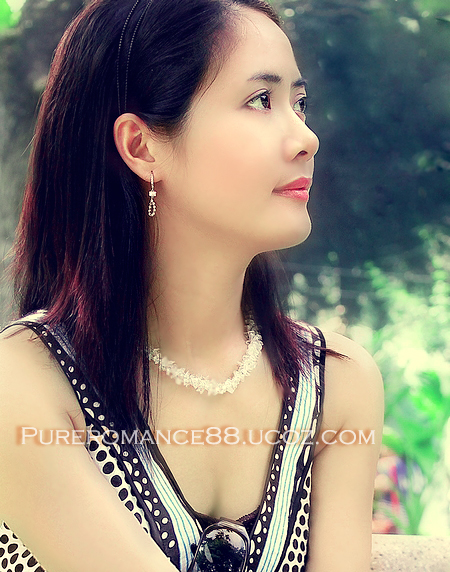
Here is a retouching tutorial for portrait, not any special and just
using common techiques but i hope its still a good suggestion for you
to make your portrait have soft, warm, vibrant and glamour look.
The final result:
Stock:
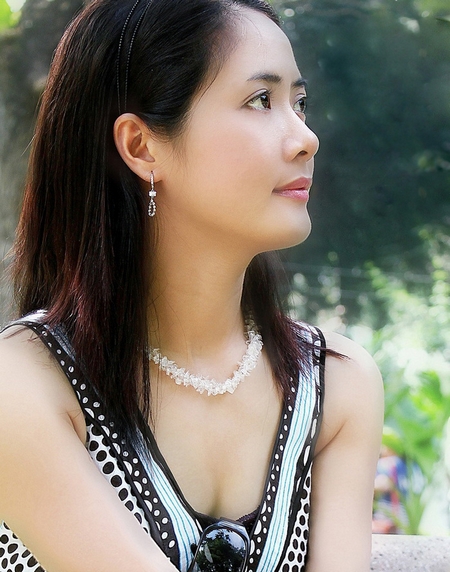
1. Duplicate your pic. Use your method to soften or sharpen it. Here i
use Blur tool.

2. Create a new layer, choose soft brush, color code is fce2f0 to
paint gently on the darker area of her cheeks ( set this layer to soft light 100%)
 ...
Read more »
...
Read more »
|
Today im going to show you an easy way to make a creative frame effect that you can apply on different stocks.

I use this pic:

1. Open your pic, dont
need to duplicate it. I use Retangcle tool to draw a square on the pic
like this: ( i prefer it than use Retangular marquee tool because im
easier to edit the selection without affecting the pic) :

Right click on the square and choose Free transform path.

Transform it in the way you want. After it, right click again and choose Make
select
...
Read more »
|
Today i will tell you three new ways to make a beautiful golden skin
effect using 3 different color modes: RGB, Lab and CMYK. By picking up new color we can
set the tone we want.
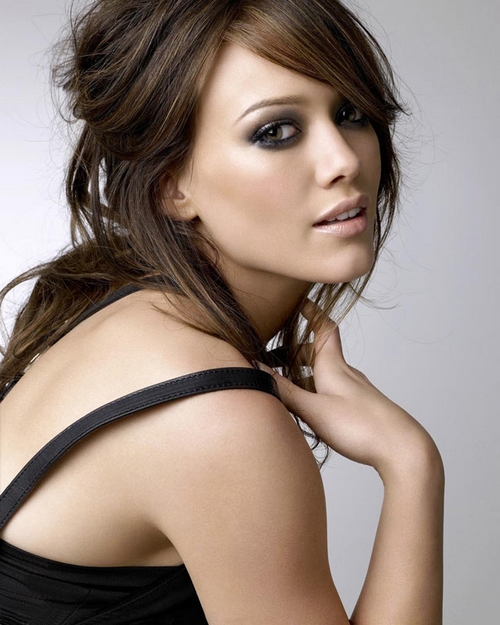
You should choose the good quality image to
get better result.
I use this stock:
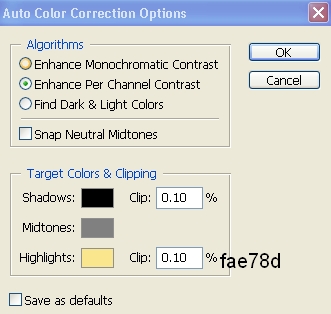
1. RGB :
1a. Duplicate your pic. Sharpen, soften skin it if need.
Press Ctrl+L to adjust levl. Choose Options to set new color:
Set midtones and shadows as defaut, and change highlight with fae78d .
After clicking ok, change input level like this:
...
Read more »
|
In this tutorial i will show you a simple way to create a cool snow color effect.
Here is what we will be creating:

Stock :

1. Duplicate your pic. Apply image for Green channel:

It can create different tones depending on your pic. So i recommend if your pic
background has many magenta, pink or purple, you should apply this step
on blue channel. Green channel if youc pic has green, blue...tone. You
best try to do it with different channel, and after this step, your pic
tone should look similar like this:
 ...
Read more »
...
Read more »
|
In this tutorial i will show you a way that gives your portrait a very nice, smooth but still very natural look. Your photo wil have a real skin with lively skin, nice shadow and highlight, lively and sexy lips and eyes. It gives you the best and natural look that's possible.

Here is image before retouching:

We can see her skin is dull with many blemishes, and nothing special on her face. We'll be going to change it.
1. Open and duplicate your pic twice . First we will sharpen the skin. Choose Filter-Sharpen-Unsharp mask on layer copy 2 ( depending on the size and the sharpeness of your pic). With my
...
Read more »
|
« 1 2 ... 4 5 6 7 8 9 10 » |


