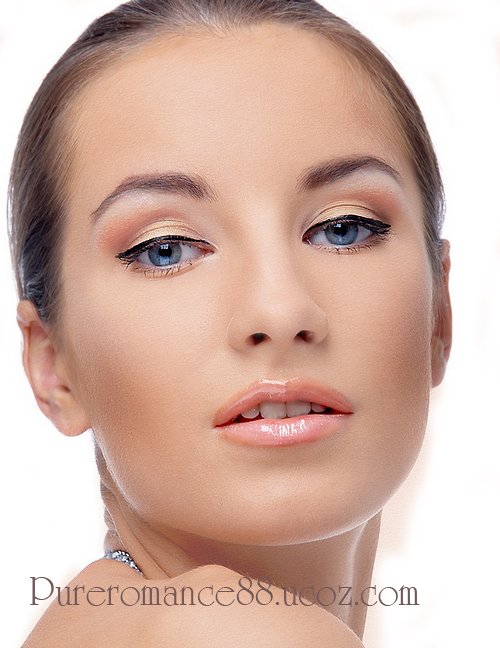
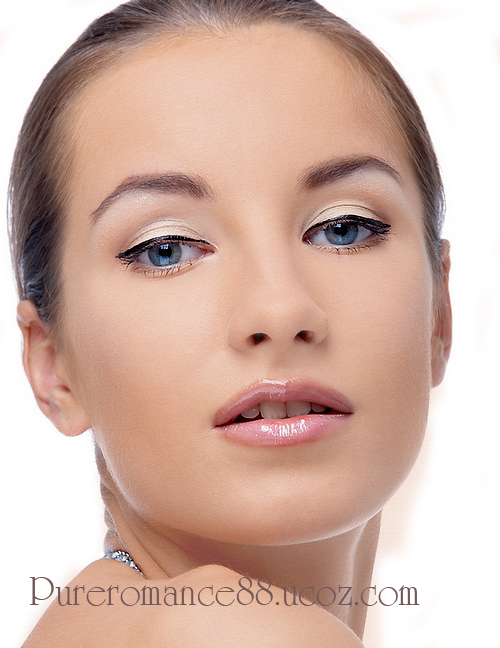
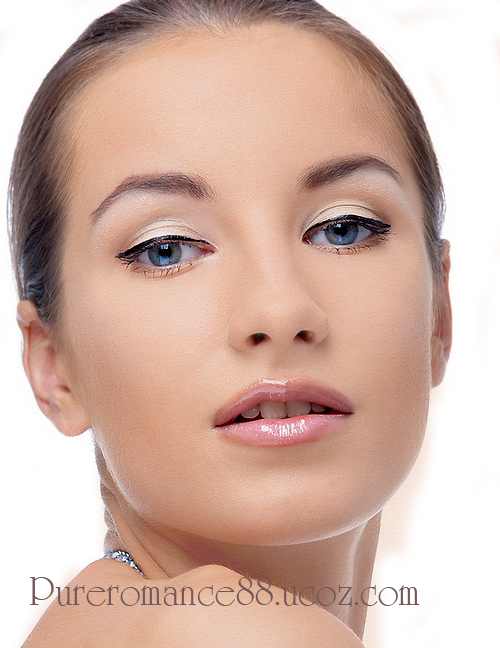
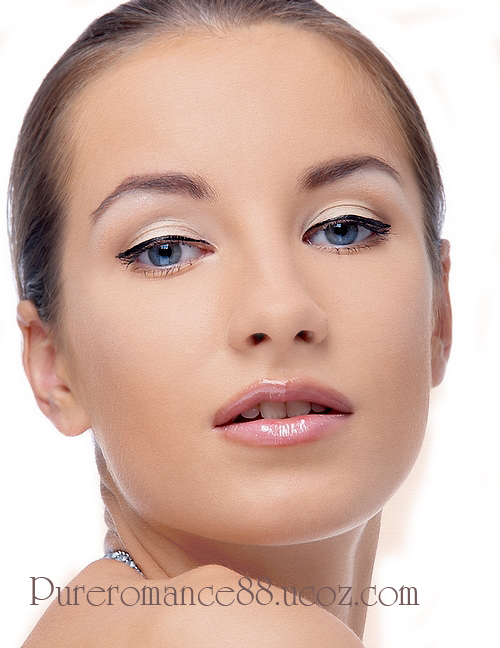
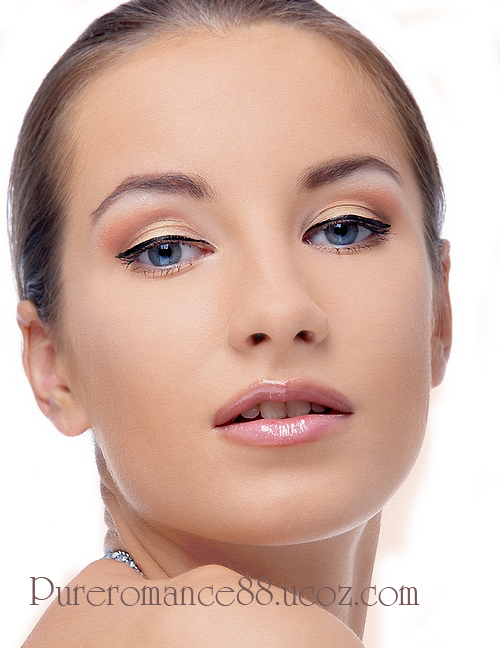
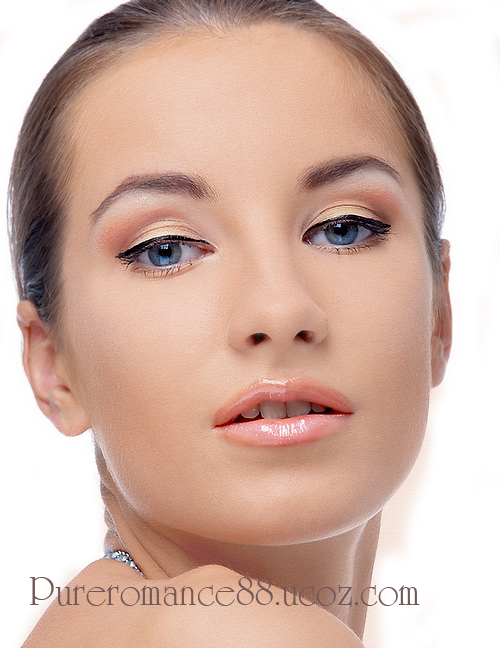
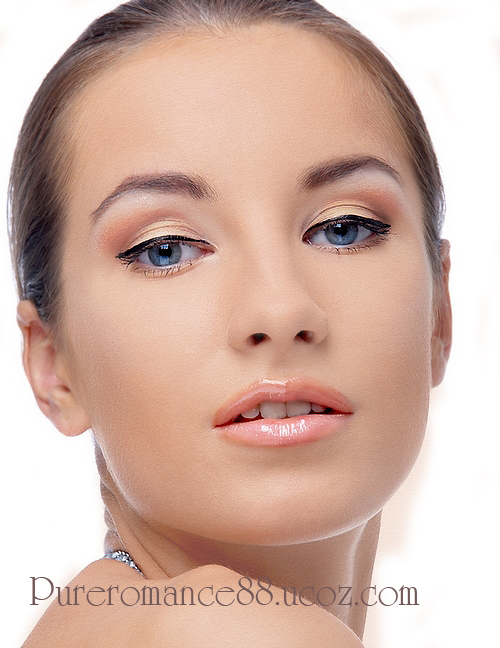
With this tutorial i show you a new way to make your portrait skin
become perfect naturally like a model without using any extra plugins. You will know about a technique you may never use before.
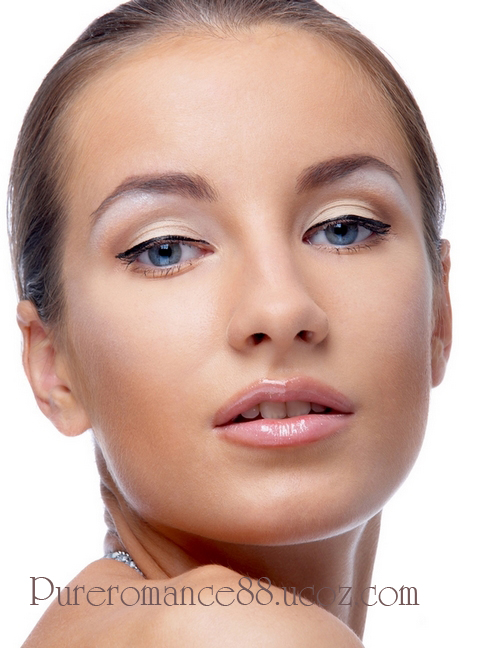
1. Duplicate your pic. Her skin does not have many blemishes so i just
use Spot healing brush tool to remove them on a new blank layer. You can
refer how to use it from my previous photoshop retouching tutorials or
on internet. Here is the result:
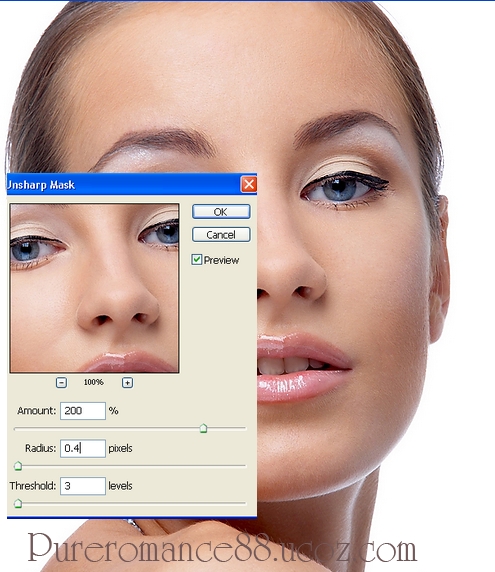
2. Ctrl+Shift+Alt+E. Apply Unsharp Mask:
Add layer mask to erase the hair.
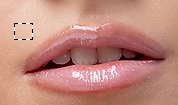
3. Ctrl+Shift+Alt+E again. Use Retangular Marquee tool to draw a selection like the pic below:
( you should choose the skin that looks best)
Hit Ctrl+C to copy and then Ctrl+V to paste into a new layer. Choose
Filter- Pattern maker ( this filter is just in CS2, CS3 but if you use
different versions you can download plugin for it or Define pattern for
the skin area we just copy then apply Pattern in Blending options or New fill Pattern layer) Grab a selection around the skin area and adjust parameters as below:
Then hit OK.
We will have:
Lower opacity to 40%, then add layer mask to erase the hair,nose holes,
ears, eyes, eyelid, eyebrows, lips, necklace, background:
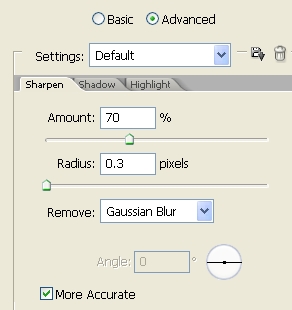
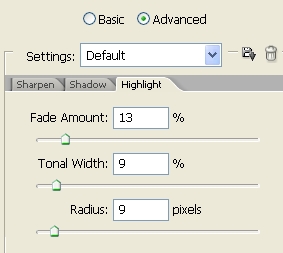
4. Ctrl+Shift+Alt+E. Apply Smart Sharpen:
Add layer mask to erase too sharp parts ( eyes, hair, lips, nose...)
5. Create a new blank layer, use soft brush, color 995d43 to paint on eyelids, set this layer to Color Burn 20%.
6. New layer again, soft brush with color e5a78a paint on the lips, set to soft light 100%.
7. New layer with soft white brush painting on teeth, set to Soft light 50%.
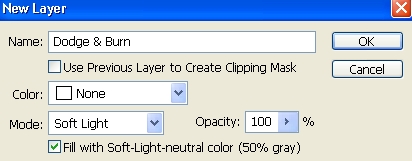
8. New layer and set to soft light:
Use Burn tool with Shadow range, 12% to darken the cheeks and Dodge Tool, High light range, 12% to brighten the eyes and nose bridge.
ABOUT ME: I'm Jenny and i live in Hanoi, Vietnam. If you like what i write or want to keep in touch with me, you can subscribe to My blog, email me
or like My Facebook page to keep updates of my latest works.
Please ask before you want to post or translate my tutorials on other sites. I hardly decline if you ask nicely. Thank you :).
Good tutorial from you again....I have few suggestion for your titles. You can use service name in title like retouching, color correction and image manipulation.
For example:Create a model look with naturally perfect skin, this can be used as
Retouching a image to create model look with natural perfect skin.
Most of the internet user search for the service or tutorial for image manipulation services. I you do this you will get more number of hits and your site will gain good rank in organic search.
Try this from your next title.
Thanks
-------------------------------------------------------------------- http://www.deepetch.com/ Clipping path, Masking, Retouching, Color correction, Vector services
I dont know much about SEO , so i very appreciate what you've suggested me, i will try it next time. Thank you Jack, you've been a kind and great supporter.
PS: i disable HTML code for comment board but you still can leave your website link here without using this code. Just simply place your website link with prefix: http://www.deepetch.com/ . I edited your link in your comment and i hope you wont mind
Dear Admin, this tutorial already done by{ ETNTWorld Adobe Photoshop Cosmetic Techniques DVD 2 years ago}but,but you took it to next level,beautifully done. Bunch of thank s
really? i didnt know it. I just wrote out what is in my mind. I never heard about this DVD and i was completely strange to photoshop till 10 months ago . Thank you for letting me know it as well as your kindness
in this tutorial the image is in color mode but how to properly color a black&white photo. how to bring the natural color of skin from b&w. it is very difficult to do that. can any one tell me the technique
This Is nice Tutorial Jenny i used it on some 1 pic and i found great change in the pic the technique you were used in the tutorial is great and simple i have just 1 query i m undstand your step 4 when you use unshapemask again whenever we already use it except this stap ii undstand all it is easy. thanks you r a to good in photoshop thanks a lot once again
Hi Jenny, I use Adobe Photoshop CS6 and I stuck right at step 3 "Choose Filter- Pattern maker"! There is noway to use pattern define in CS6 to create the skin pattern like you did in this tutorial. After create the square selection and use Pattern Define to add it the pattern library, then create a new fill layer, apply the pattern, it end up with a lot of big square box fill on over the layer. Any suggestion?