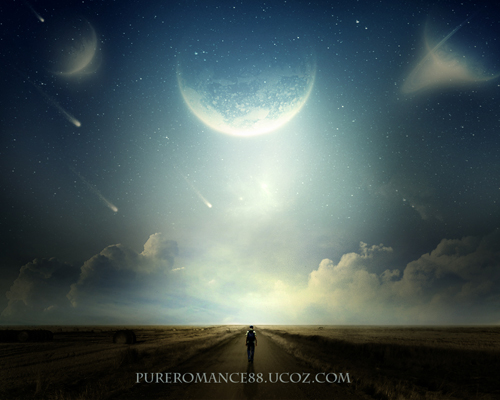
In this tutorial I will show you how to create a surreal photo manipulation called "On My Road". We'll go through manipulating techniques, using brush, masking, blending, working with lighting.. and more.
Resources:
(Update 2014 for the link of starry sky, you can use my stock instead).
1. Create a new document and fill it with white ( or any colors you like). Open road stock. Cut out the road and field and move into our document, resize and place it as shown below:
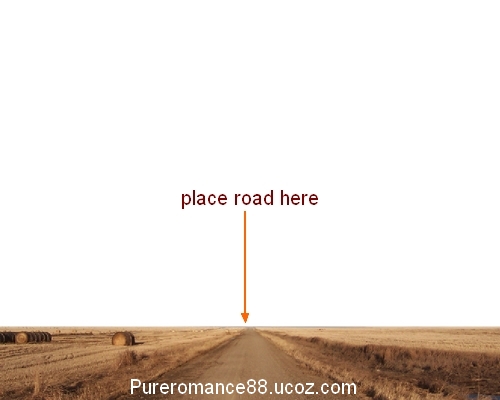
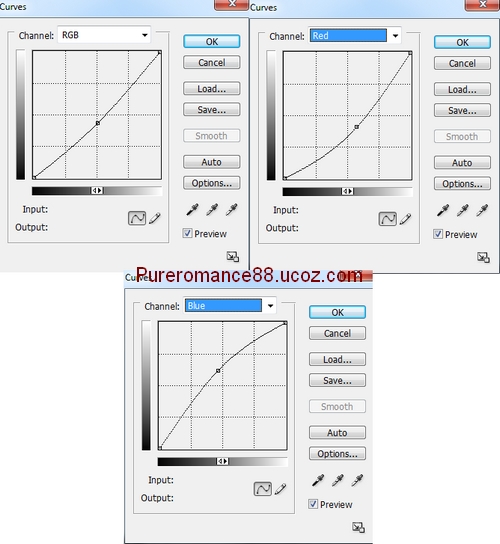
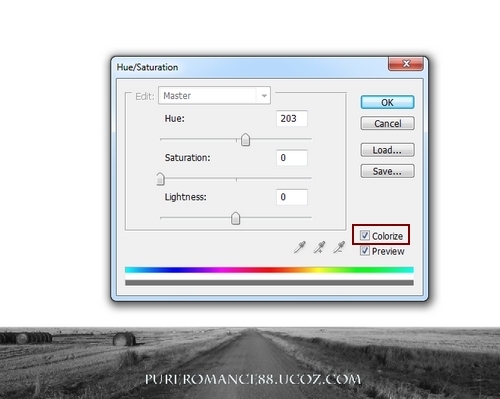
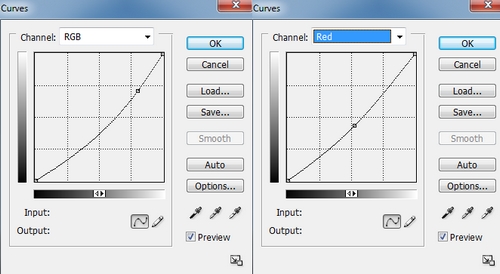
I add some adjustment layers to change road color. Go to Layer-New Adjustment Layer-Curves:
Layer-New Adjustment Layer-Hue/Saturation:
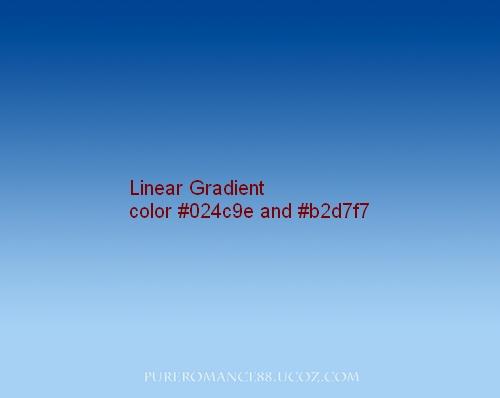
2. Create a new layer and hit G to active Gradient Tool. Choose Linear Gradient with color #024c9e and #b2d7f7. Drag a line from top to bottom to get result like this:
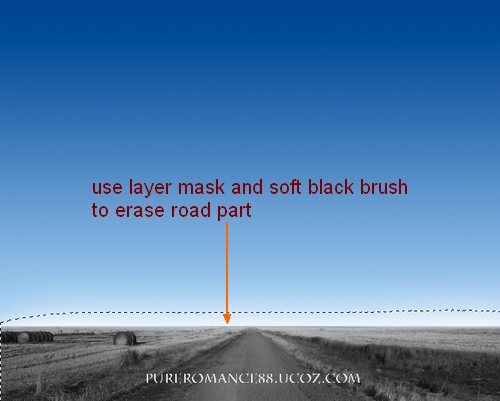
Add layer mask for this layer and use soft black brush with big size to clear the part covering the road:
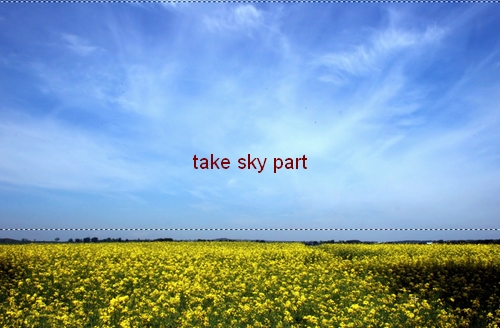
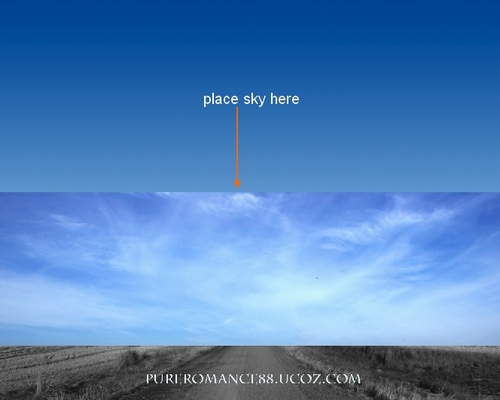
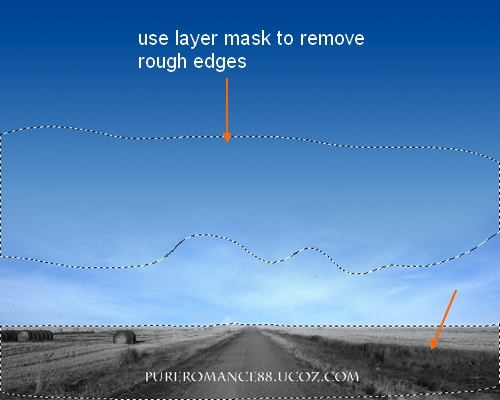
3. Open sky stock. Copy this part, place it into our canvas and resize to fit:
Add layer mask and remove rough edges of this sky part:
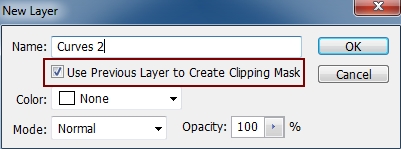
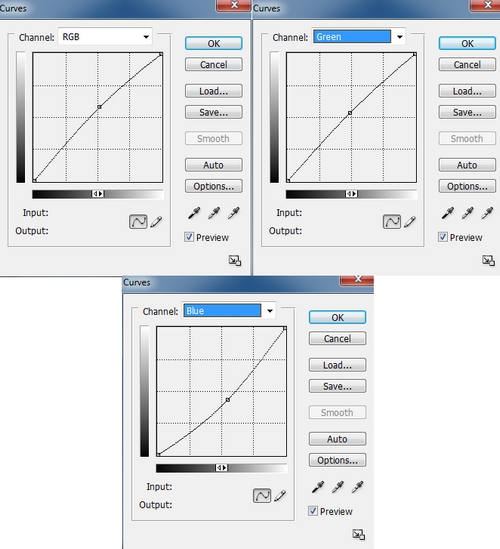
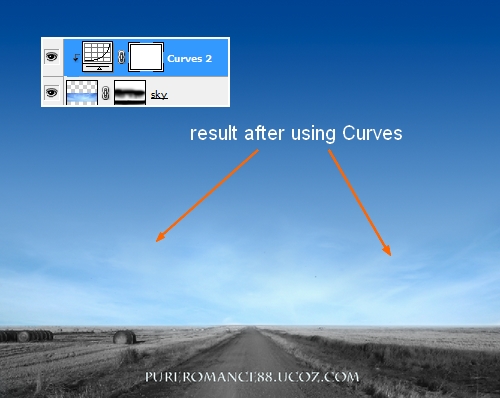
To change color of this sky to be fit the rest, I use and adjustment layer with Clipping Mask. Go to Layer-New Adjustment Layer-Curves:
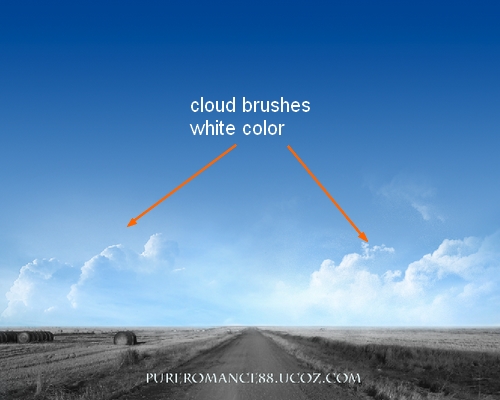
4. Create a new layer on the top. Set foreground to white and use cloud brushes to paint on horizon. You can choose any brush you like and here is my result:
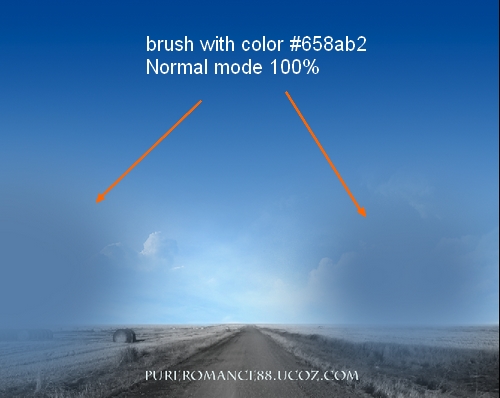
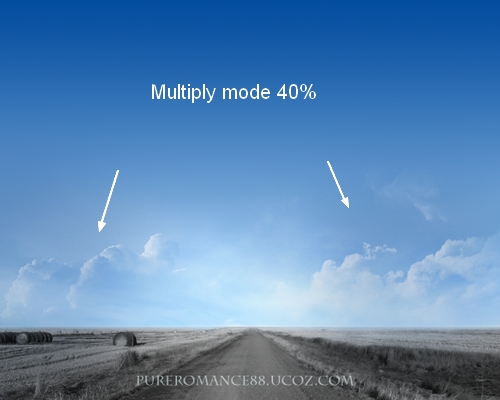
I want to darken sky and cloud part so I make a new layer, use soft brush with color #658ab2 painting over it. Set the mode to Multiply 40%:
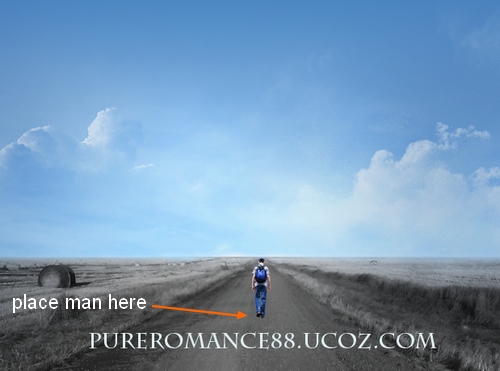
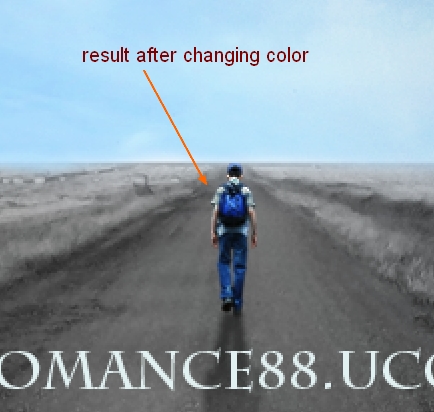
5. Extract the man and position him on the road, resize him to be much smaller:
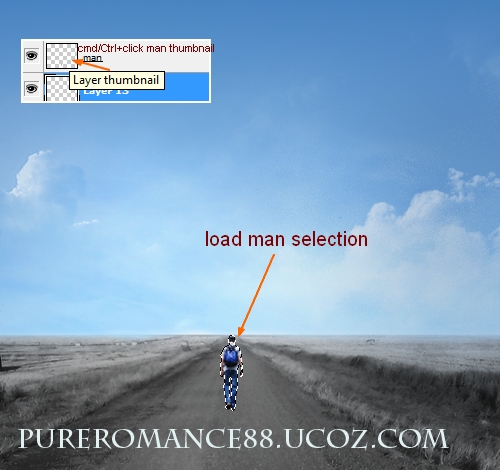
Make a new layer under man one. Hold the Cmd/Ctrl and click man layer to load him selection.
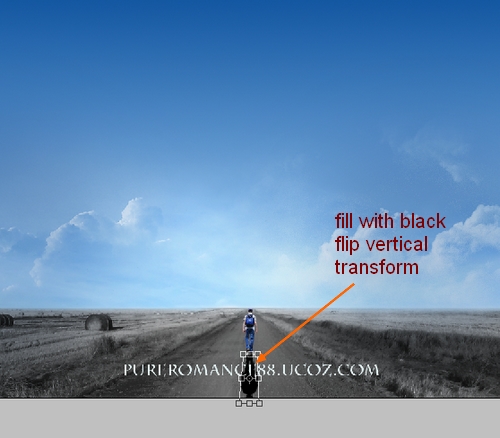
Fill this selection with black and then go to Edit-Transform-Flip Vertical. Move this shadow and transform it ( use Cmd/Ctrl+T) to get the look below:
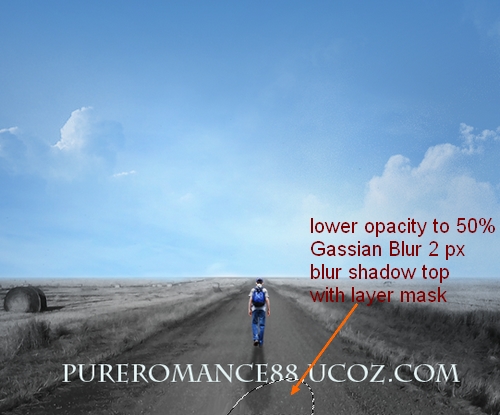
Lower opacity to 50%, apply Gassian Blur with 2 px ( Filter-Blur-Gassian Blur) and use layer mask to blur the top of shadow ( brush with opacity about 50%):
6. I use a Curves layer with Clipping Mask to reduce brightness and change a bit of man color:
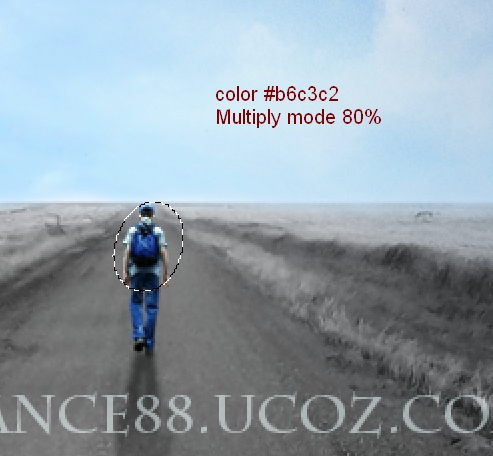
Make a new layer (Clipping Mask) and use brush with color #b6c3c2. Paint over model back, head, shoulders and arms to reduce brightness there. Set the mode to Multiply 80%.
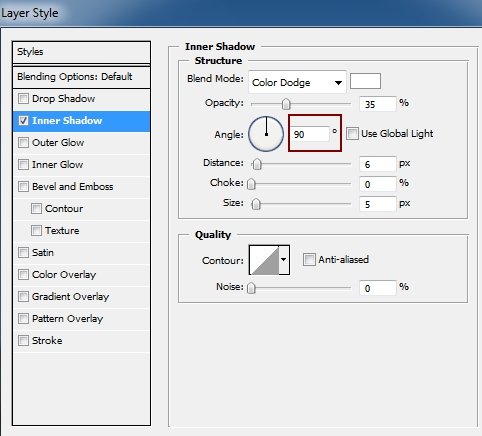
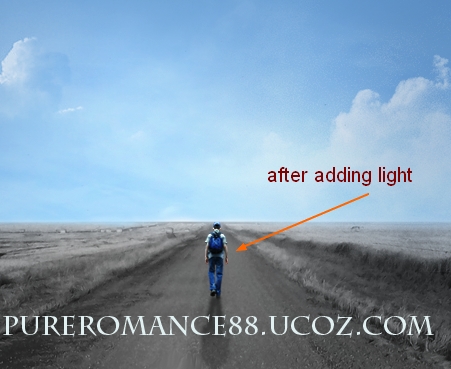
We'll add some light for man by Layer Style. Right click man layer, choose Blending Options:
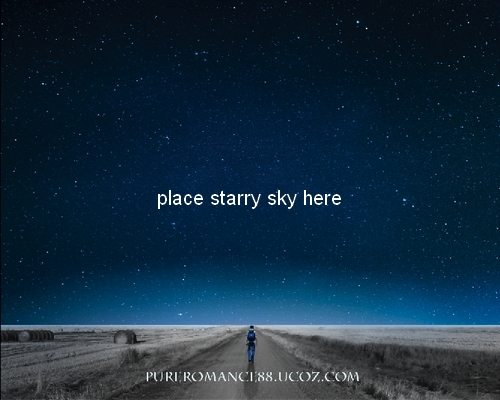
7. Drag starry sky stock into our main document and place it onto sky part:
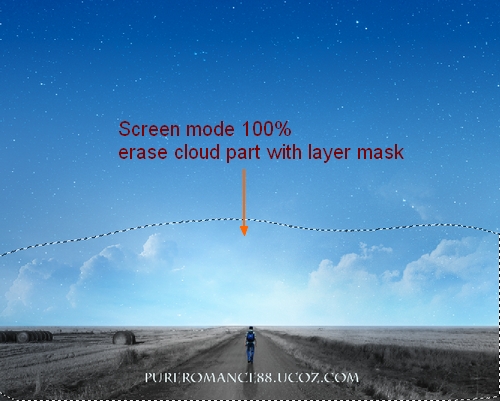
Change the mode to Screen 100% and use layer mask to remove stars on cloud part:
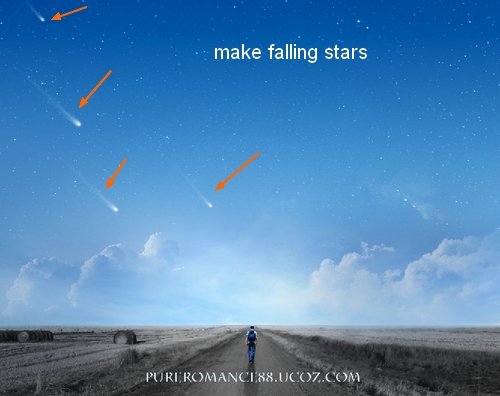
8. Create some new layers and use space brushes, number 597 to paint some falling stars from the upper left of sky:
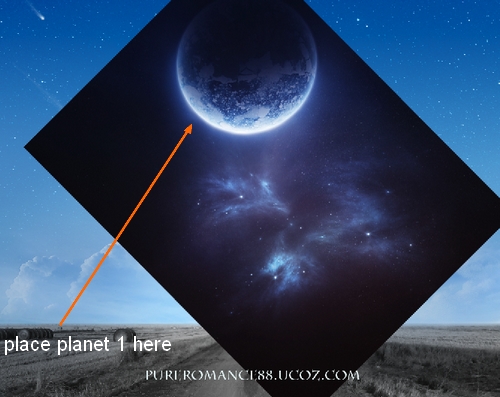
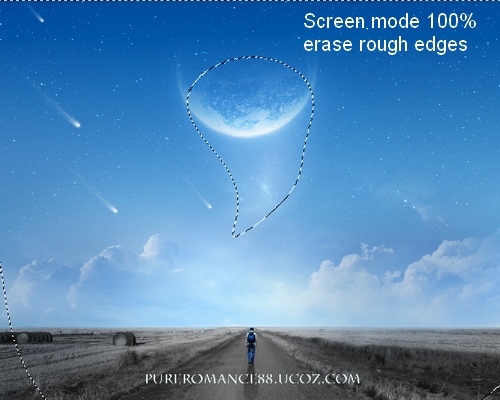
9. Open planet stock pack. Choose the one you like and move into our picture. I transform and place it on the top center of sky and call it "planet 1":
Change the mode to Screen 100% and use layer mask to erase outside part of this planet:
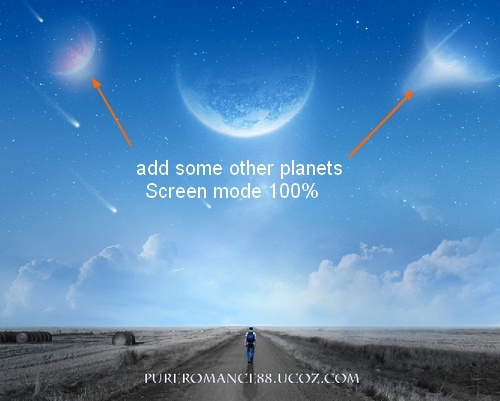
Take some other planets and place them on two sides of sky and put the mode as Screen 100%:
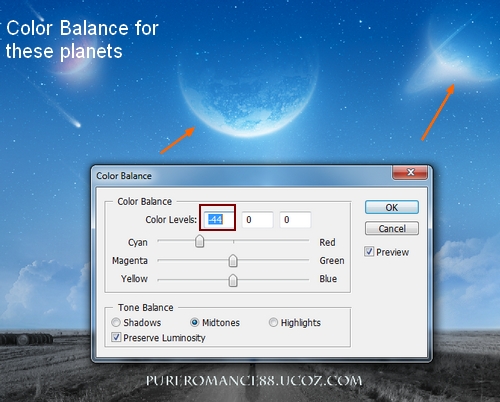
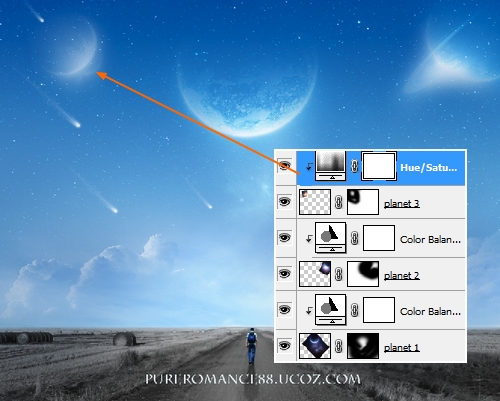
For the planets in the center and right side I add a Color Balance layer ( Clipping Mask):
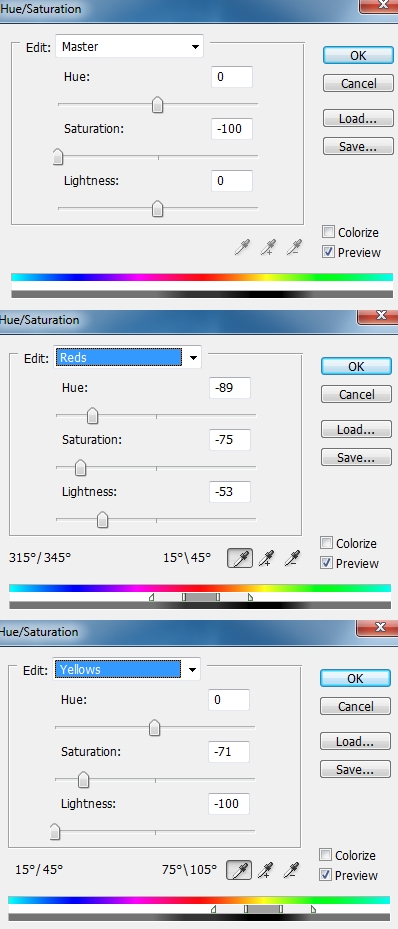
For the planet on the left side I use a Hue/Saturation layer ( Clipping Mask):
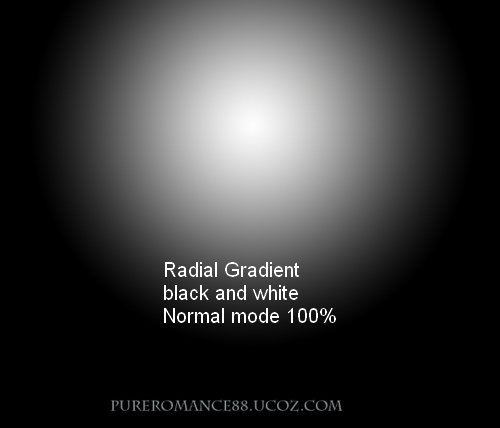
10. Create a new layer on the top and choose Radial Gradient with default color ( black and white):
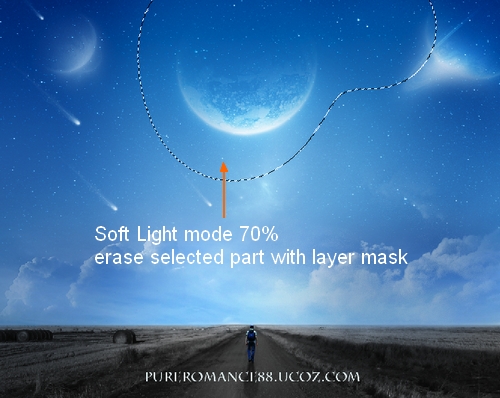
Change the mode to Soft Light 70% and use layer mask and soft black brush to remove the top part of sky:
11. Make some adjustment layers on the top.
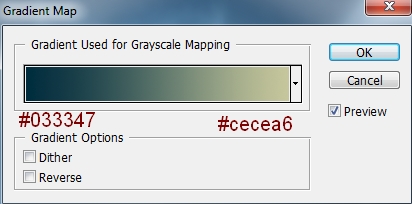
Layer-New Adjustment Layer-Gradient Map:
Change the mode of this Gradient Map layer to Soft Light 100%.
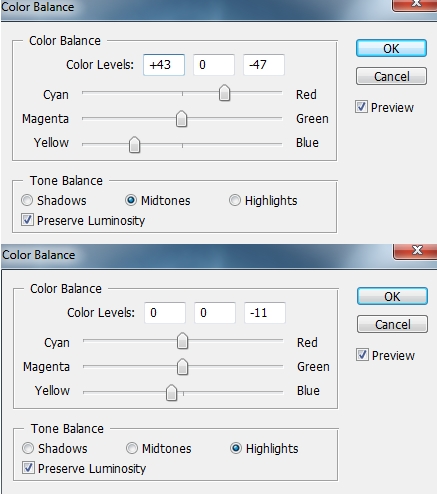
Color Balance
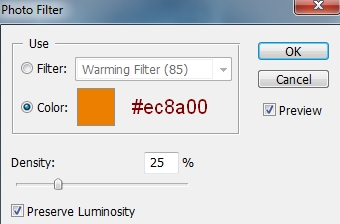
Photo Filter
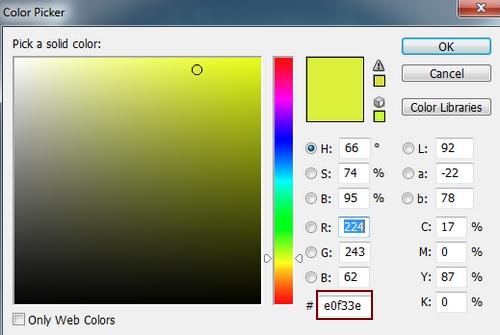
Layer-New Fill Layer-Solid Color:
Change the mode of this fill layer to Color 10%.
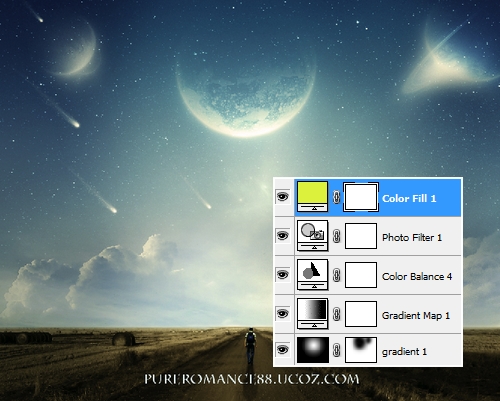
This is result we have:
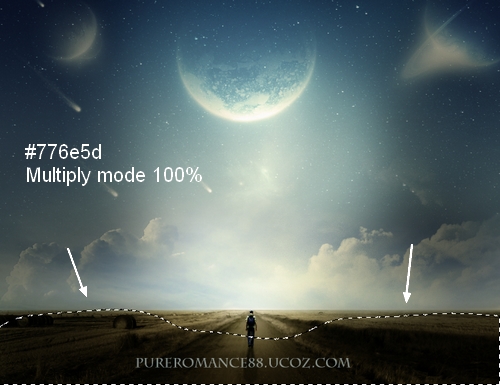
12. Make a new layer and use soft brush with color #776e5d painting over road and field. Change the mode to Multiply 100%:
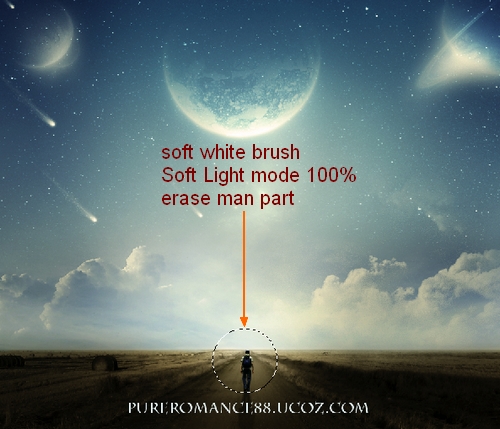
New layer and I use soft white brush to paint on the top of the road which meets horizon. Put the mode as Soft Light 100%. Erase the part on the man with layer mask:
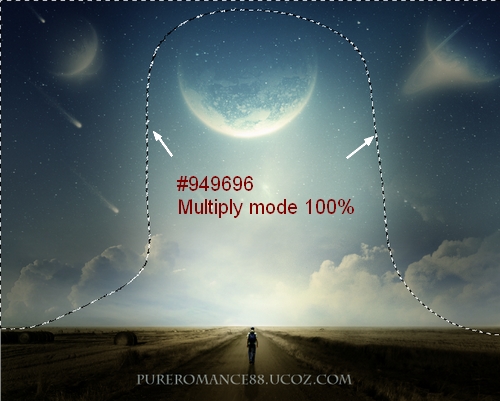
New layer again, take soft brush with color #949696. Paint on two sides of sky to darken them. Set the mode as Multiply mode 100%:
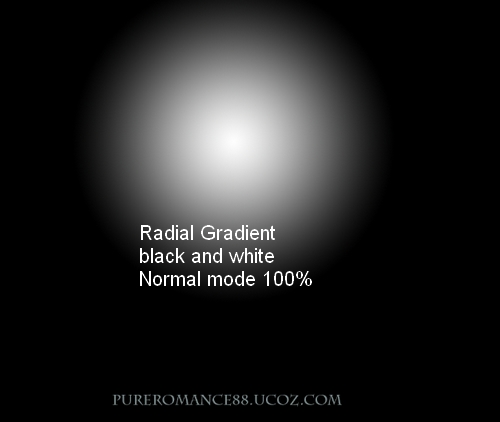
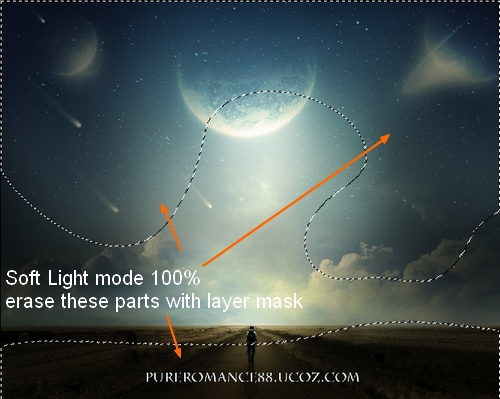
13. Create a new layer and use Gradient Tool to make light focus better:
Change the mode to Soft Light 100% and add layer mask to remove or reduce contrast as shown below:
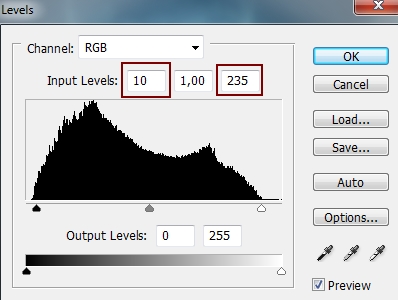
I add a Levels layer to increase contrast a bit:
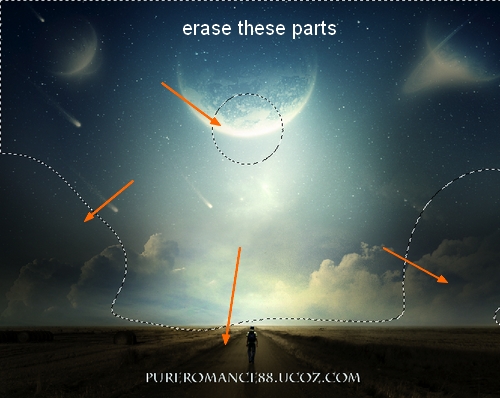
Use brush on the mask of Levels layer to remove dark contrast on the road, field, two sides of sky and the bottom of the planet in the center:
Final Result:

| 


 Thank you for sharing it with us.
 .
. thank you Dek
  . Nice to see you on my blog


 I learn so much from you! I got one question. Can you do a tutorial about a realistic explosion or Vulcano eruption? If you got time and if you want to do that of course