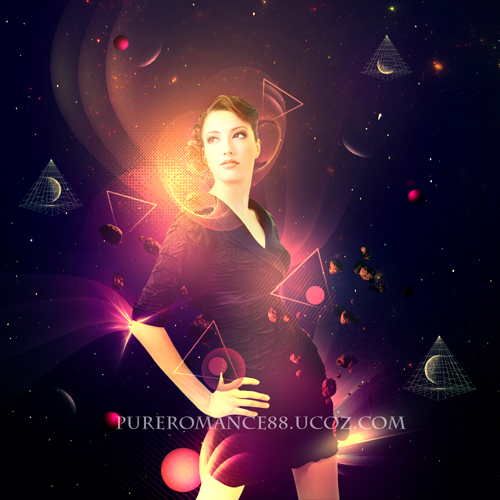
In this tutorial I'll show you how to create a colorful abstract work inspired from space theme. We'll walk through blending techniques, make abstract elements, adjust colors and create lighting effects.
Resources:
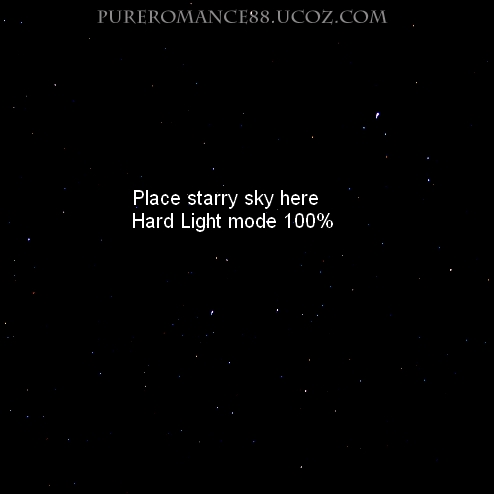
1. Create a new document and fill it with black. I use the size of 1000x1000 px but feel free to make your own. Drag starry sky into our canvas and resize to be 75%, then change the mode to Hard Light 100%:
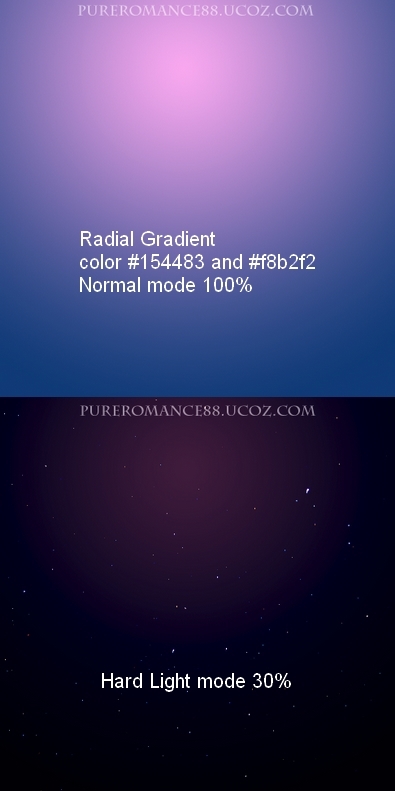
Create a new layer (Cmd/Ctrl+Shift+N) and hit G to active Gradient Tool. Make a Radial Gradient with color #154483 and #f8b2f2 then change the mode to Hard Light 30%:

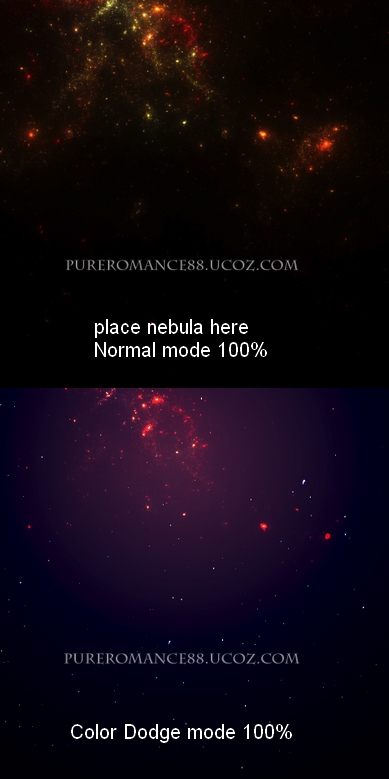
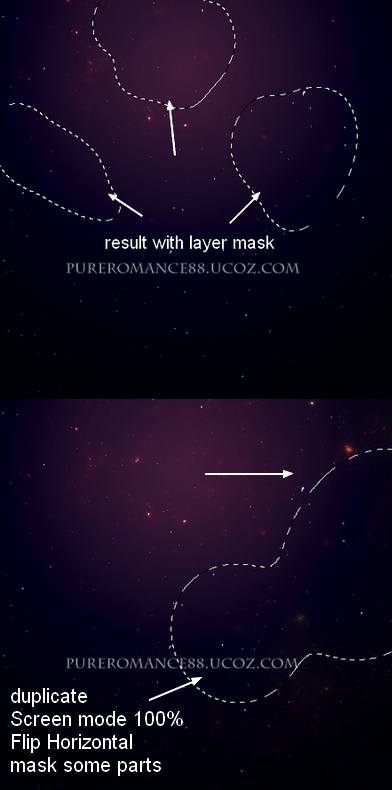
Move nebula stock into our document and change the mode to Color Dodge 100%.
Add layer mask to this layer and use soft black brush to reduce nebula effect then duplicate this layer, change the mode to Screen 100%, flip it horizontally (Edit-Transform-Flip Horizontal) then mask it to get the result below:
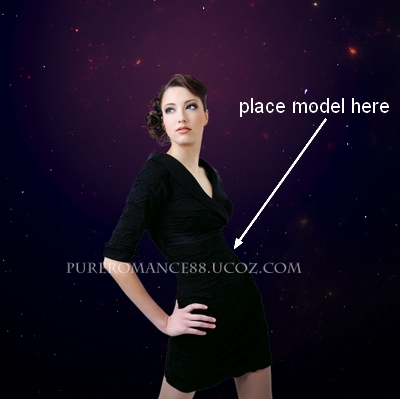
2. Extract model and place her at the middle section of our image:
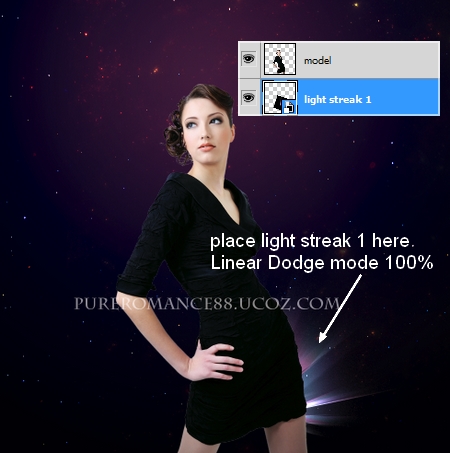
3. Choose number 18 from light streaks pack and move it behind model legs and change the mode to Linear Dodge 100% to remove dark background:
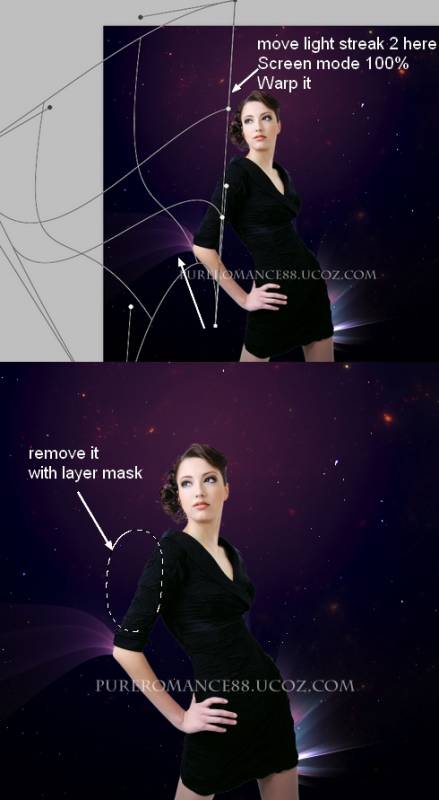
Take number 42 to position behind model elbow, set the mode to Screen 100% then use Warp Tool (Edit-Transform-Warp) to bend it and create nice curves of light. Then use layer mask to remove the top of this light streak:
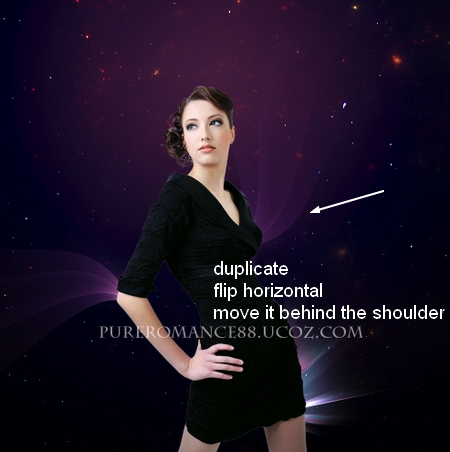
Duplicate this layer and flip horizontally. Move it behind the right of model shoulders:
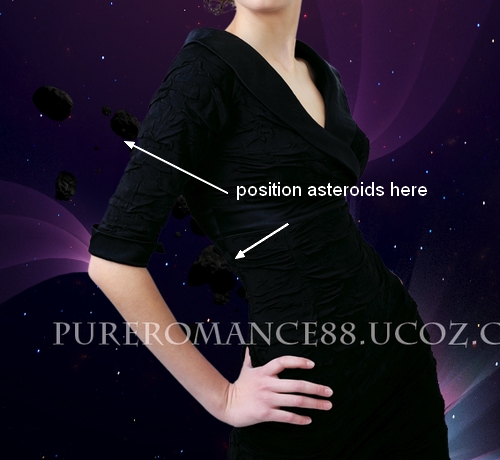
4. Open asteroids stock. As it has transparent background so you just need to use Move Tool (V) to drag it into our picture, place it behind model and transform (Cmd/Ctrl+T) to get result below:
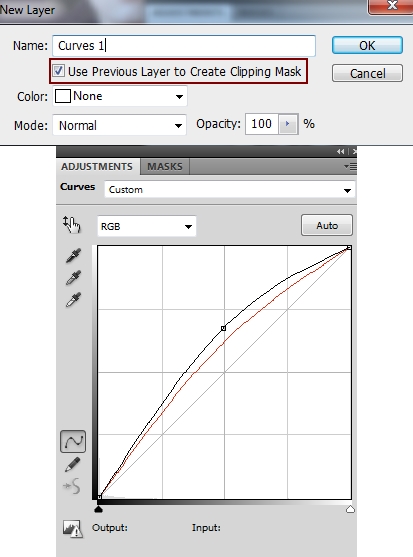
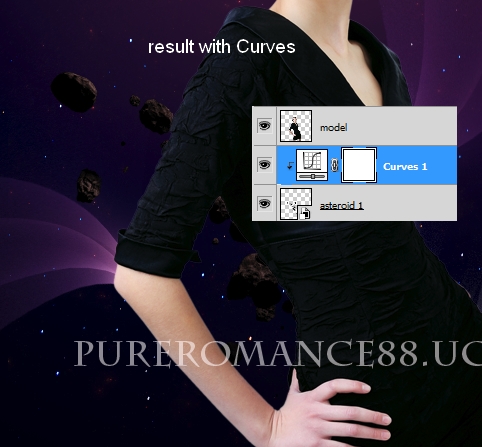
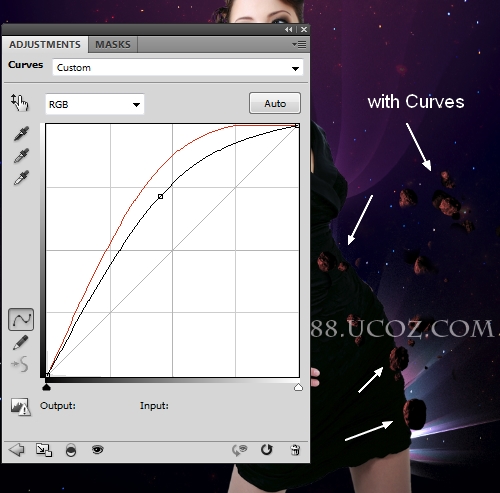
I use an adjustment layer with Clipping Mask to change color and brighten the asteroids. Go to Layer-New Adjustment Layer-Curves:
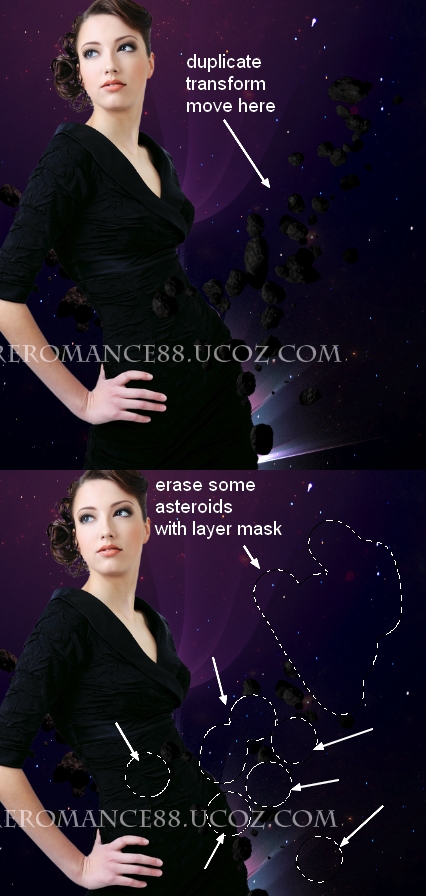
Duplicate the asteroids layer, move it above model one and transform it using Cmd/Ctrl+T. Add layer mask and use hard black brush (don't use soft brush as it will leave unatural look) to erase some asteroids:
I use a Curves layer (Clipping Mask) to blend the asteroids with background:
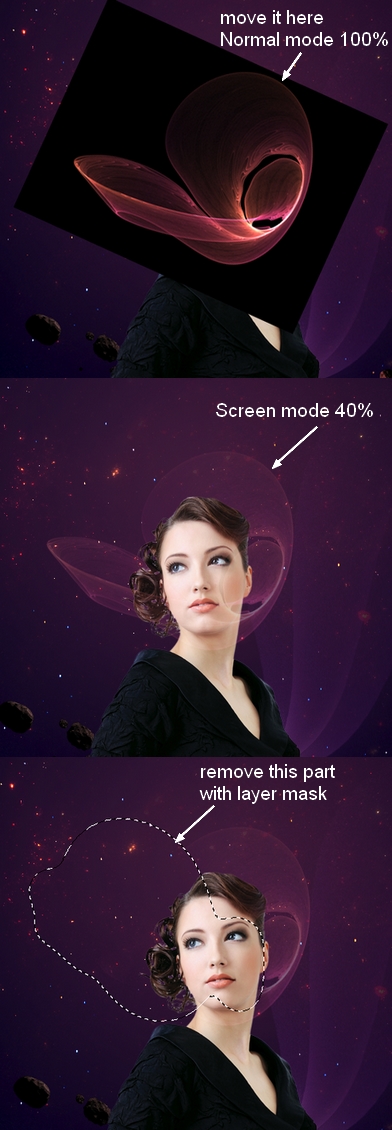
5. Choose number 14 (an abstract shape) from light streaks pack and situate it above model head and put the mode to Screen 40%. Then use layer mask to remove the left part:
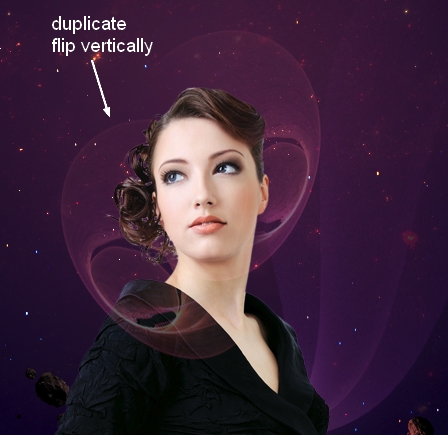
Duplicate it and flip it vertically, move to the left of model head:
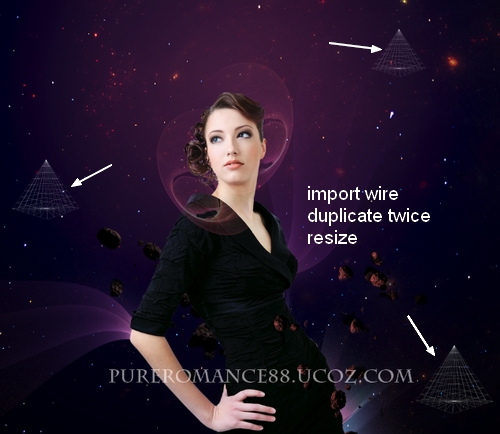
6. Open wire frames pack. I choose an image with tower shape and move it to the left side of our picture. Then duplicate it twice, resize them to be a bit smaller following the rule "the further the smaller":
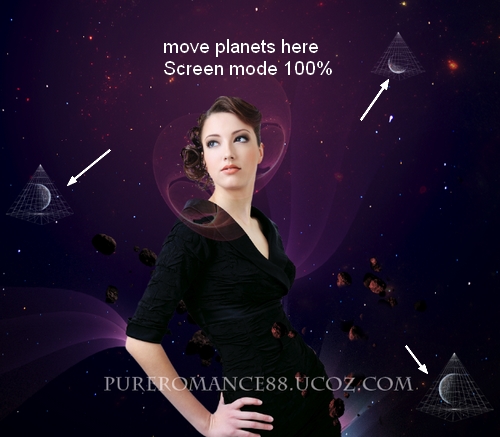
7. Open planet file. Hide dark background then hit Cmd/Ctrl+Alt/Option+Shift+E to merge all transparent layers. Move merged planet into our main file, downsize it, duplicate twice and locate them inside the wire towers. Remember to transform them to make the bright part towards the light of background. I change the mode of them to Screen mode 100%:
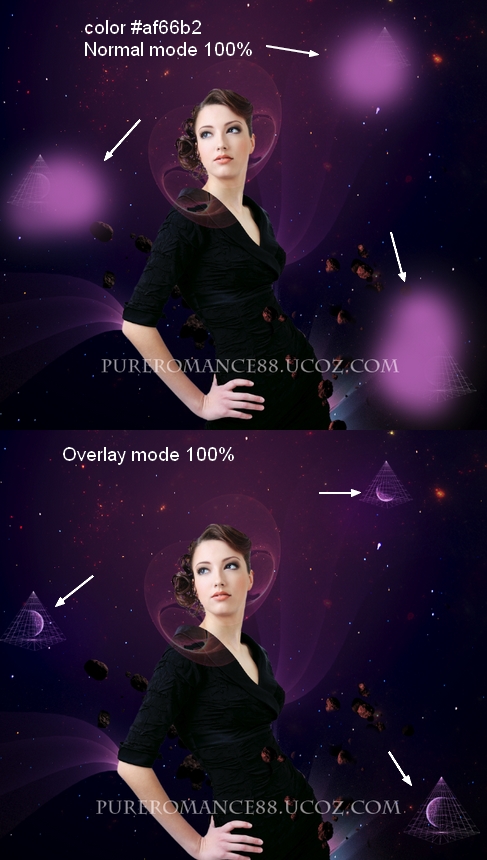
Create a new layer and I use soft brush with color #af66b2 to paint over the wires and planets and set the mode to Overlay 100%:
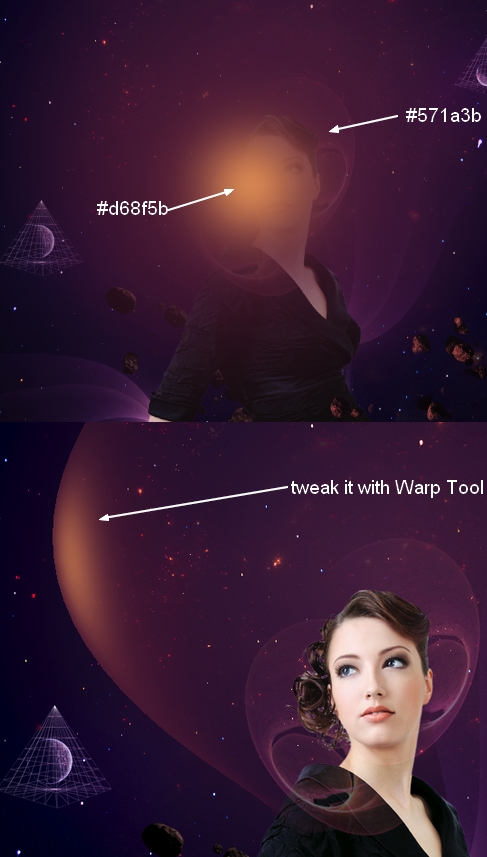
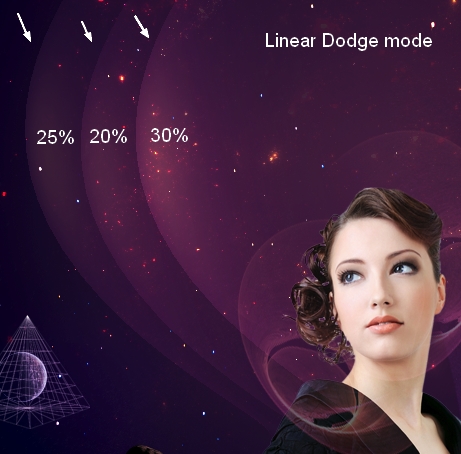
8. Make a new layer and use soft brush with color #d68f5b and #571a3b to spot on the pic then use Warp Tool to tweak it and make a curve of light:
Change the mode to Linear Dodge 25% and duplicate twice, arrange them near each other and set opacity for them as Linear Dodge 20% and 30%:
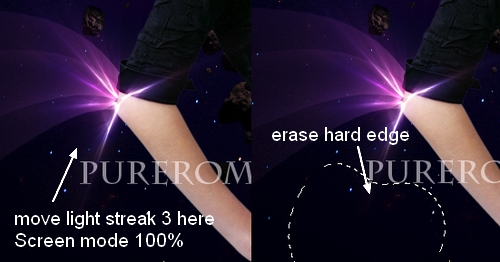
9. Take number 38 from light streak pack and move it above model elbow. I change the mode to Screen 100% and remove hard edge with layer mask:
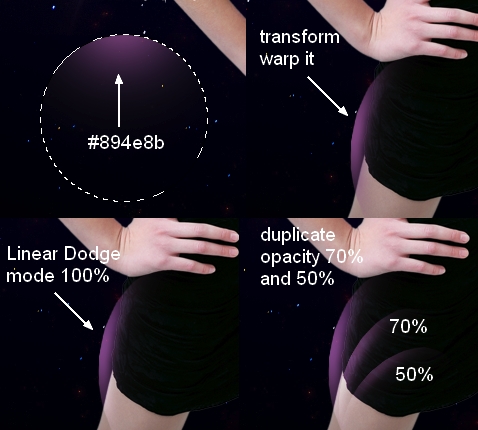
10. Make a new layer, use Elliptical Marquee tool (M) to make a circle then use soft brush with color #894e8b to spot within this selection. Use cmd/Ctrl+T and Warp Tool to transform it and change the mode to Linear Dodge 100%. Duplicate it twice and move them rightwards, lower opacity of them to 70 and 50%:
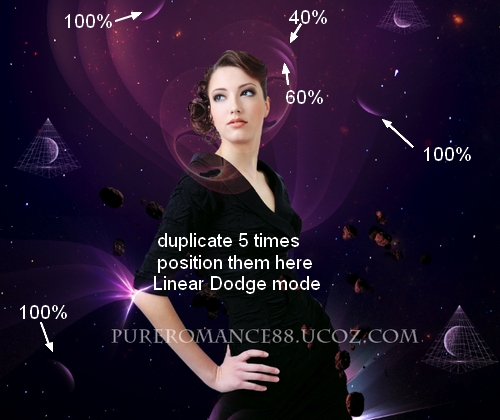
Duplicate 5 times and position around model (opacity 100%) and on abstract shape (above model head, opacity 60% and 40%).
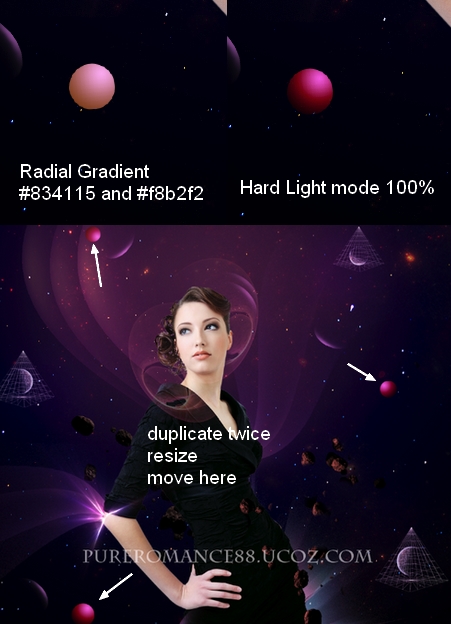
11. Make a new layer and use Elliptical Marquee Tool to make a small selection, then active Radial Gradient Tool with color #834115 and f8b2f2 then change the mode to Hard Light 100%. Duplicate twice, downsize and move them to the top left and middle right of our picture:
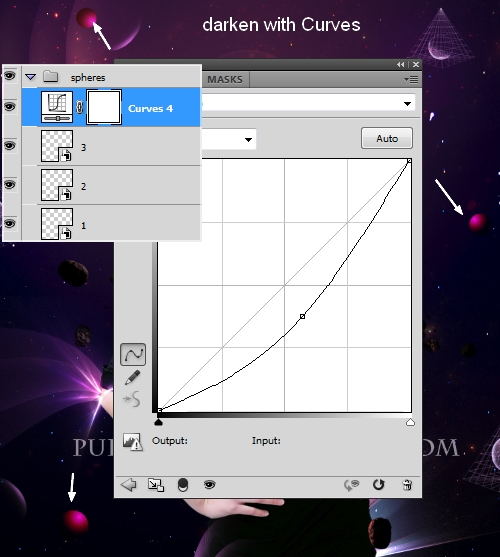
Make these three layers selected then hit Cmd/Ctrl+G to make group for them. Change the mode of this group from Pass Through (default group mode) to Hard Light 100% (it's very important to keep the same effect as before grouping). Make a new Curves layer within this group to darken these spheres together:
Because the mode changed to Hard Light 100% so this Curves layer only affects the layers inside this group (sphere ones).
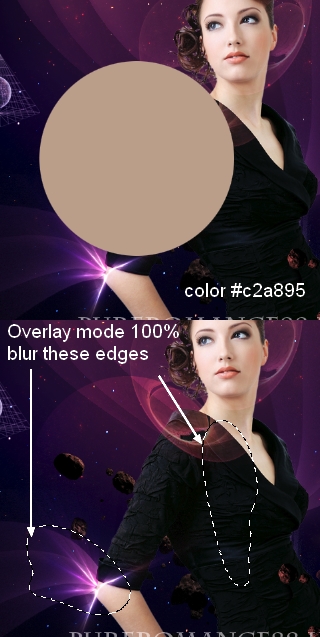
12. Add a new layer on the top and create a circle with Elliptical Marquee Tool then fill it with color #c2a895, put the mode to Overlay 100%. Use layer mask to blur some edges of it to be blended better with background:
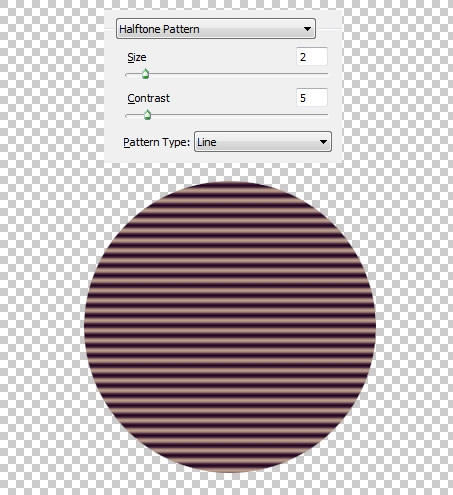
Duplicate this layer and delete layer mask. Change the mode to Normal 100%. Set foreground to
#c2a895 and background to a dark purple color (I choose #270128). Go to Filter-Sketch-Halftone Pattern:
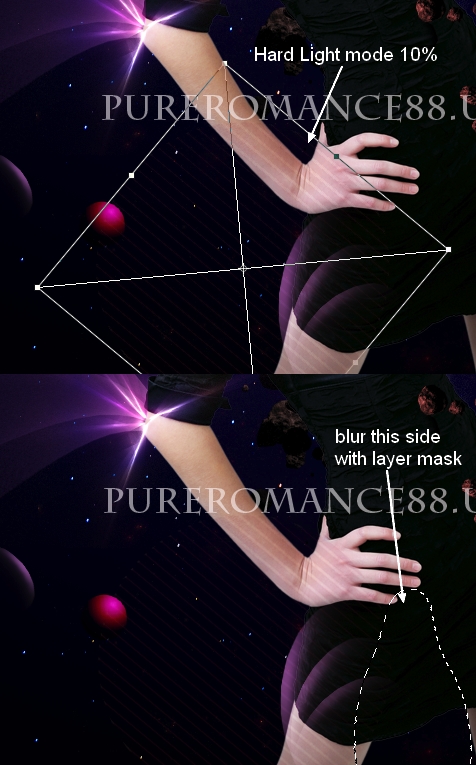
Change the mode to Hard Light 10% and transform it, then use layer mask to blur the side of this effect:
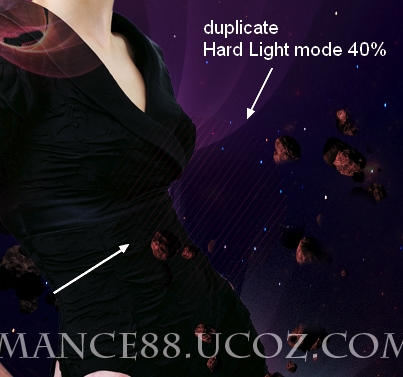
Duplicate this layer, increase opacity to 40%, scale it down and move it to the right of model:
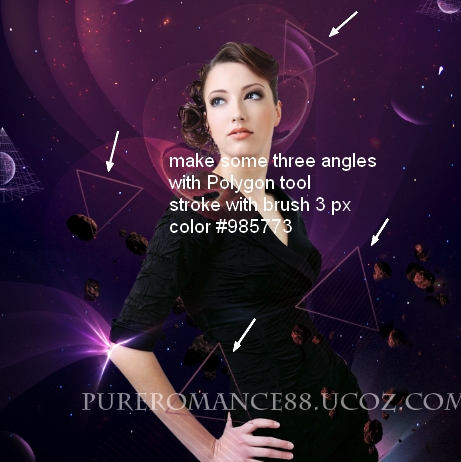
13. Make a new layer, use Polygon Tool with sides =3 to make some three angles shapes, then stroke them with brush 3 px and color #985773.
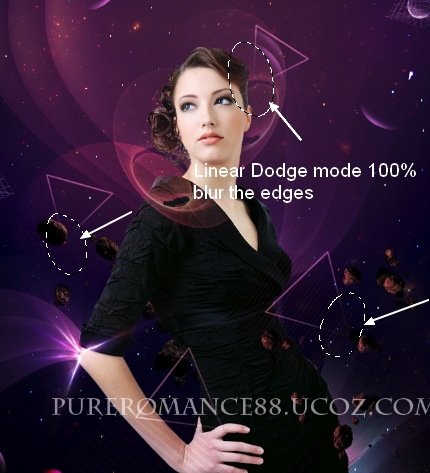
Change the mode to Linear Dodge 100% and use layer mask to blur some edges:
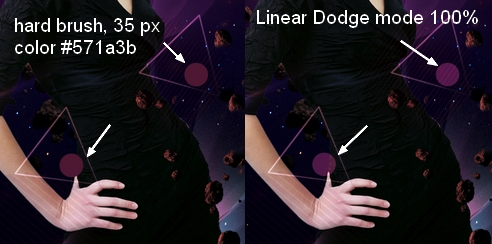
14. New layer and use hard brush, 35 px , color #571a3b to spot around model and set the mode to Linear Dodge 100%:
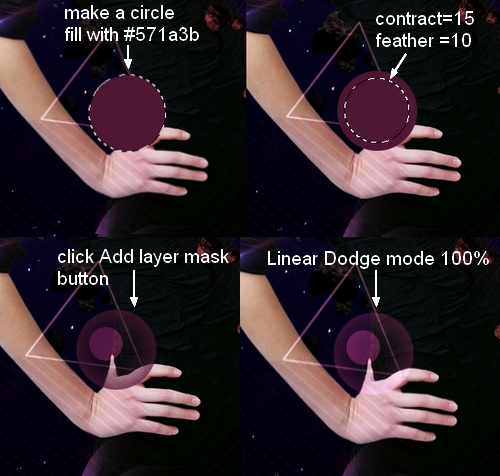
New layer again, make a circle selection and fill with color #571a3b. Still keep the selection, go to Select-Modify-Contract and set value as 15. Then right click this selection, choose feather as 10. Click to add layer mask button and we will have a semi-transparent circle. Change the mode to Linear Dodge 100% :
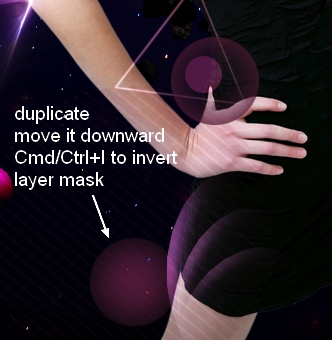
Duplicate this layer, move it downward. Choose layer mask, press Cmd/Ctrl+I to invert the mask:
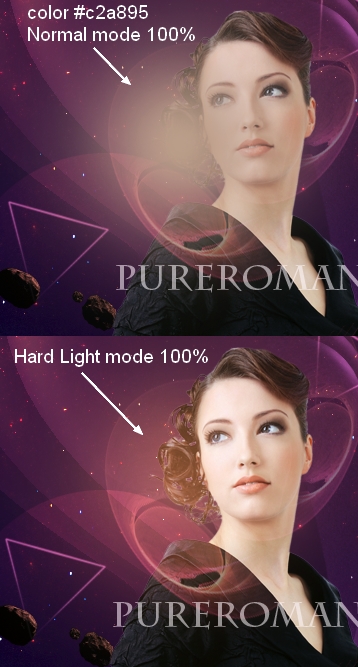
15. Create a new layer, use soft brush with color #c2a895 to paint on model head and shoulder, then change the mode to Hard Light 100%:
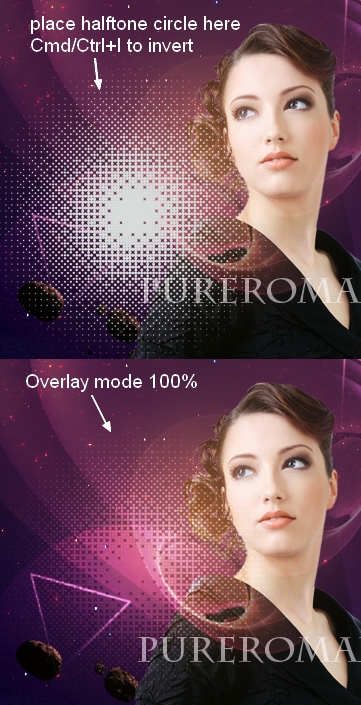
Open halftone pack, I choose a circle to work with. Place it at the left of model head, press Cmd/Ctrl+I to invert it and change the mode to Overlay 100%:
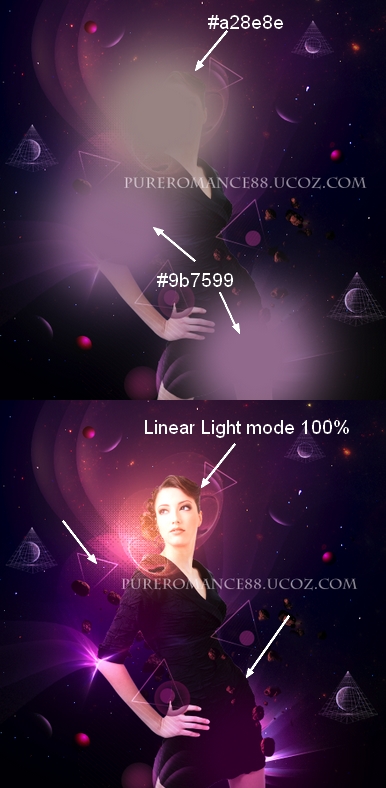
16. Add a new layer, I use soft brush with color #a28e8e,#9b7599 to paint around model then change the mode to Linear Light 100%:
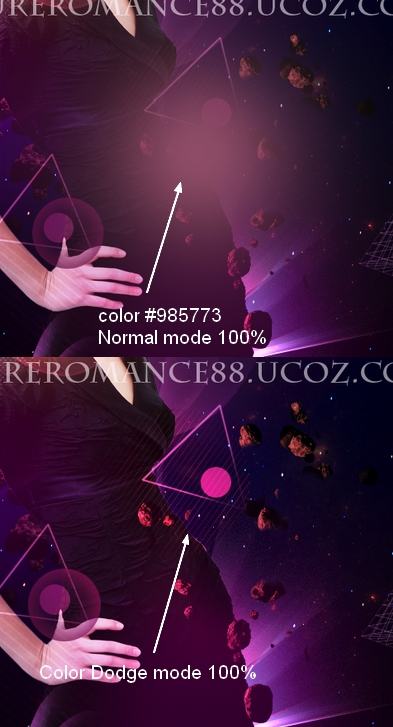
New layer, use soft brush with color #985773 to paint on model waist and set the mode to Color Dodge 100%:
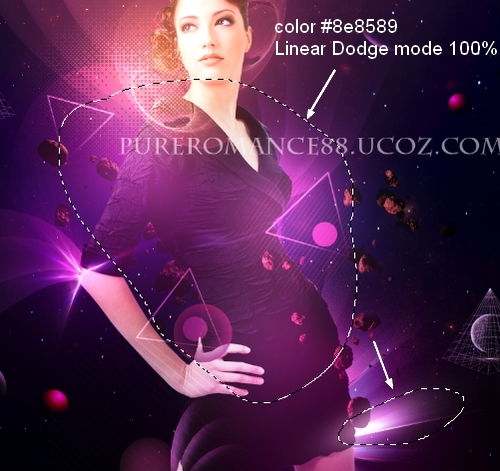
New layer, use brush with color #8e8589 to paint over model and put the mode to Linear Dodge mode 100%:
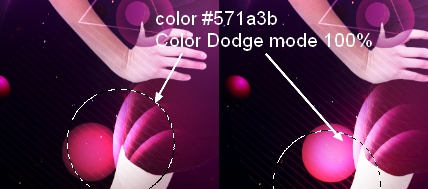
New layer again, I take soft brush with color #571a3b to paint on model left leg and change the mode to Color Dodge 100%. Then on a new layer that is set to same mode I continue with this brush painting on a lower position to make light effect there stronger:
17. Create some adjustment layers on the top.
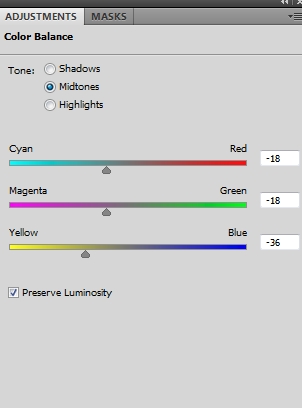
Color Balance 1:
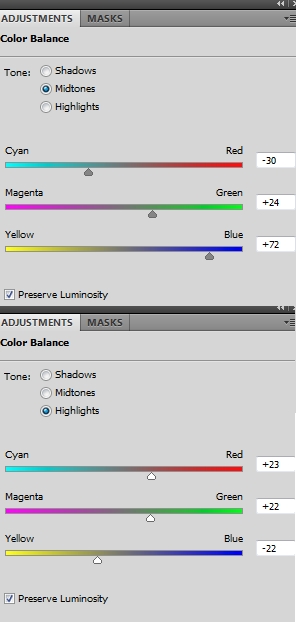
Color Balance 2:
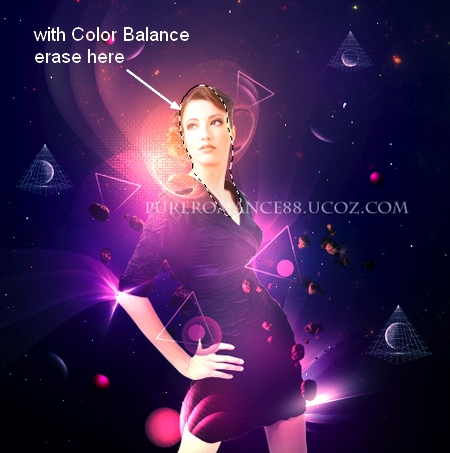
I use soft black brush to reduce bright effect on model head and neck (on Color Balance 2 layer mask):
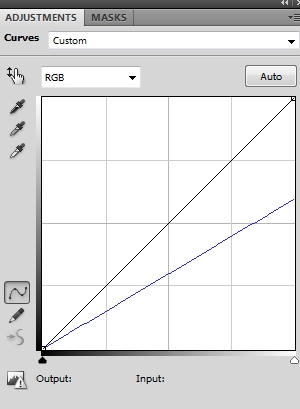
Curves:
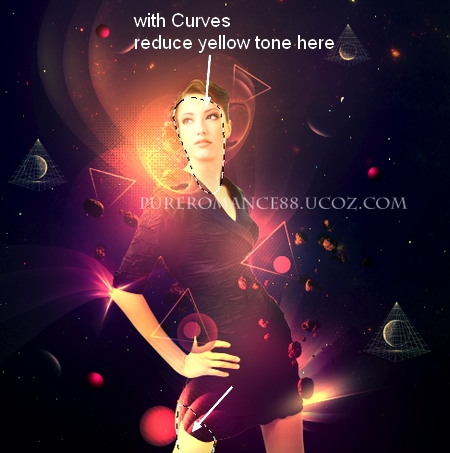
I use black brush to reduce yellow tone on model face and leg after adding Curves:

Final Result:  | 


