
I didnt mean to write this tut but while playing around with some adjustment layers ( for different purpose), i realized that i like this effect very much, so...lol. Anyway i hope you will like it.
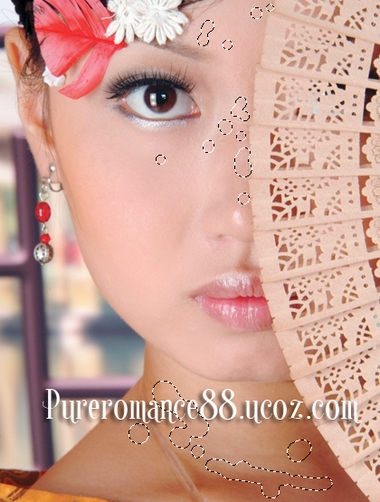
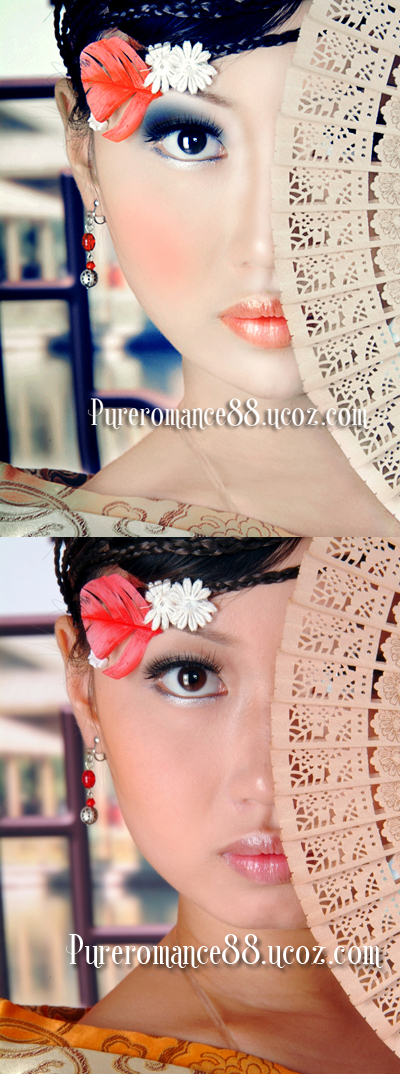
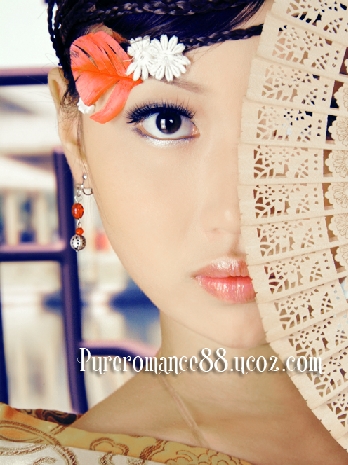
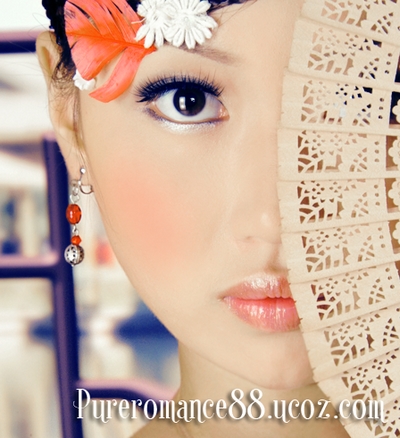
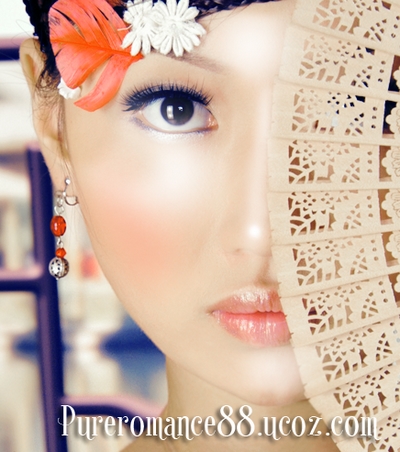
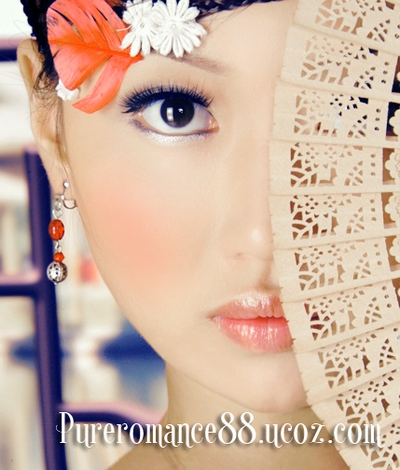
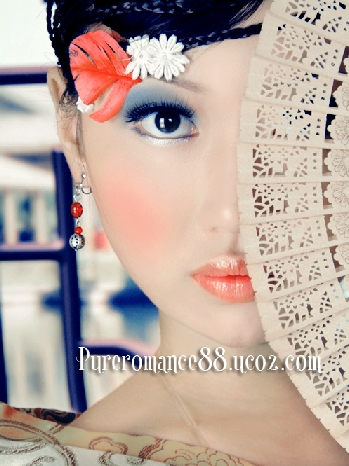
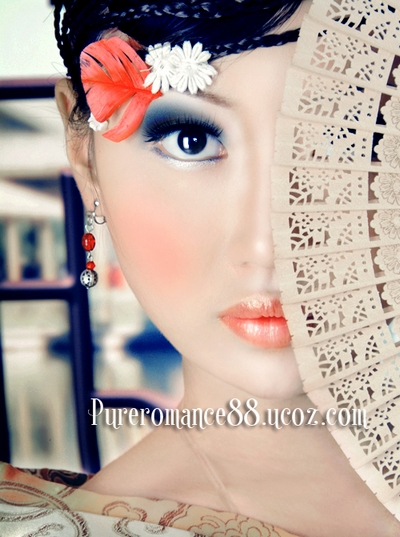
After and Before:
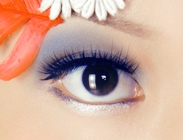
Stock:
1. Open your portrait photo.
Depending on your own one you can use Levels or Curves to brighten or darken to get proper light and shadow. For my picture, i use Levels to brighten it. Create a new Levels layer:
I only change Midtones from 1 to 1.2 as i dont want to brighten highlights.
2. Create a new layer, use Spot healing brush to fix blemishes on her face, wrinkles and dark part on her neck:
I like to use this brush with hardness = 0%, diameter depending on the size of blemishes.
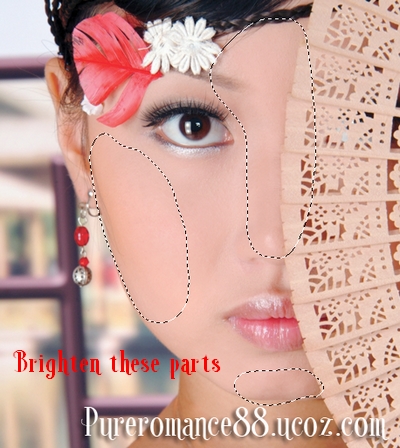
3. Create a new layer, use Eyedropper Tool to pick color on bright part of model cheek or any bright part you want to apply with. For my picture, i have color #f1bab1 for foreground. Use soft brush, opacity and flow 20-25% to paint on any dark part to brighten and soften it. But remember dont abuse it or paint many times on one part as you can lose face details and your model will look unnatural.

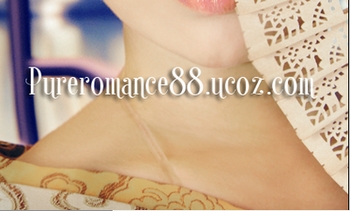
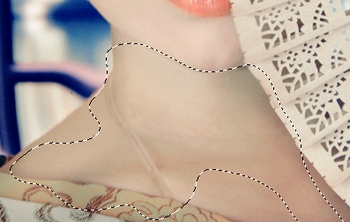
4. New layer, use soft brush and color #e5b59e ( that is picked from bright part of model neck) with same opacity and flow in previous step to paint on neck:
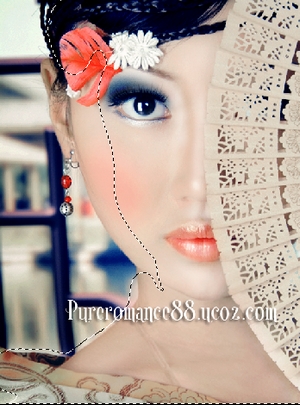
5. Stamp visible all layers. In this step we will use Liquify tool to determine face and body shape to create a slimmer look. Choose Filter-Liquify and grab Forward Warp Tool with settings below :
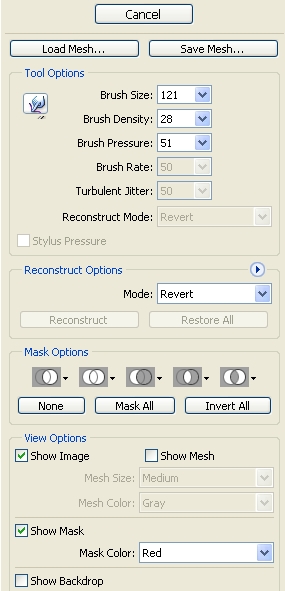
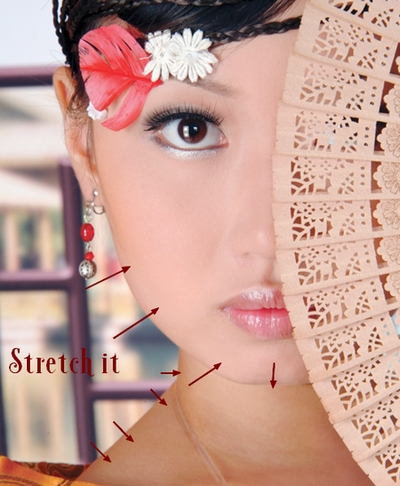
Now use this tool to pull in face feature ( cheeks, chin) and neck, shoulder, pull out the lowest part of chin to make oval shape, also pull down neck to make it longer. Remember that you should straighten shoulder to create slender look. You can use this tool ( or Turbulence tool and another liquify tools) to flatten, thin, thicken..., even change expression of model face to get the look you want. But besides that you must care of proportion between facial features, between face and another parts of body ( the size, eyes direction, expression...). Dont let your model has a slim face above a plump neck and thick shoulders, or eyes( nose, lips...) too big and wide on a long or narrow face, or lip corner is lifted while eyes showing sadness or shedding tear..etc... Avoid them and dont abuse this technique. We make proportion, not perfection.
After liquifying, you may notice liquified parts can be blurred. To fix it, make selection for these parts, apply Unsharp mask or Smart Sharpen with correct values( depending on the sharpness of your picture). You can see my result: 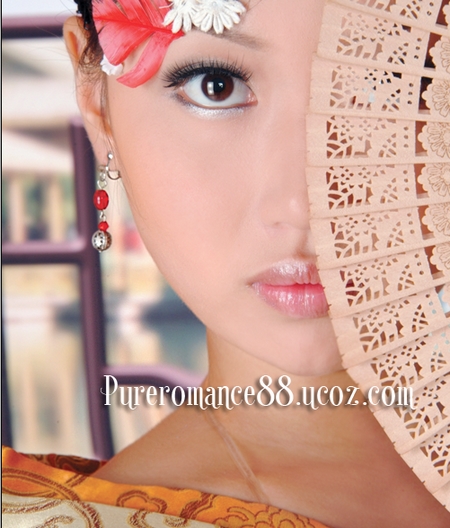
6. Create some new adjustment layers:
Color Balance: Midtones: 12, 8, -20 Shadows: 7, -4, -5 Highlights: -1, 7, -7
Selective color:
Reds: 16, -28, 16, 0 Yellows: -93, -51, 25, 0 Neutrals: 16, 16, -28, 0 Blacks: 47, 21, -12, 13
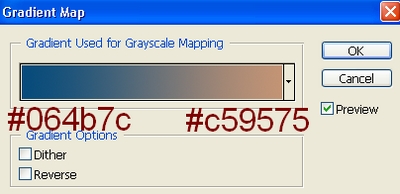
Gradient Map:
Set this Gradient Map layer to Soft light 100%.
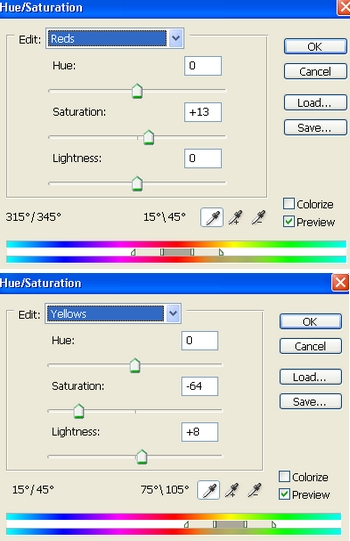
Hue/Saturation:
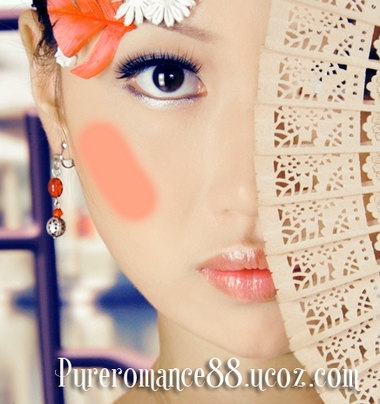
7. Create a new layer, use brush, color #
fea586, hardness 40-45% to paint on her cheek:
Apply Gassian Blur with 18 px then lower opacity to 60%:
8. On a new layer, use soft white blush to paint on forehead, chin, nose bridge, under the eye:
Then change opacity to 30%:
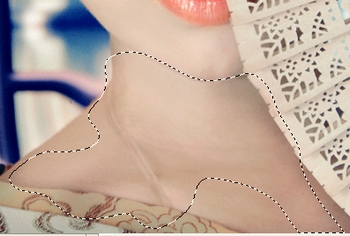
9. New layer again, i want to brighten neck. Use soft brush, color
#e5b59e to paint on this part, then set the mode to Soft light 100%:
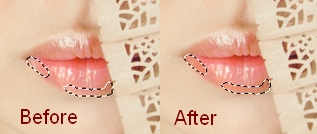
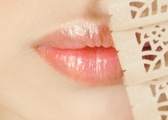
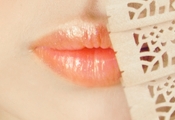
10. Now we will fix the lips. Make a new layer, use brush, color #fc805a to paint on selected part to make the lips stroke fuller and clearer ,and remove highlight at the left corner of lip, then set this layer to Darken 50%:
11. Make a new layer, use soft brush, color #fc805a to paint on lips, set this layer to Soft light 100%:
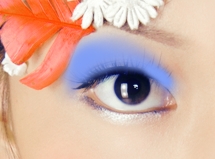
12. Use a new layer, grab soft brush, color #7f9ef6 to paint on eyelid, try to paint the end of eye larger :
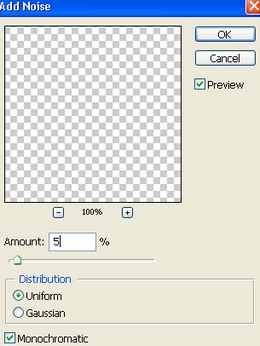
Change the mode to Multipy 60% . Choose Filter-Noise-Add noise:
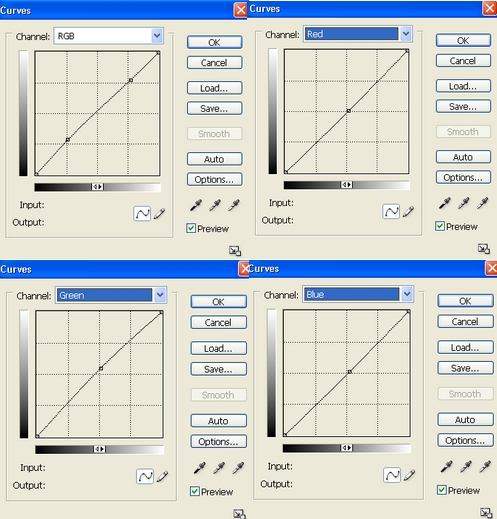
13. Make some new adjustment layers again: Curves:
Color Balance: Midtones: -24, -12, 16
Selective color: Reds: 0, 9, 13, 0 Yellows: 0, 15, -57, 0 Blues: 37, 31, 36, 0 Neutrals: 8, -6, -10, 0
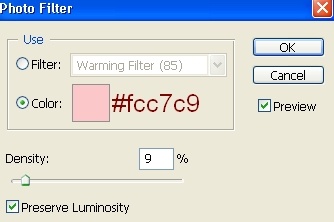
Photo Filter:
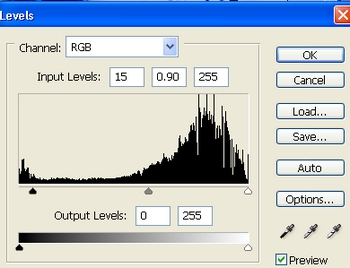
Levels:
14. After step above, we see the neck has some little greenish tone.
So i use soft brush again, color #ff8e85, opacity 20% on a new layer with Color mode 30%, to paint on this part.
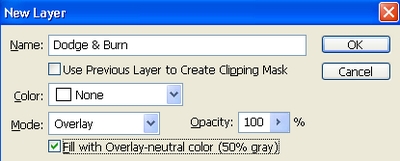
15. Use a new layer with Overlay mode and fill it with 50% gray:
Use Dodge and Burn to determine facial features: Dodge tool for brightening nose bridge, chin, forehead, skin under and above the eye, skin under nose ( T shaped face), sclera, lips, neck:
Burn tool for nose side, iris, eyelid, especially the end of eyelid:
You can see eye given more contrast, nose straighter and facial features clearer.
16. Create a new layer, make a Radiant Gradient:
Set this layer to Soft light 100%, add layer mask to erase selected part :
This step to make background behind model look darker.
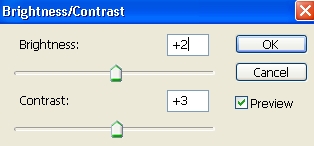
17. Create a new Brightness/Contrast layer:
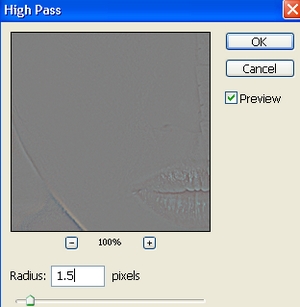
18. Final step: Merge all layers. Use High Pass filter with 1.5 px and set this layer to Soft light 100%:
This step is to sharpen picture. Add layer mask to clear noise effect on background.
Final Result:
|


 Makes me wish to change my comment boycott