Many of us use Wind effect to make the text. But today i want to show you a way using this effect to make background of your picture more beautiful, more dreamy and more sparkling.
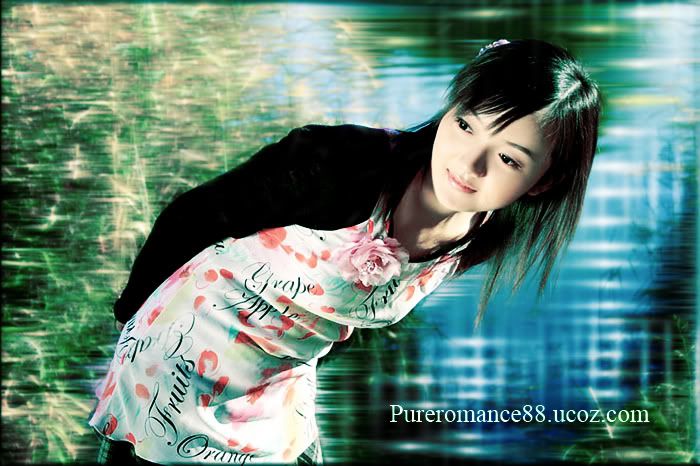
Here is stock we will use:
1. Duplicate your base , brighten or sharpen it if need. ( about my pic, i can skip this step).
2. Filter-Stylize - Wind, choose Wind and From the Right, do it twice do the same to From the left It depends on your pic, once, twice or three times till you feel its enough.
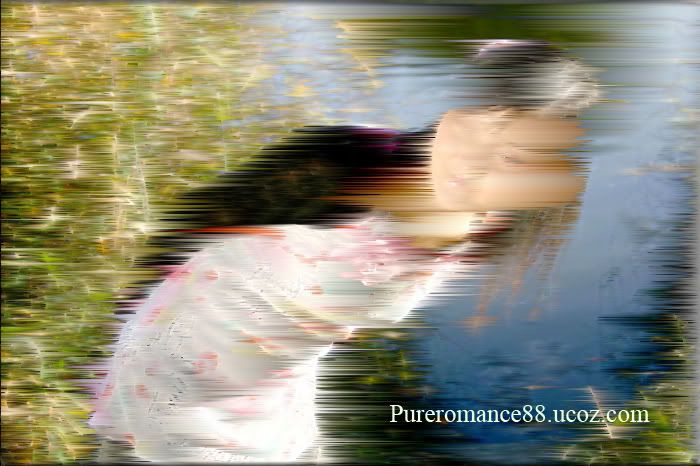
3. Use eraser to erase the model avoiding background. Then go to Filter-Blur_Gassian blur, set it to 0.8 px
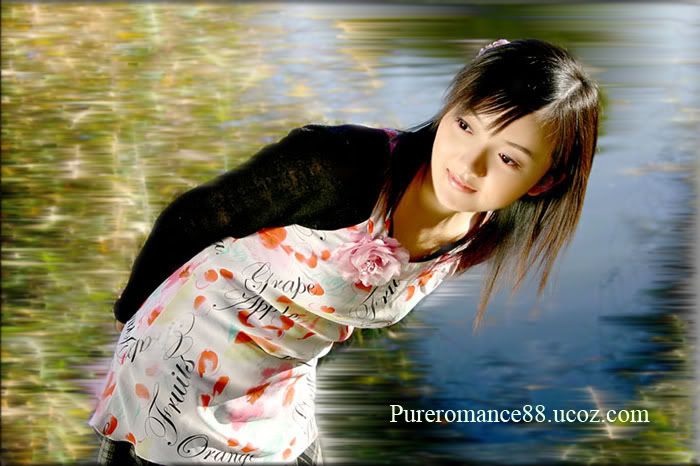
4. Ctrl+Shift+Alt+E to merge all layers into a new layer( layer 1). Set it to soft light 100%.
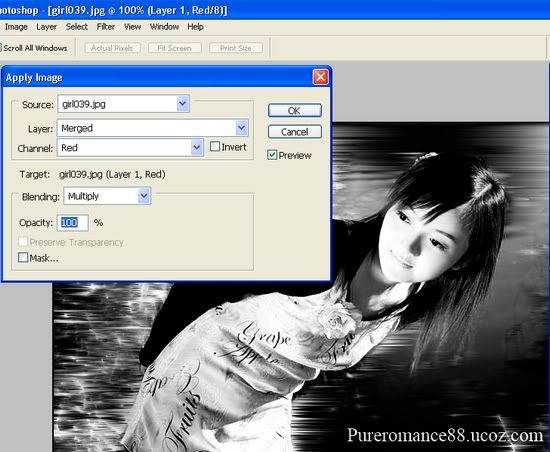
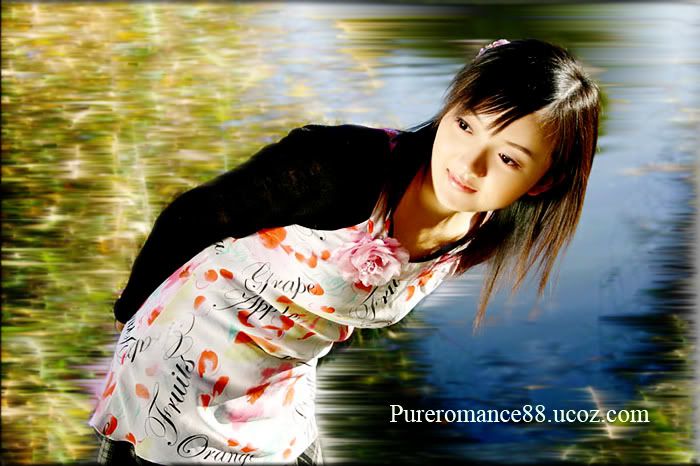 5.Then turn into Chanels, choose Red, open Image - Apply image, choose Multipy. 5.Then turn into Chanels, choose Red, open Image - Apply image, choose Multipy.
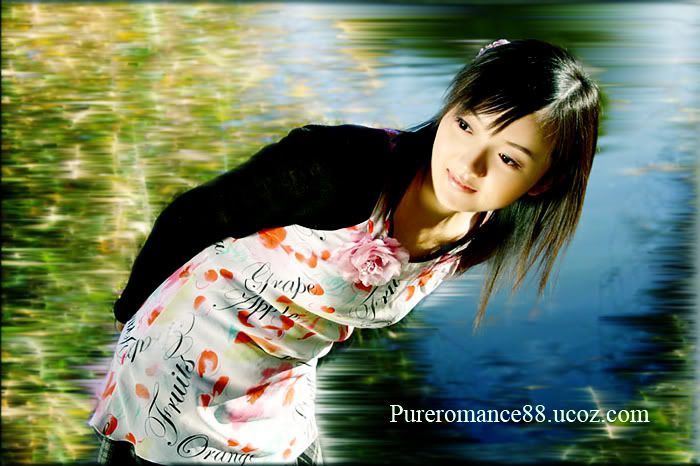
6. Layer - New layer (layer 2), use white and yellow soft brush to paint on image like that: 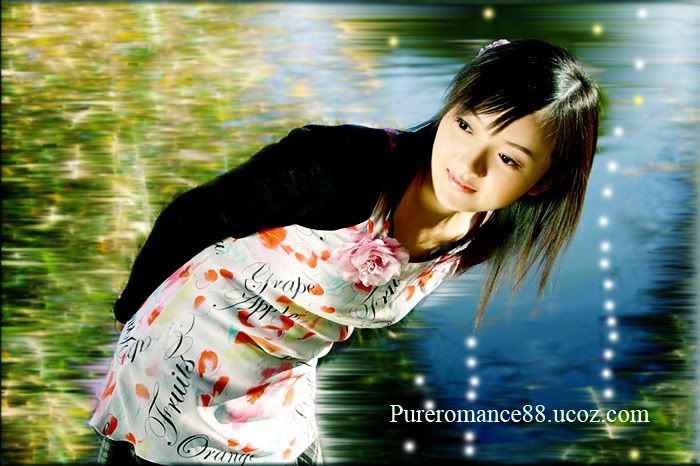
7. Apply Wind filter twice to this layer (from the right and from the left) , then erase effect on the model . Gassian blur to 2px we will have:

8. Duplicate layer 2 (layer 2 copy ), set opacity 50% and choose Transform, Perspective, make the layer look like that
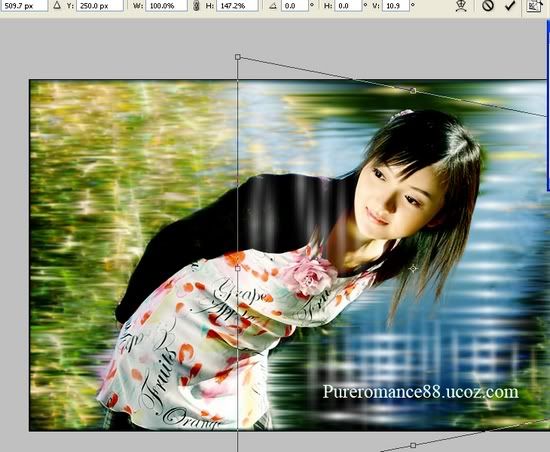
Then erase the part on the model.
9. Duplicate layer 2 copy to layer 2 copy 2 and erase lightly to make it look real:
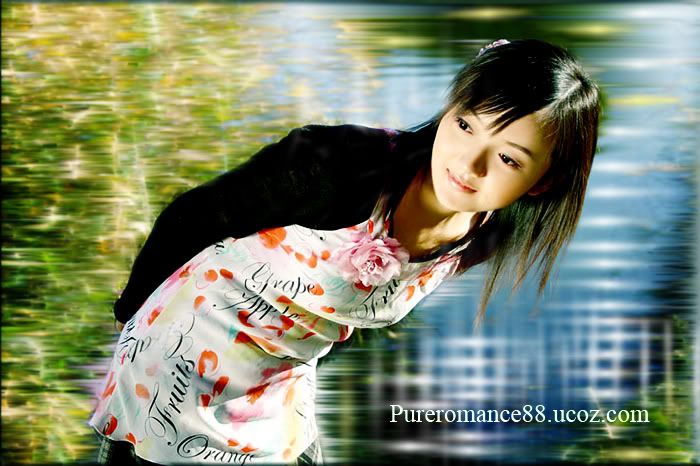
10.Merge layer 2 copy an layer 2 copy 2 to layer 2 copy 3, ( we need the effect of these both layers), then duplicate to layer 2 copy 3. Move the effect to look like that ( remember to eraser model):
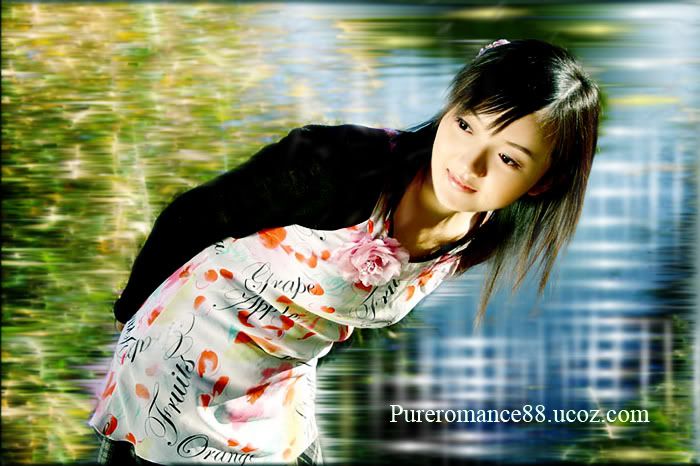
11. Duplicate this layer and move the light effect to the top of the pic, like that ( lower opacity to 50%)
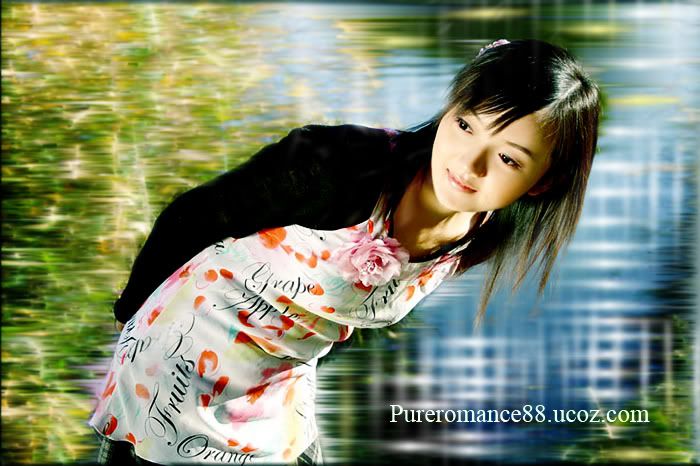
12. Duplicate your base again and set it to soft light 50%. Drag it to the top we will have:

13.A new selective color to make it look brighter and softer : (Relative mode). I like blue and green but you can choose the color you want.
Red: 42,29,24,47
Yellow:0,0,-79,0
Neutral: 58,0,0,0

We finished it! Does it look dreamy, doesnt it? :P. It can be used to most of pics, but works best for the pics that have many details, colored and contrast areas.
Have fun!
|


 5.Then turn into Chanels, choose Red, open Image - Apply image, choose Multipy.


 , you are welcome