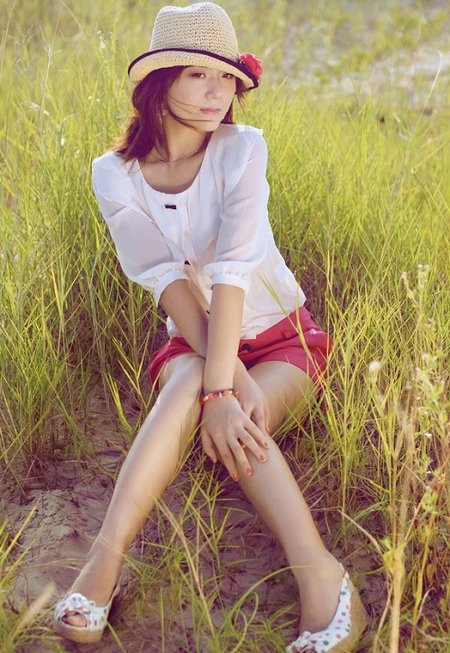
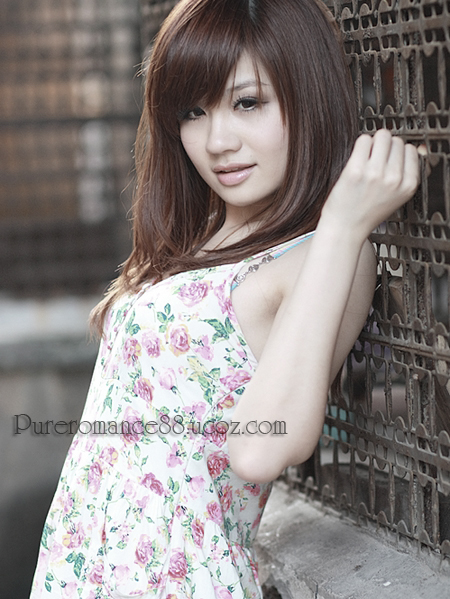
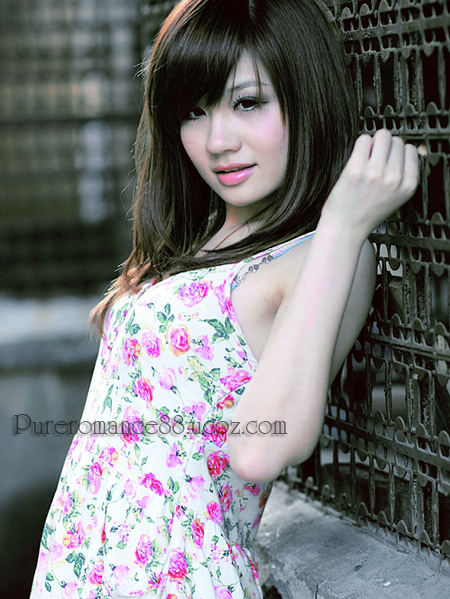
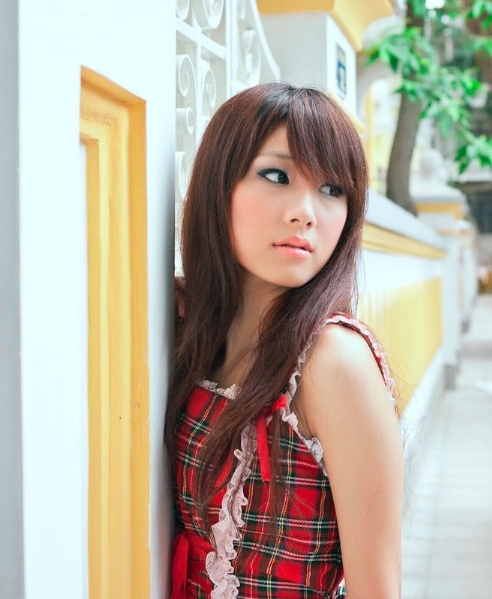
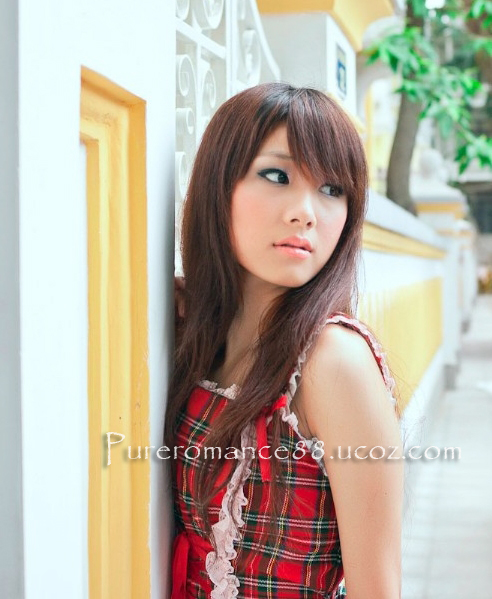
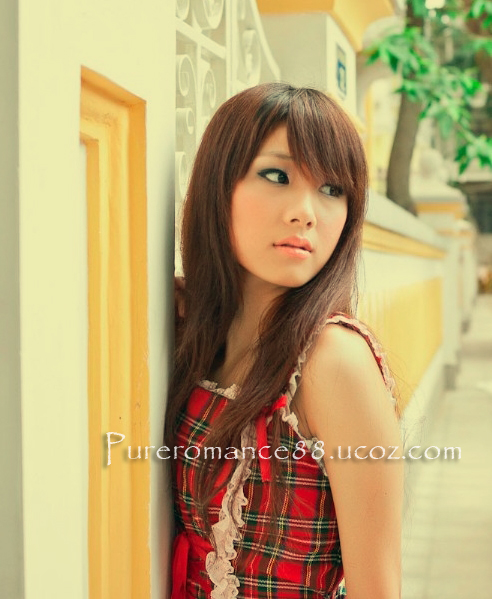
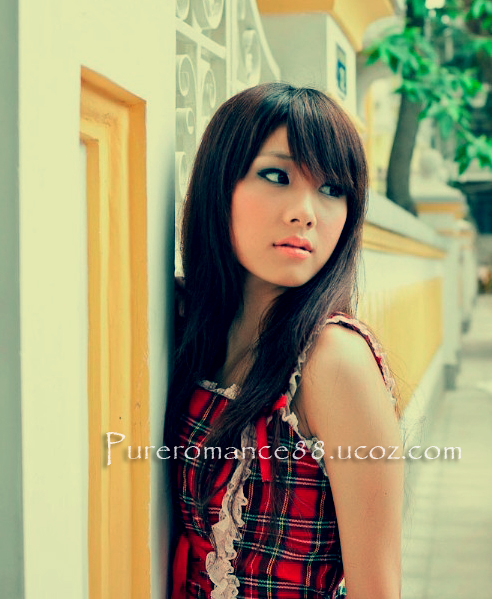
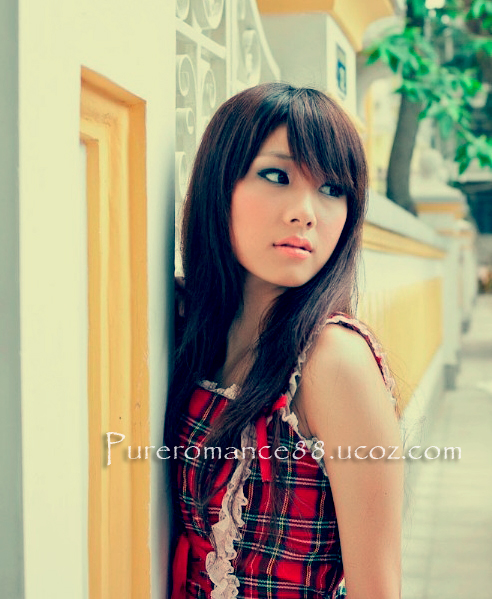
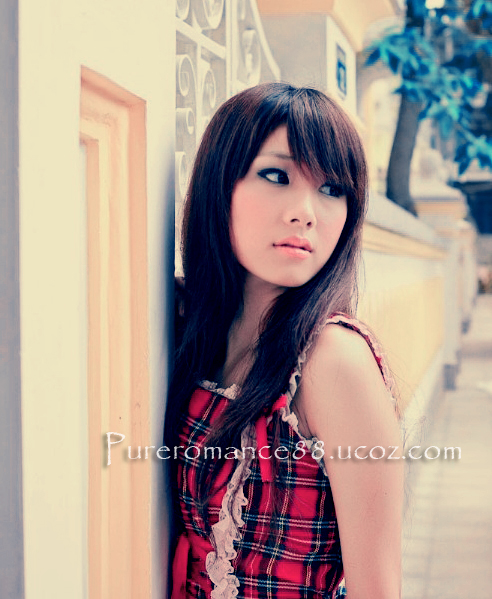
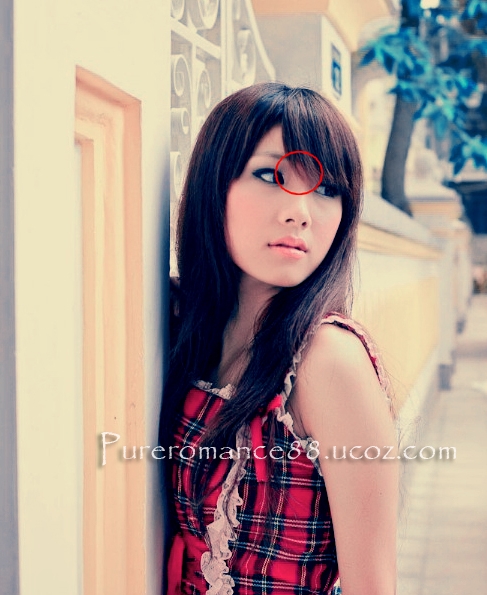
As i promised today i will show you my color blending collection 2 with the effects that are popular in photography.
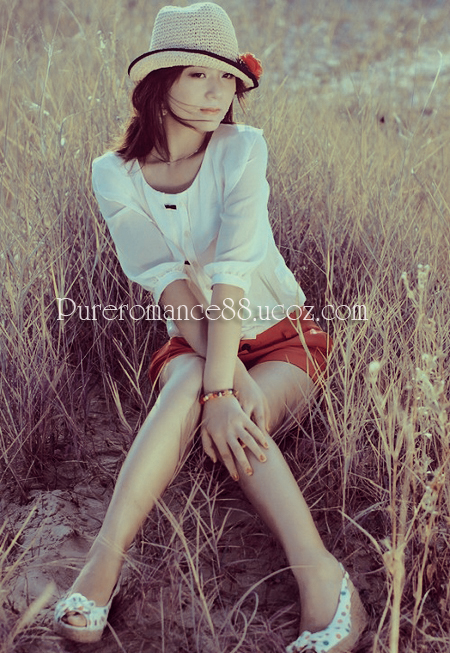
1. Yellow brown tone:
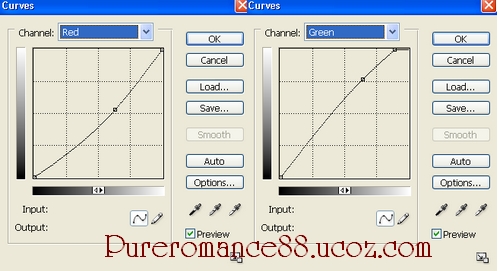
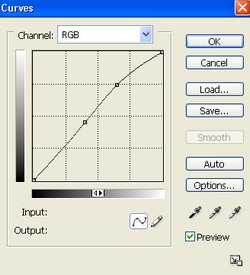
- After opening your pic,create a new curves layer. Its to increase green tone so adjust to fit your pic:
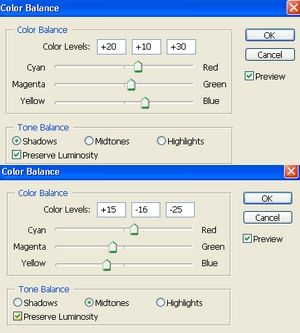
- Create a new color balance layer to gain the yellow tone . Set this layer to Color 100%
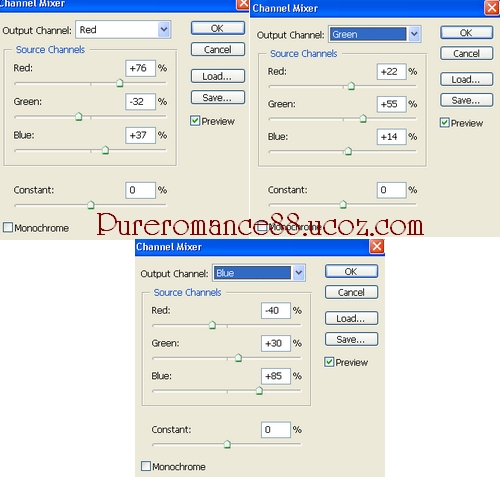
- Create a new channel mixer layer, it make the light down:
- Create a new selective color layer:
Reds: 0,0,0,100
Yellows: -55,58,-34,-25
Greens: -85,100,-76,-25
Neutrals: -8,7,-10, 2
Blacks: 57,88,100,22
- Create a new curves layer to gain the light on model face and background:
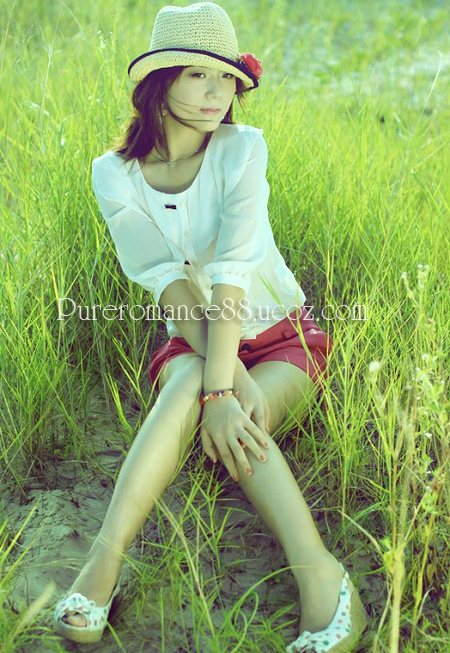
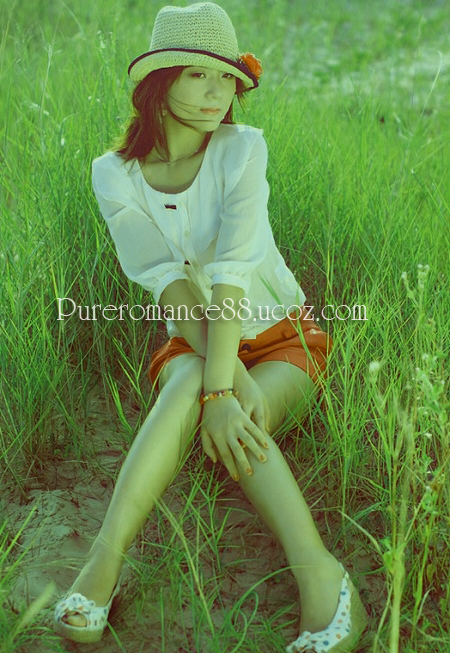
Final effect:
2. Neutral effect: I did another method before but it did not work well for some another photos so i remake it in other way :D
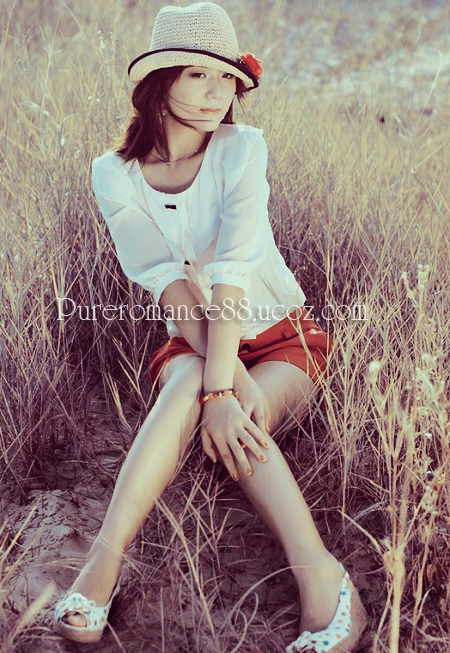
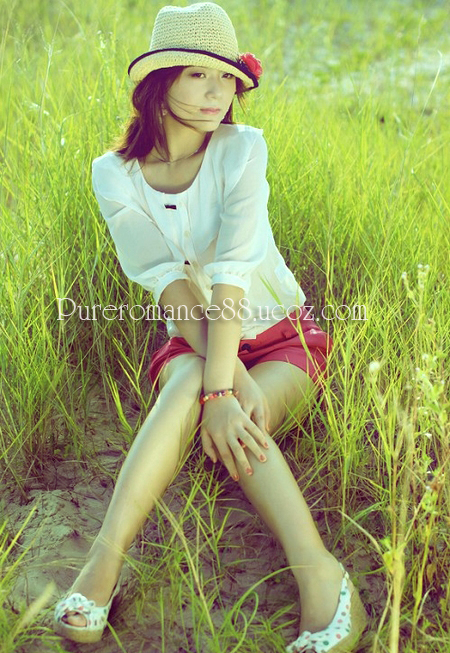
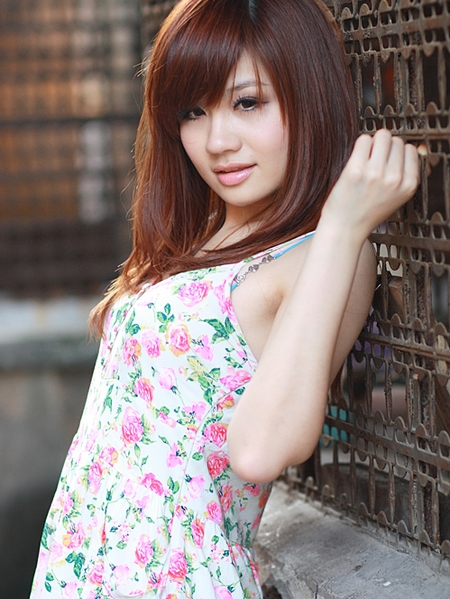
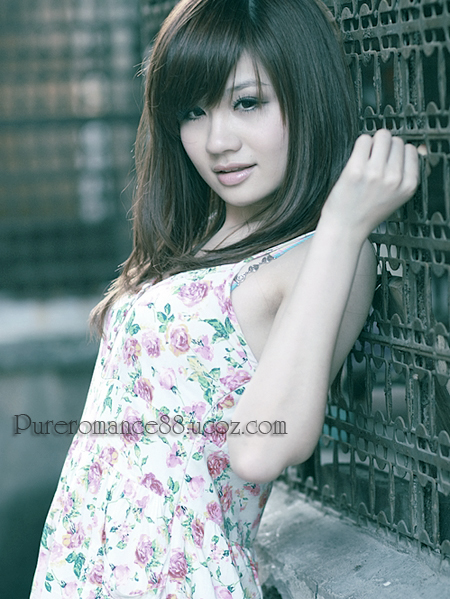
Stock:
- After duplicate your pic, choose Channels, press Ctrl+A to select Green
channel then press Ctrl+C to copy and Ctrl+V to paste it into RGB channel. Come back to
Layers pallete, lower opacity to 50%, we have:
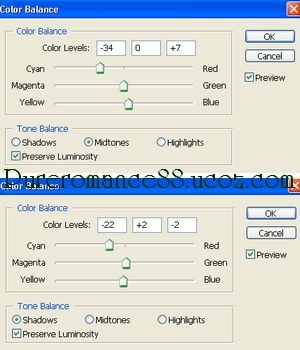
- Create a new color balance layer. Its to increase the cyan tone in
the pic so if your pic has this tone already, adjust it carefully.
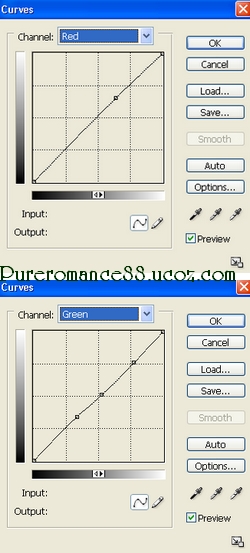
- Create a new curves layer. Its to make the cyan tone down a bit also
gain a bit magenta on the model skin. This step is optional:
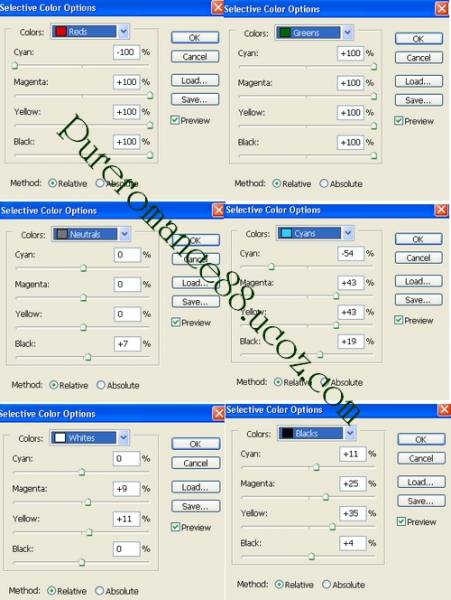
- Create a new selective color layer. Take care of Red channel if your model skin is good enough.
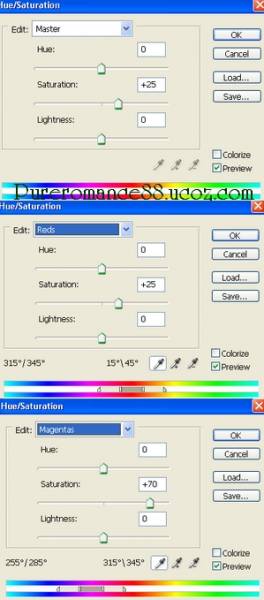
- Create a new Hue/Saturation layer. This step to give the life on the skin and lips. Its optional.
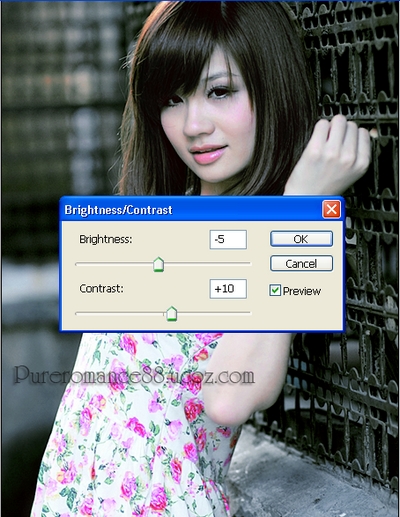
- New Brightness/contrast layer, then i use soft black brush to erase the model:
- After this step we see some light wrong color on her hair, neck,
arm and hand. So i create a new clayer, set to color 70%, use soft
brush, color 2d2f27 to paint over these parts.
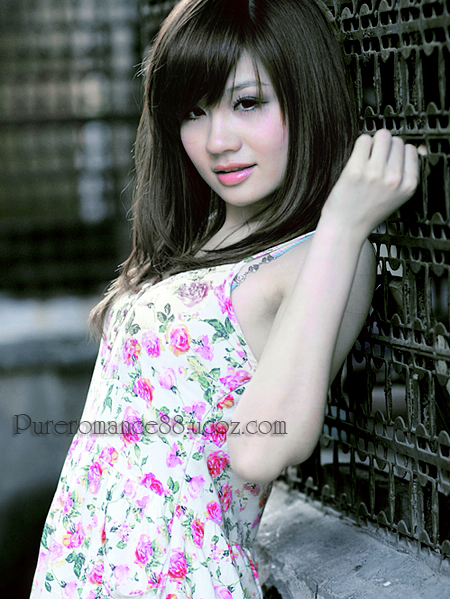
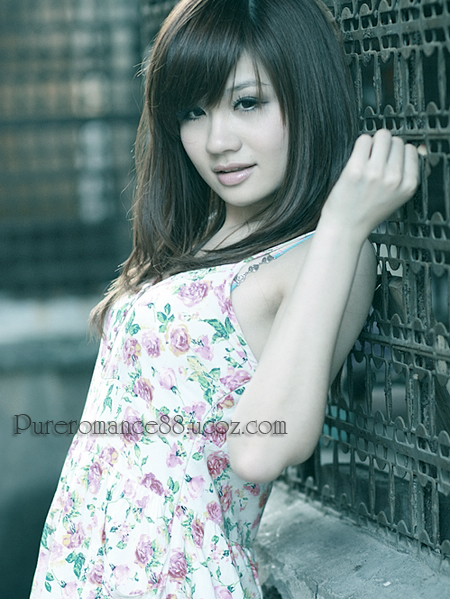
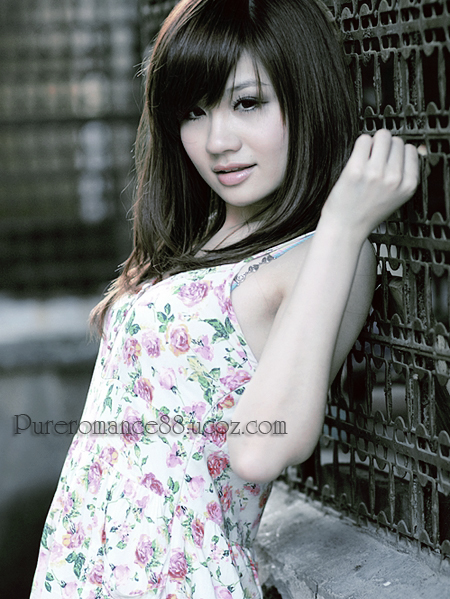
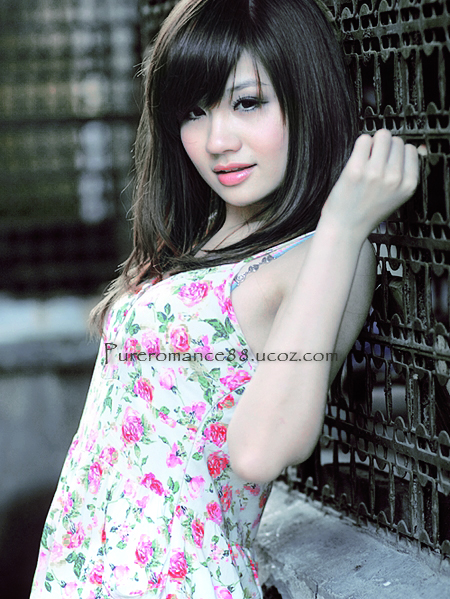
We have final result:
This is result with another method:
3. Vintage effect:
Stock:
- Duplicate your pic, set this layer to Screen 100%. You can use your favorite choice to brighten, soften, sharpen it.
- Create a new fill layer, color ffecb2, mode Multipy 100%.
- New fill layer, color a9dcff, mode Color Burn 100%. If your pic background is dark, you should lower opacity.
- New fill layer again, color ffcff8, mode Soft light 30%.
- Create a new selective color layer: Reds: 0,-5,-16,-12
Yellows: -100,-37,-100,-38
Greens: 100,100,-100,50
Cyans: 100,66,-17,0
Magentas:-100,20,10,0
Whites: -27,67,25,0
Neutrals: -5,0,-9,4
Blacks: 0,0,0,5
- Create a new layer , mode is Soft light 100%, use soft white brush to paint on the nose like the pic below:
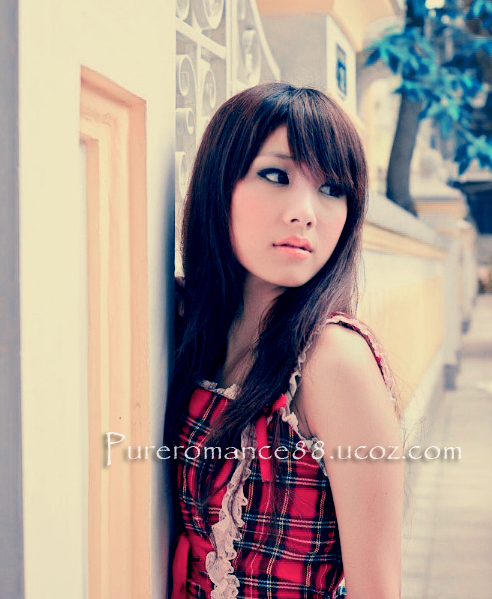
Final effect:
Here is another result with same technique. I changed a bit of opacity: Layer color burn 70%, layer soft light 50%, Selective color: Whites: -27,10,25,0
Neutrals: -5,0,10,4 and skip last step :D.
You can also check out my other color blending collections:
ABOUT ME: I'm Jenny and i live in Hanoi, Vietnam. If you like what i write or want to keep in touch with me, you can subscribe to My blog, email me
or like My Facebook page to keep updates of my latest works.
Please ask before you want to post or translate my tutorials on other sites. I hardly decline if you ask nicely. Thank you :).
Hello Admin Thanks for this amazing work ! There's something forgotten in the first step. It's after selecting the Green Channel we use Ctrl + A then Ctrl + C to copy it ! ^^ thanks to mention that for anyone else tried to follow your tuto =)
hehe i see , i edited it . Thank you for reminding me . I hope you all can follow my tuts to make your beautiful own works ;). Have a nice weekend Izzy