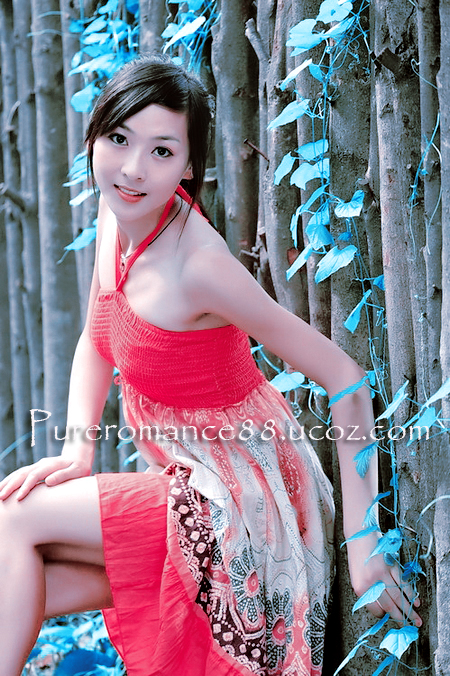
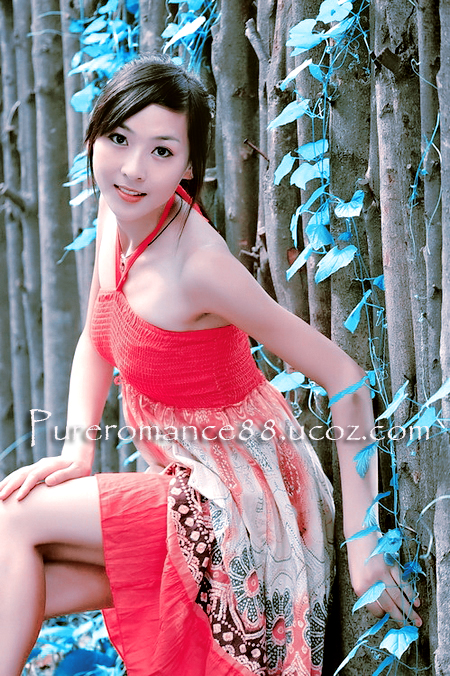
Some people asked me how i made some blending photos so today i will
show you the first collection of my color blending tutorials that have many different effects. Its not
difficult techniques but i hope you still find them fresh and useful.
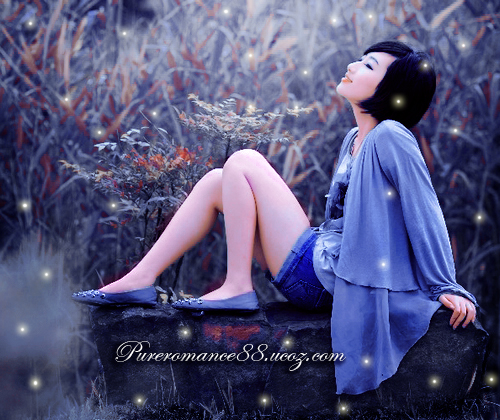
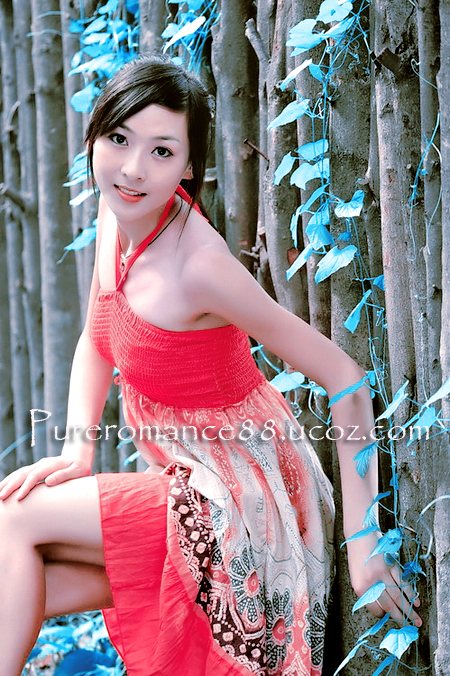
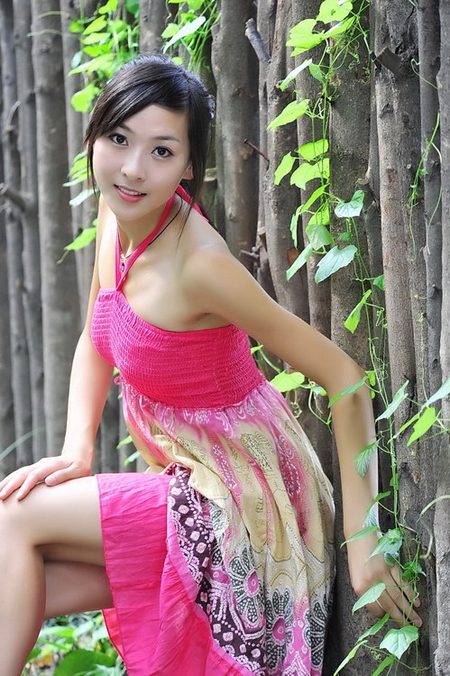
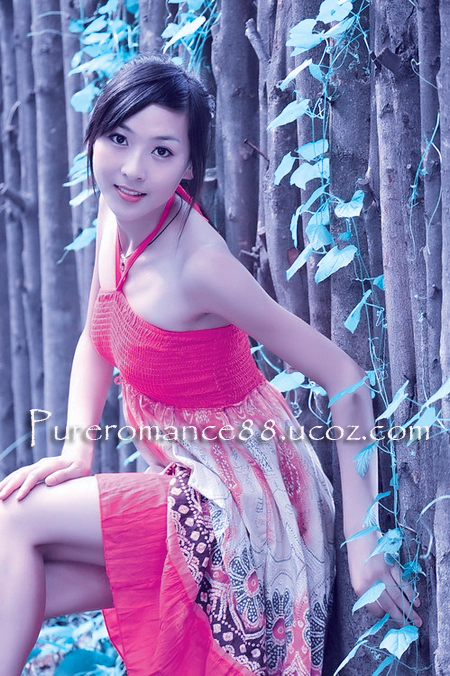
1. Romantic purple blue effect:
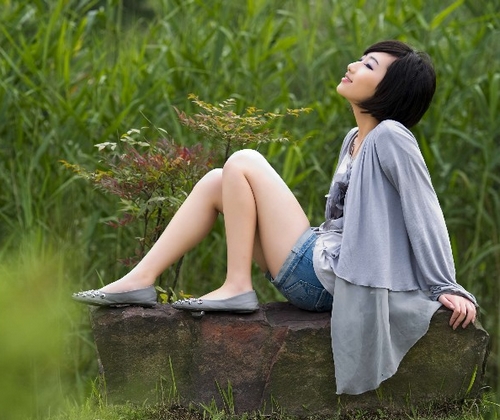
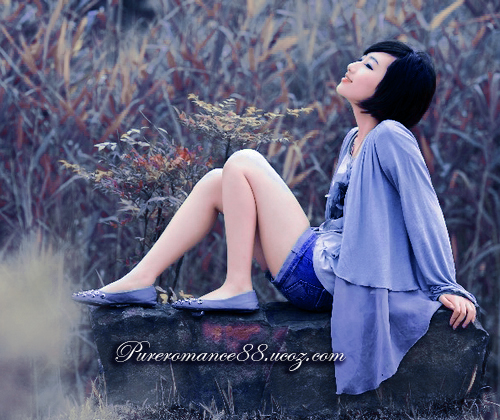
Stock:
- After opening your pic, create a selective color layer:
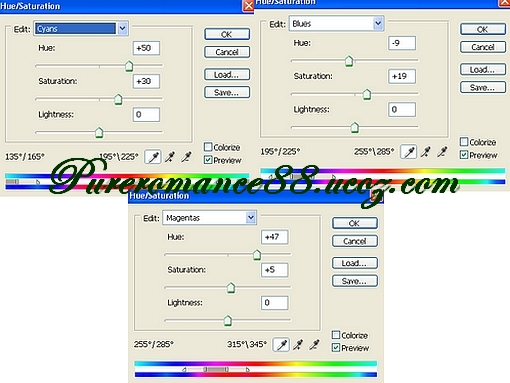
- Create a new Hue/Saturation layer, its to adjust cyan, blue and magentas tone:
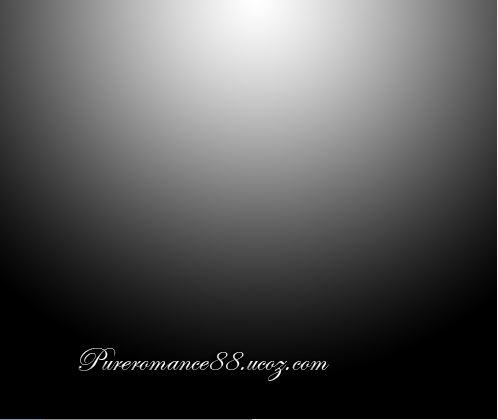
- Create a new blank layer then choose Radiant gradient:
Set this layer to Soft light 100%, erase gently background around the model:
- Now we adjust the color and light on the model legs. Create a new
layer, mode is Hue 100%, use soft brush , fab4f6 to paint on any areas
that need to be fixed.
After it, we still see a dark streak on the thigh. Create a new layer,
mode is Soft light 100%, still use soft brush fab4f6 painting over
there.
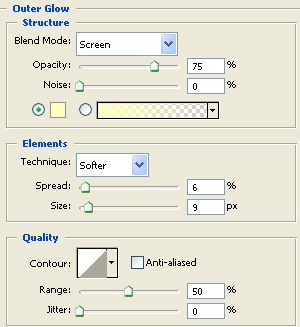
- Create a new layer, use white brush 4px, hardness 50%, set Outer glow to make fireflies:
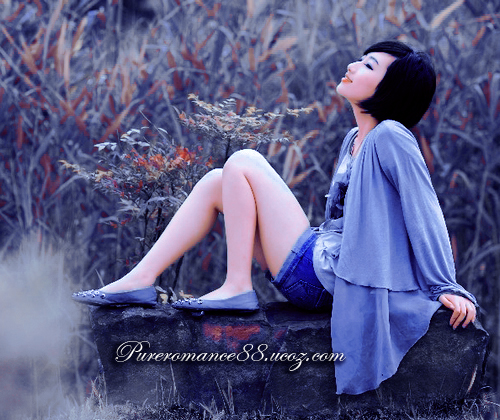
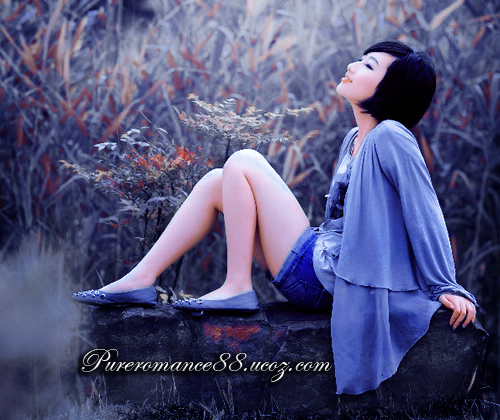
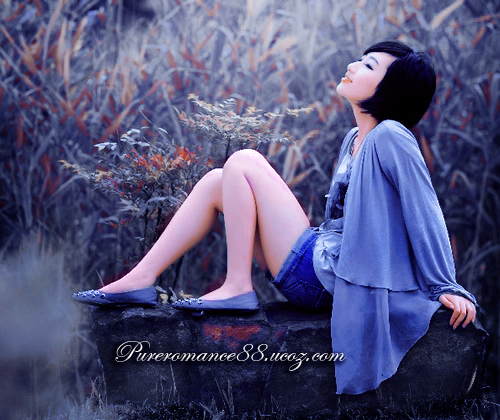
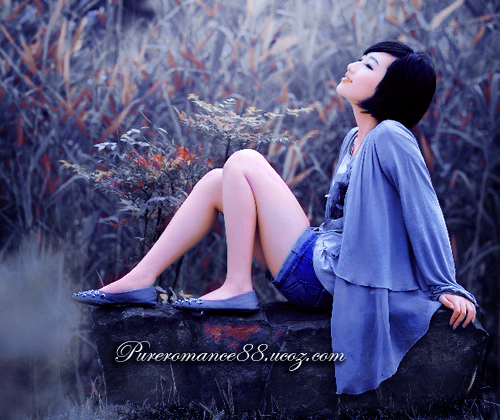
Final effect:
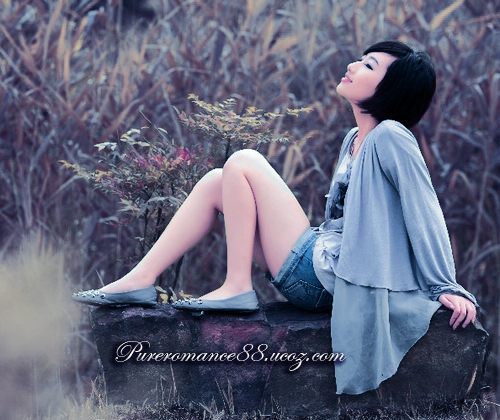
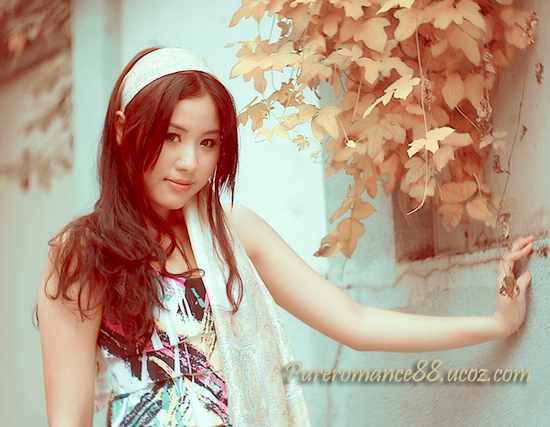
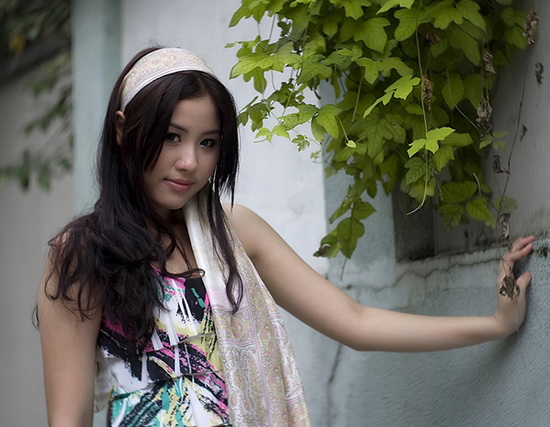
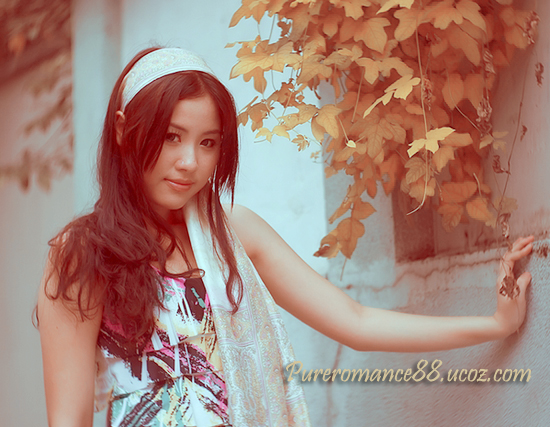
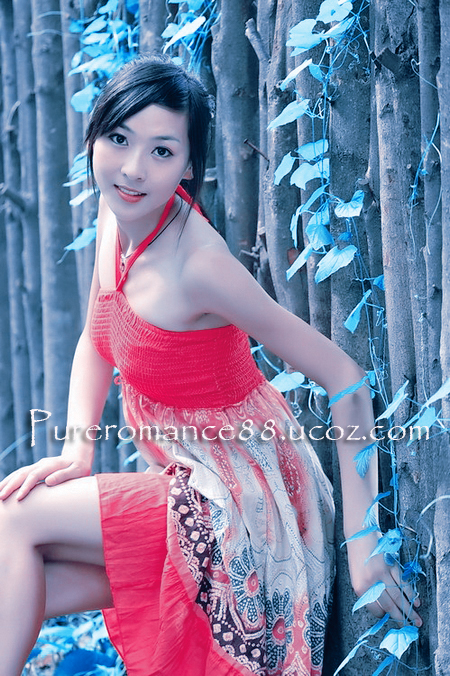
2. Lovely light red effect:
Stock:
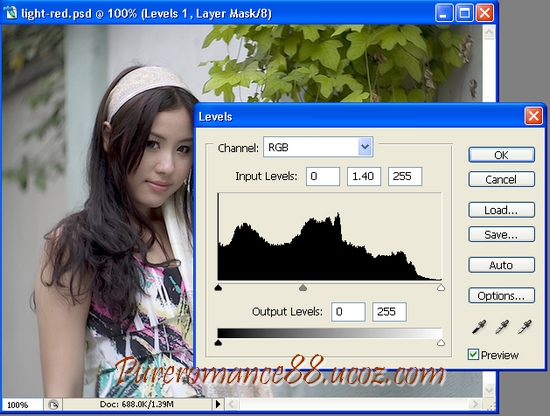
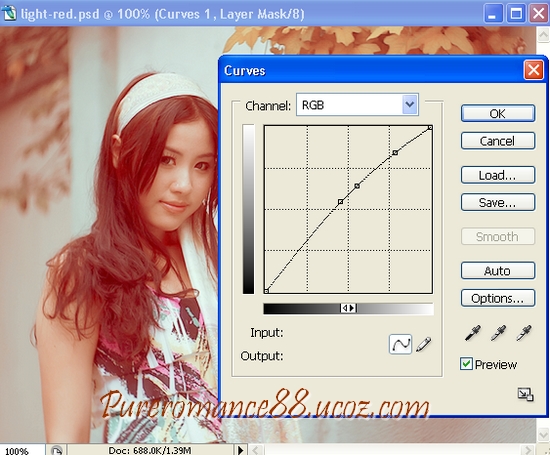
- After opening your pic, create a new level layer to increase brightness:
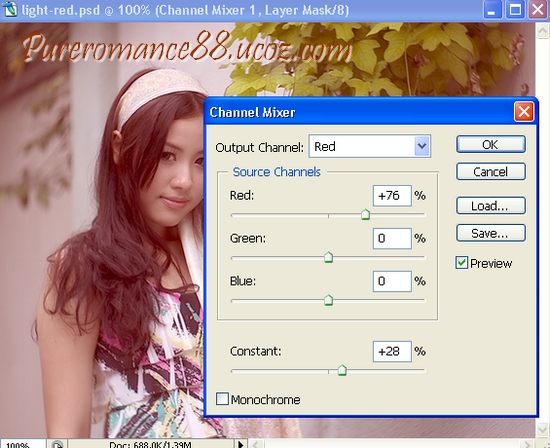
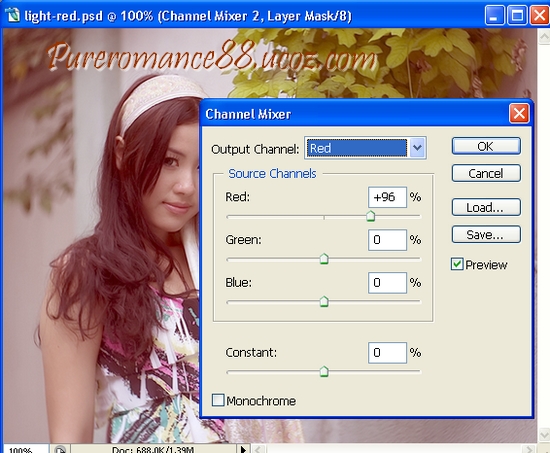
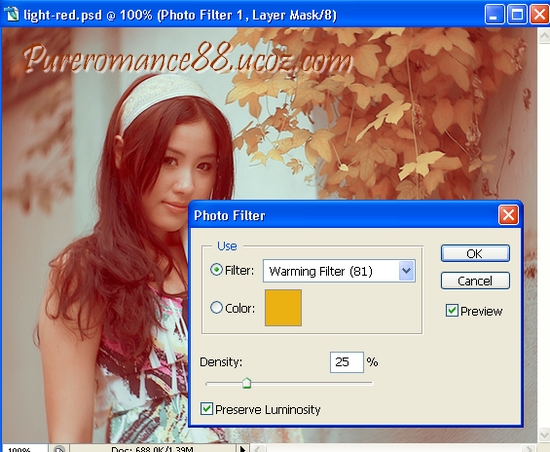
- Create two new channel mixer layers:
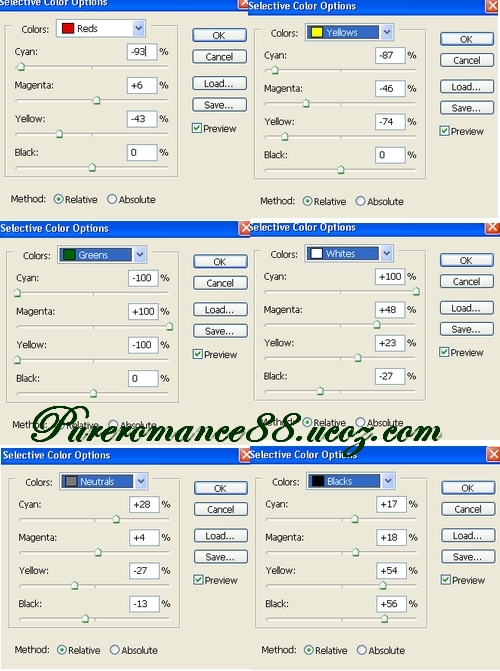
- Create two new selective color layers:
- Reds: -60, 28,85, -13
Yellows: -100, 50,-51, -41
Whites: 100, 0,0,-25
Neutrals: 6, 0, 0, 0
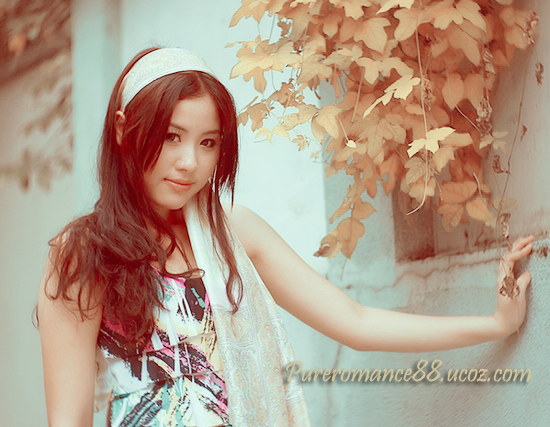
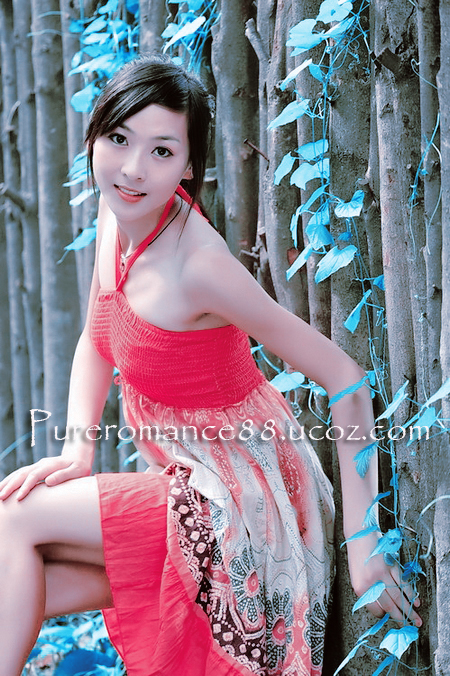
3. Beautiful cyan effect:
I once told you some techiques to make cyan tone, you
can see in my previous tutorial, but today you will know another way to do it by
applying CMYK mode.
Stock:
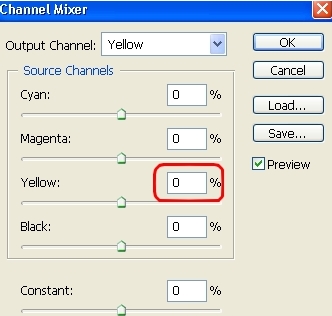
- Duplicate your pic. Change the color mode to CMYK color. Choose Image-Adjustment-Channel mixer, Yellow channel:
If your pic has high contrast you should not adjust Blacks channel.
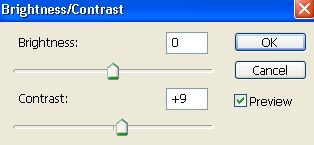
- Create a new Brightness/contrast layer, you can skip this step if your pic has a good contrast: -2/8
I use soft black brush to erase the hair.
- Create a new channel mixer, its to make the model's skin look better:
Red: 102,0,5,0
Green: 2,95,5,0
Blue: 0,-5,110,-5
- Create a new layer, set to soft light 50%, use soft white brush to paint on the dark area of her left forehead:
Then create a new layer, set to Color 30%, choose soft brush, color fdceec to paint on the blueish area of her left shoulder.
ABOUT ME: I'm Jenny and i live in Hanoi, Vietnam. If you like what i write or want to keep in touch with me, you can subscribe to My blog, email me
or like My Facebook page to keep updates of my latest works.
Please ask before you want to post or translate my tutorials on other sites. I hardly decline if you ask nicely. Thank you :).
im glad you enjoy this post . CRK, i've noticed that you've left many footprints and supportive feedbacks here. Thank you very much. May happiness and joy always fill your heart and life. Greetings to Malaysia.
nice editing...but, i'd like to see if there is another pic that shows the different of object and the background..anyway..all of this is awesome... thumbs up to u... and with all of ur stuff here, i made it as one of my references when i have to edit or something like that later..
all of us know there is no perfect solution for all pics, and i hope who want to follow my tutorials just learn to apply it flexibly to fit their pics and i'd love to see all results from praticing my tutorials thanks for your concern, you're welcome
hi! I am really amaze in all your works. Can i ask a question? about the LIVELY LIGHT EFFECT, where can i find this one "- Create two new selective color layers: - Reds: -60, 28,85, -13 Yellows: -100, 50,-51, -41 Whites: 100, 0,0,-25 Neutrals: 6, 0, 0, 0
- Whites: 15, 0, 0, 0
I am new in photoshop so i really can not find it. Pls help, i will really appreaciate this.
Go to Layer-New adjustment layer-Selective color : On the first selective color layer, you fill Reds, Yellows, Whites, Neutrals, then make second Selective color, adjust White channels with parameters above. But remember that if your own pic does not have Whites tone, you should not adjust White channels.