


|
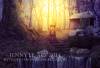
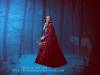
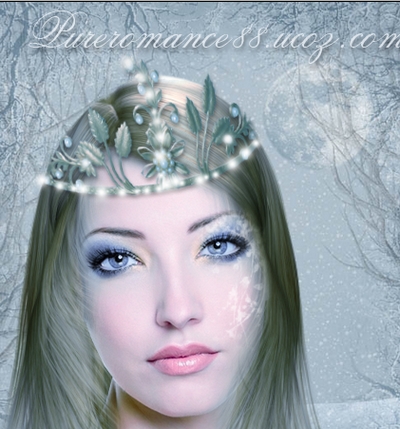
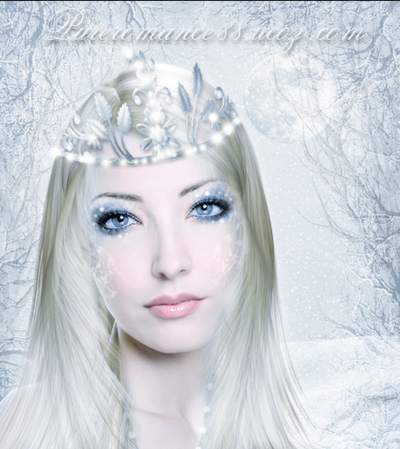
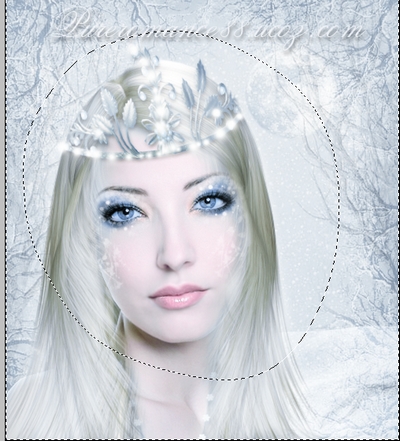
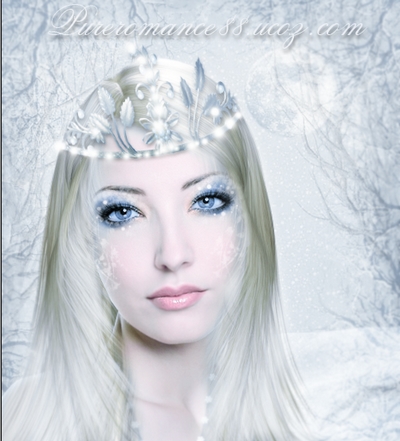
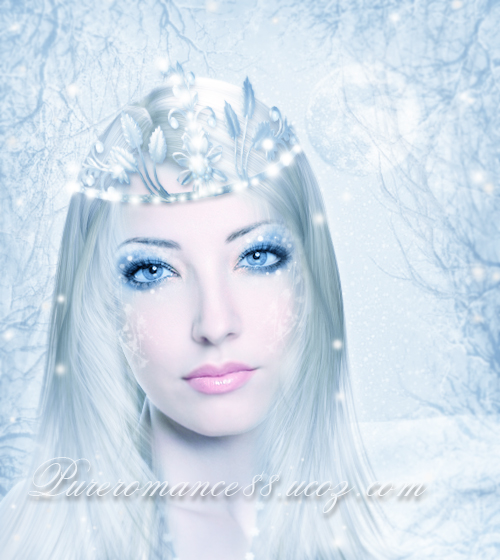
Main » 2010 December 6 » The Winter Queen - Fantasy photo manipulation
Tweet
ABOUT ME: I'm Jenny and i live in Hanoi, Vietnam. If you like what i write or want to keep in touch with me, you can subscribe to My blog, email me
or like My Facebook page to keep updates of my latest works. Please ask before you want to post or translate my tutorials on other sites. I hardly decline if you ask nicely. Thank you :).
| ||||||||||||||||||||||||||||||||||||||||||


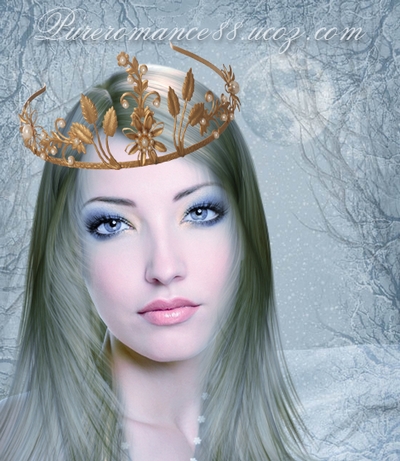
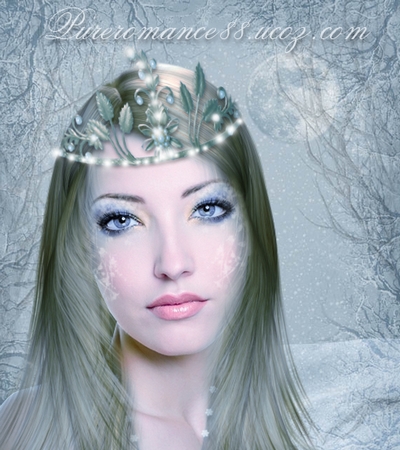

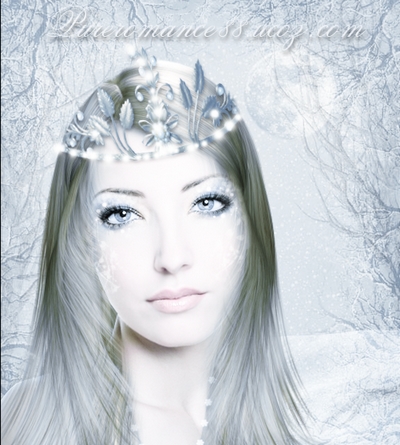

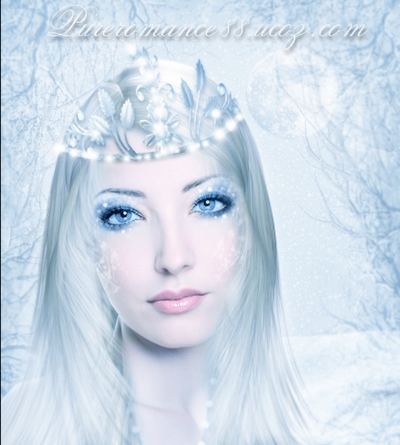


 . Thank you for regards, i hope you can do beautiful portraits from what i've shared here
  nice
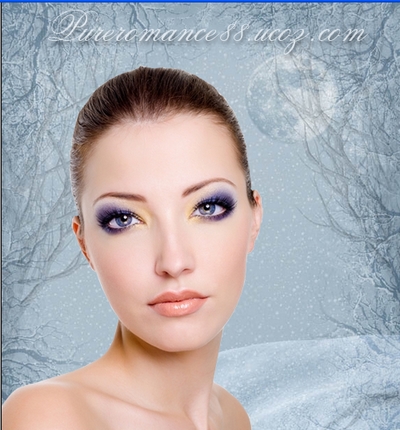
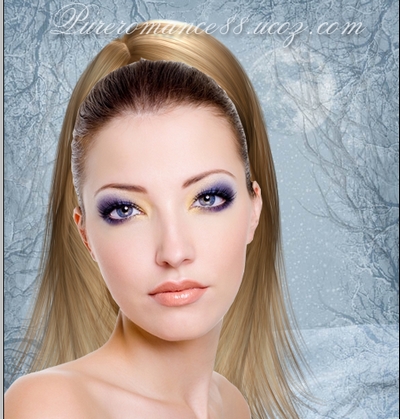
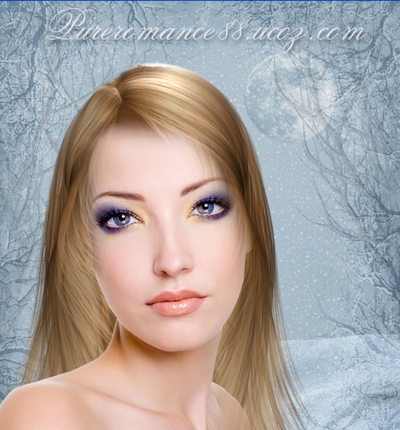
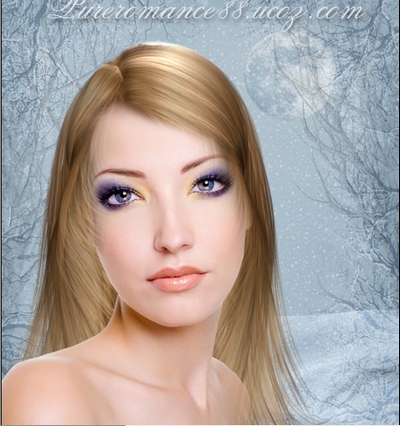
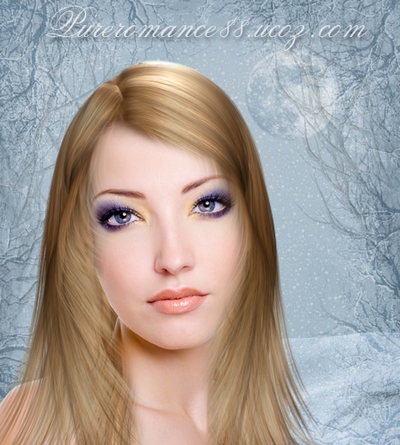
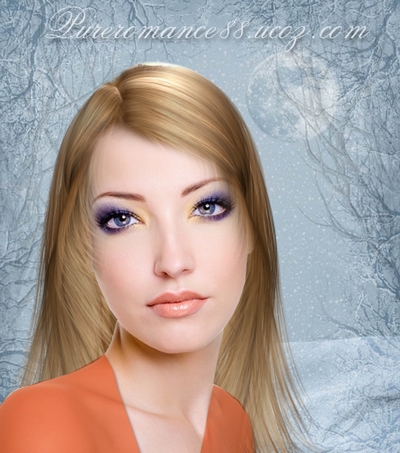
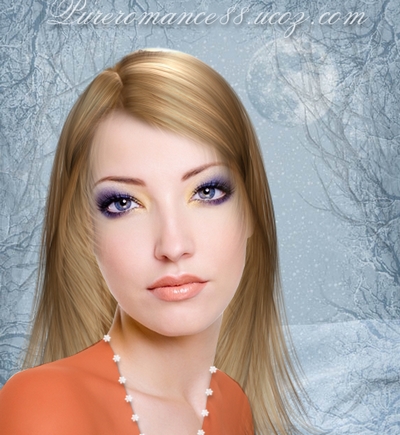
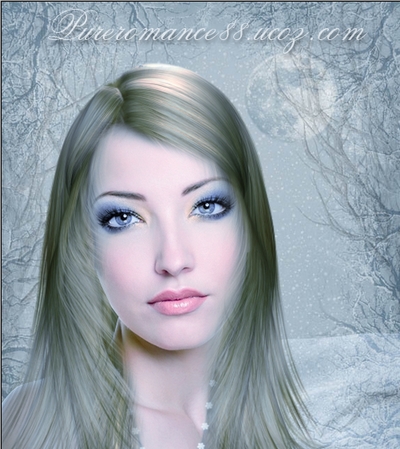
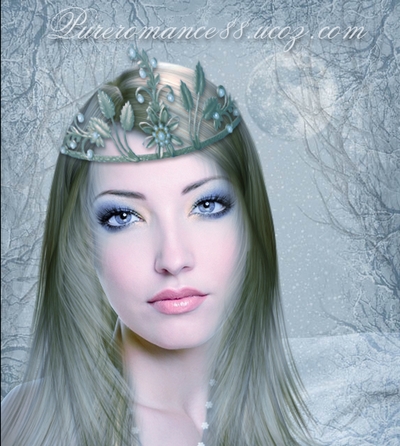
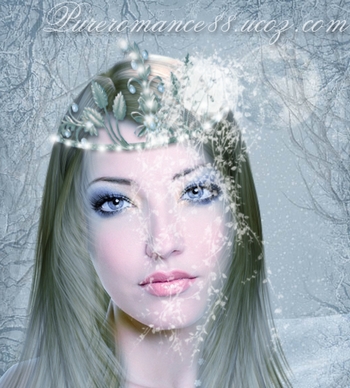
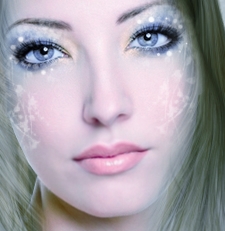
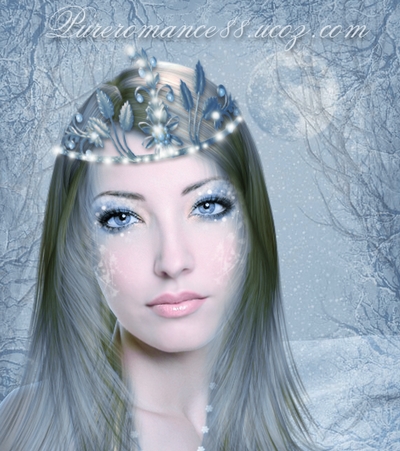
nice . About the model, its the image i bought from depositphoto, but im sure you can find many free beautiful images from deviantart, sxc...etc...

| Copyright MyCorp © 2025 |
| Free web hosting — uCoz |