


|
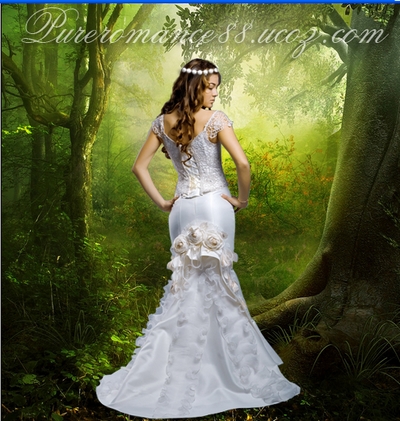
Main » 2010 November 26 » The enchanted forest- Fantasy photo manipulation
Tweet
ABOUT ME: I'm Jenny and i live in Hanoi, Vietnam. If you like what i write or want to keep in touch with me, you can subscribe to My blog, email me
or like My Facebook page to keep updates of my latest works. Please ask before you want to post or translate my tutorials on other sites. I hardly decline if you ask nicely. Thank you :).
| ||||||||||||||||||||||||||||||||||||||||||||||||||||||||||||||||
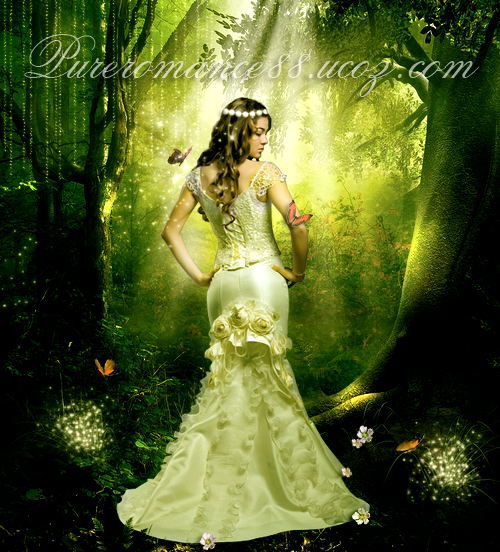
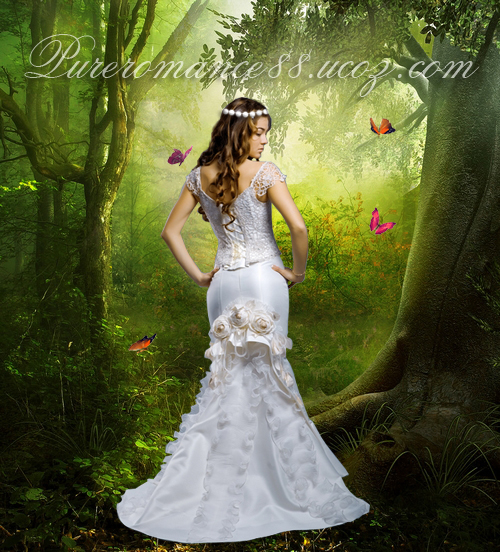
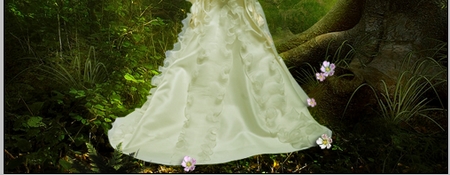
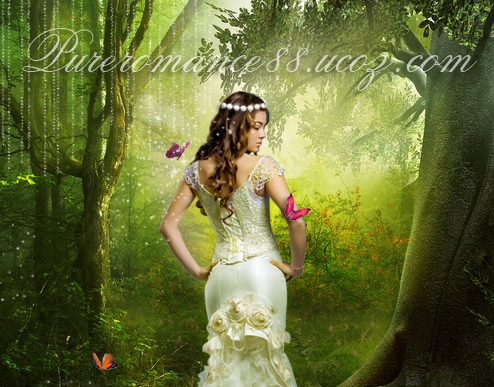
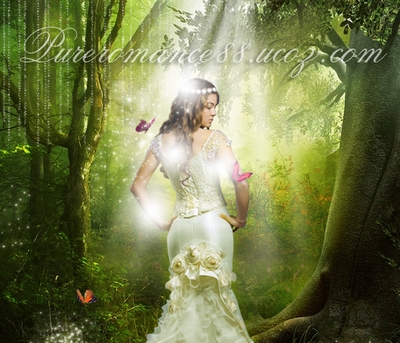
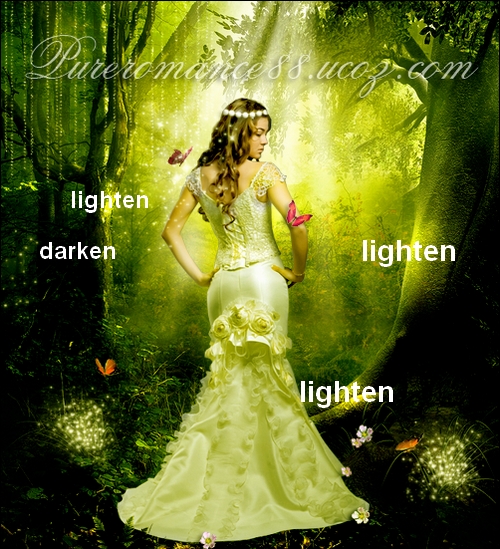
 . I wanted to
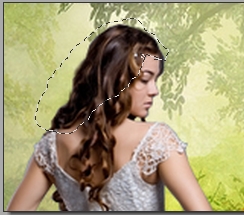
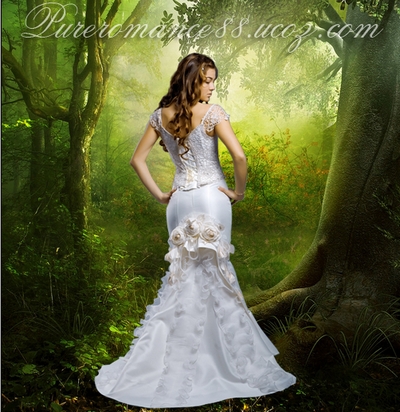
create a fantasy tutorial, but lacked the idea. Finally i ended up with this
result. I dont really like it but i hope i can get good feedbacks and suggestions my
future tutorials. So, help me?
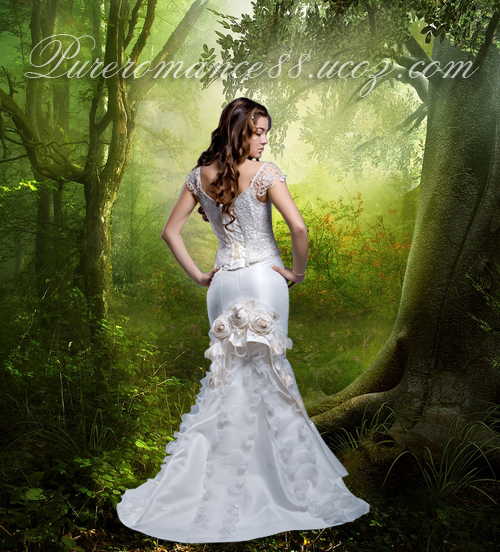
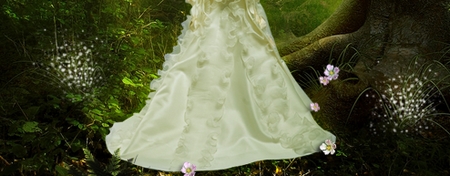
. I wanted to
create a fantasy tutorial, but lacked the idea. Finally i ended up with this
result. I dont really like it but i hope i can get good feedbacks and suggestions my
future tutorials. So, help me? 


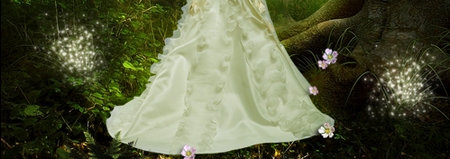

 ...*sigh*


 . But thank you Rnel...i just wonder why it is sexy?
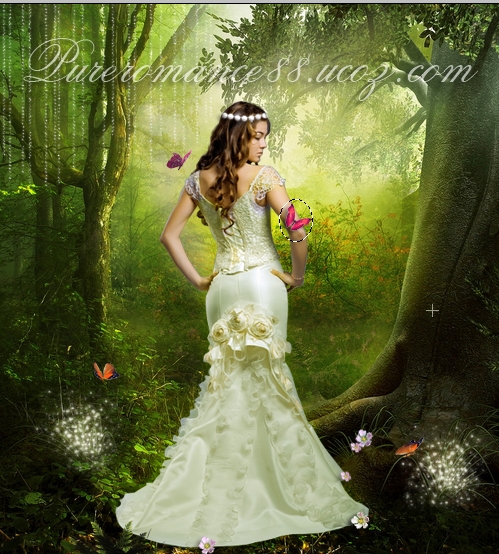
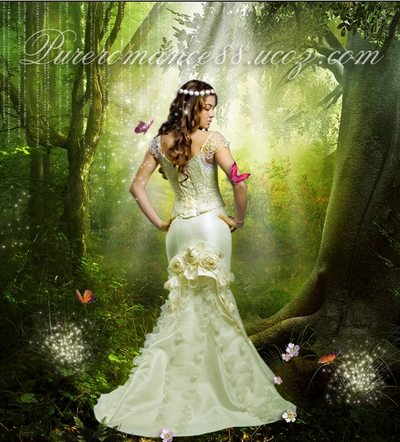
 so i dont think the result is good, but finally many people dont think like me :p.


| Copyright MyCorp © 2025 |
| Free web hosting — uCoz |