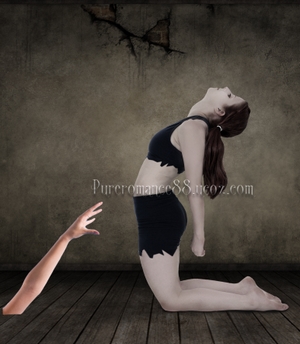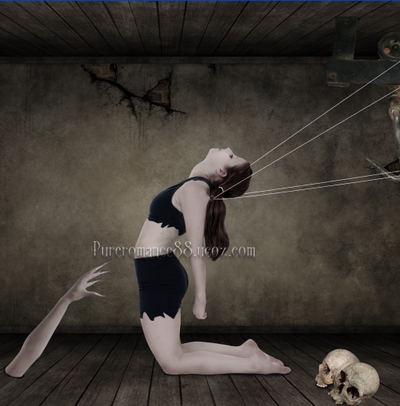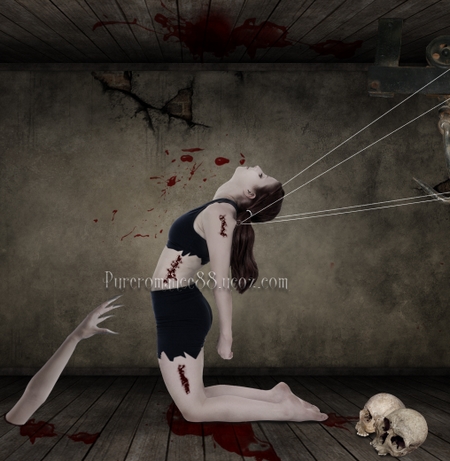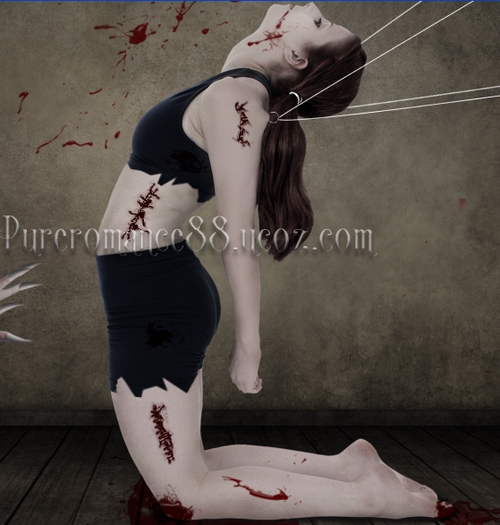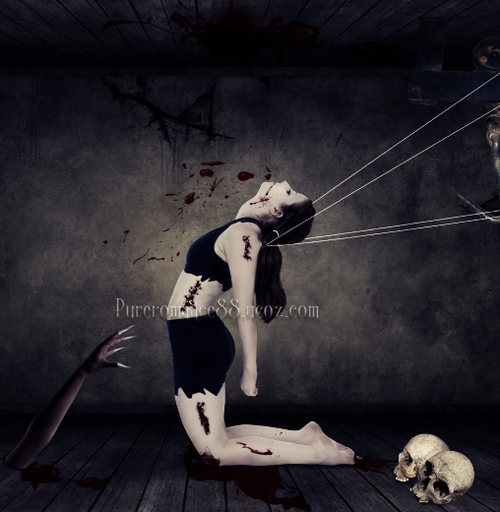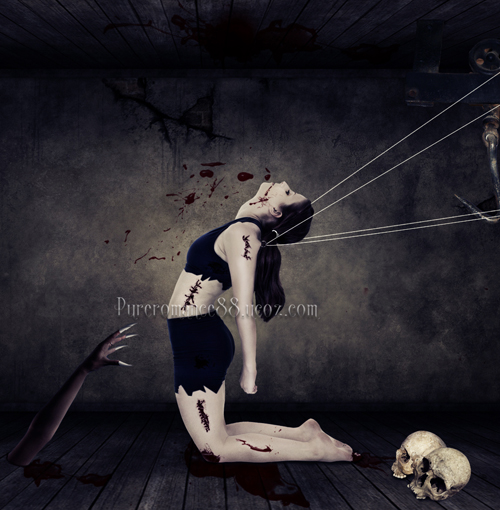
This tutorial was meant to be posted earlier but for some reasons i didnt find the time to complete it till last two days. I've always wanted to do something dark, horror and surreal with blood, devil and something similar and this result didnt come out as i wished   . But i've been enough bored and gave up on thinking what to do lol. Anyway i've tried some new techniques with this tutorial and i hope they will be useful for you . But i've been enough bored and gave up on thinking what to do lol. Anyway i've tried some new techniques with this tutorial and i hope they will be useful for you  . .
Resources:
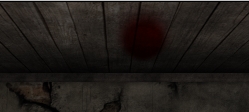
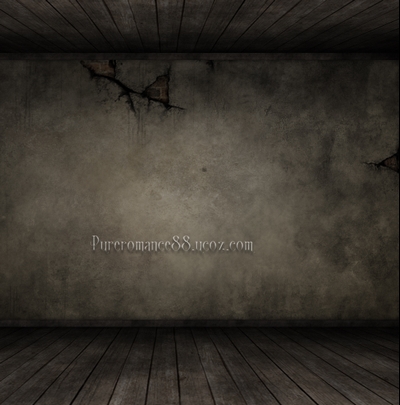
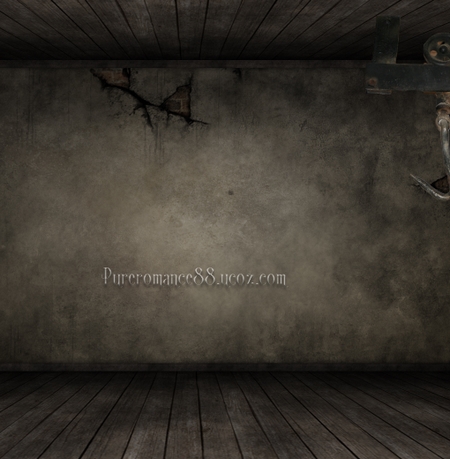
1. Open room background. I crop and resize it:
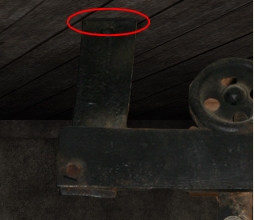
Cut a part of hook image and place it under ceiling as shown below:
To make the hook look realistic and fit background, we must create a hole for it on ceiling. Create a new layer above hook one. Use color # 25201a to paint around the part that connects hook and ceiling. Set this layer to Multipy 50%.
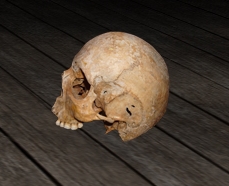
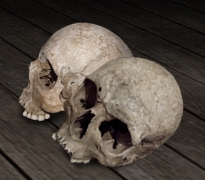
2. Open skull 1 stock. Extract it and place on floor, downsize it.
Create a new layer under skull 1 layer. Use soft black brush with opacity 60-70% to make shadow for it.
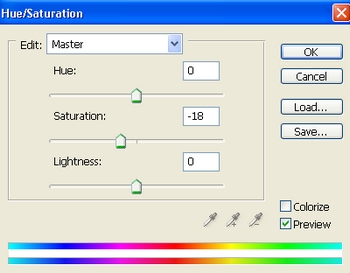
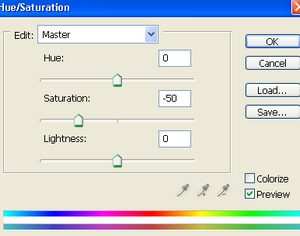
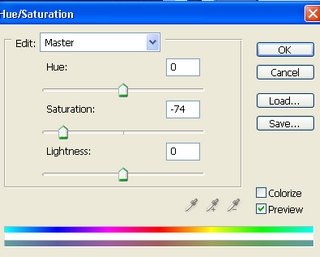
Create a new Hue/Saturation layer above skull 1 layer with Clipping Mask option ( checkUse Previous Layer To Create Clipping Mask). Drag Saturation on Master to the left:
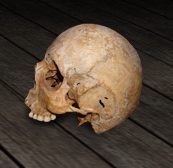
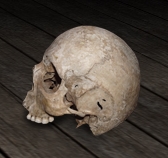
Do the same technique with skull 2 that is placed beside skull 1:
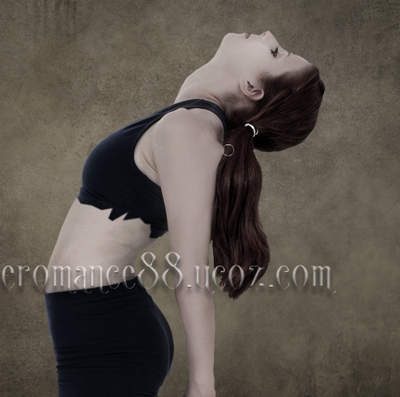
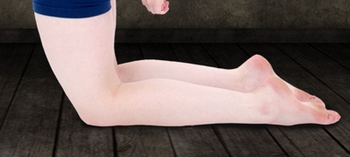
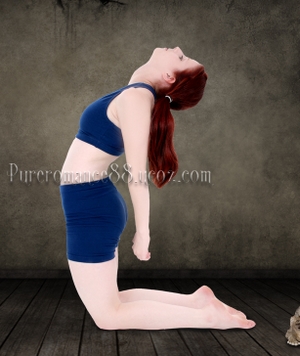
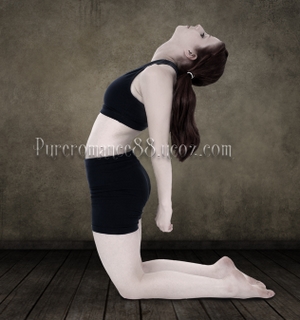
3. Cut the model and move her into our document. You can use your own model for it and remember to scale to fit background.
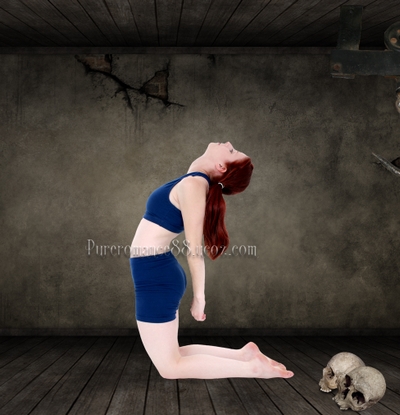
Use a new layer that is set under girl layer. Grab soft brush, color #
101010 to make shadow under her legs:
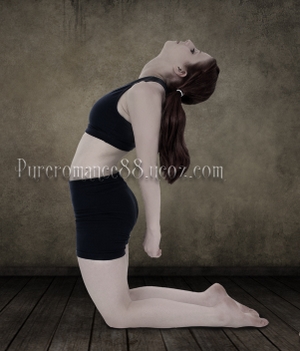
4. To soften her skin, create a new layer above girl one with Clipping Mask option. Use brush, color #
fde0da, opacity 20%, flow 20% to paint on skin part:
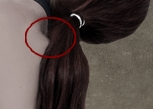
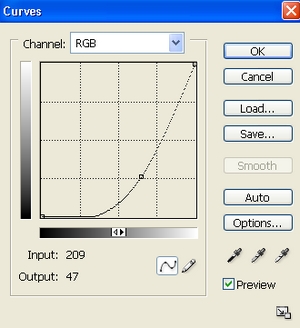
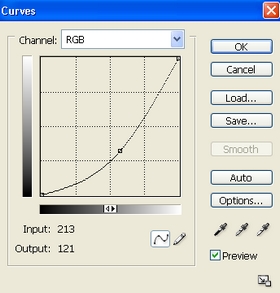
5. To darken the girl, i make a new Curves layer above the layer in step 4. Move the Curve on RGB channels down then use soft black brush to clear contrast effect on girl's hair:
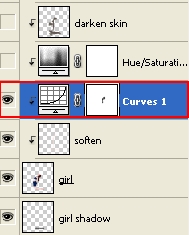 
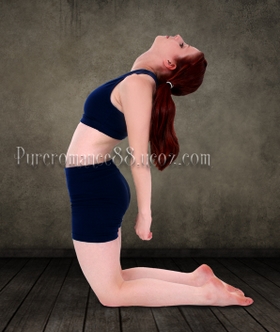
Desaturate color on girl by a new Hue/Saturation layer ( of course with Clipping Mask option):
6. Create a new layer above Hue/Saturation layer ( also with Clipping Mask option), set to Multipy 30%. Use brush, color #
37332a to paint on girl skin again.
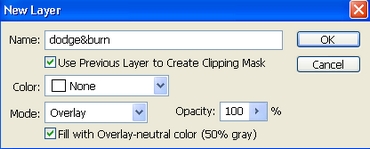
Create a new layer, set to Overlay 100%.
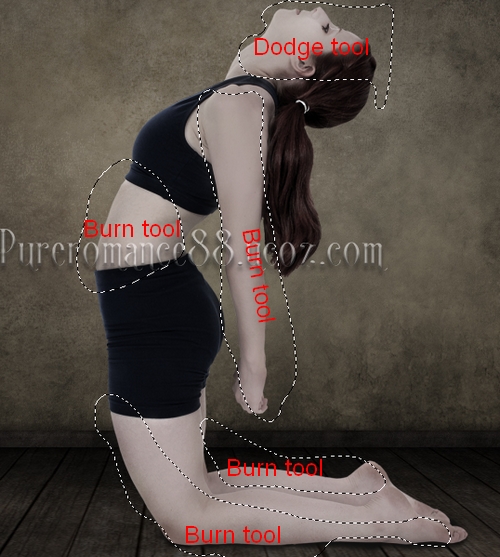
Use Burn tool with Midtones range to darken some part of her skin: along stomach, legs, arms, and Dodge tool to brighten her face:
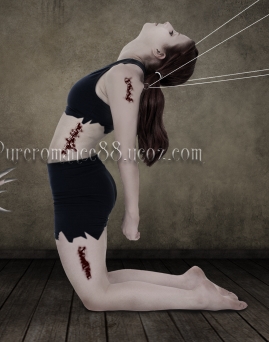
7. Choose girl layer and all related ones ( girl shadow, soften, darken, dodge&burn, Curves, Hue/Saturation), make group for them. Right click this group, choose Duplicate Group. Hide original group, right click group copy, choose Merge Group. Now we will use it as a normal layer.
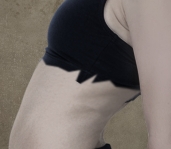
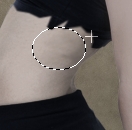
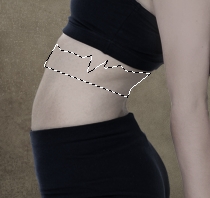
Grab Polygonal Lasso Tool to make a selection on her waist with feather =0.5 :
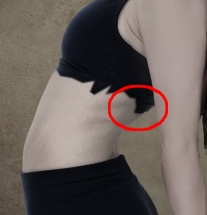
Right click this selection, choose Layer via Copy. Use Move tool to drag it on her undershirt ( i hope i call it right  ), use Cmd/Ctrl+T to transform it: ), use Cmd/Ctrl+T to transform it:

Add layer mask and with Hard brush to make a part of her undershirt visible:
This step is to make her undershirt get torn effect.
Create a new layer and use Clone tool to paint over a part of her waist.

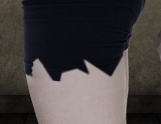
With same technique , make a torn effect for her trouser.
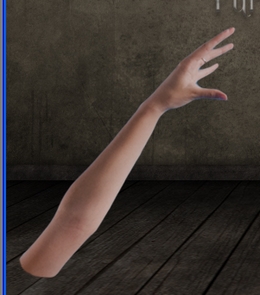
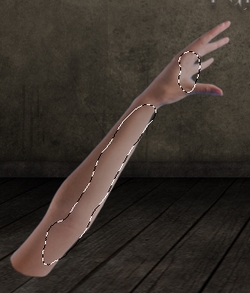
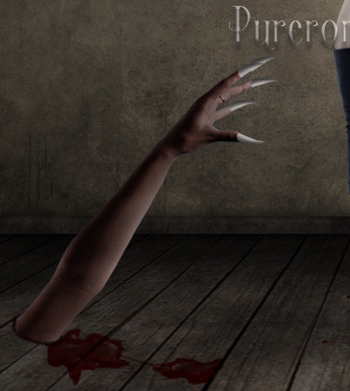
8. Open stock with arm that is meant to be used. Cut only the arm and place on floor:
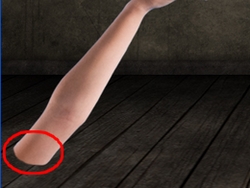
Add layer mask, with black brush, hardness 80-90% to paint to make a part of arm invisible. Try to make the trace of arm on floor rounded to get rid of flat effect.

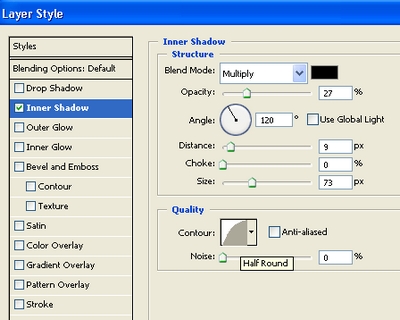
Right click arm layer, choose Blending options-Inner Shadow:
This step to darken the arm.
9. Create a new layer above arm layer with Clipping Mask option. Use soft brush, color #
76a64, opacity 50%, flow 50% to darken the front of the arm:
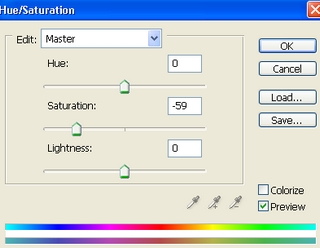
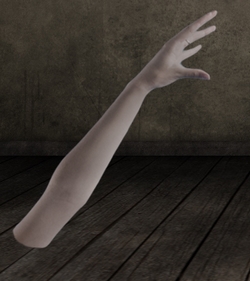
10. New Hue/Saturation layer with Clipping Mask option. Desaturate the arm:
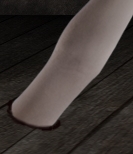
11. New layer and set on the top. Select soft brush, color #100303
to make a hole for arm on floor:
12. New layer again, use pen to draw a shape that looks like a claw. Make selection ( Cmd/Ctrl+T) and fill it with color #969696.
Move it above a finger of the arm on floor:
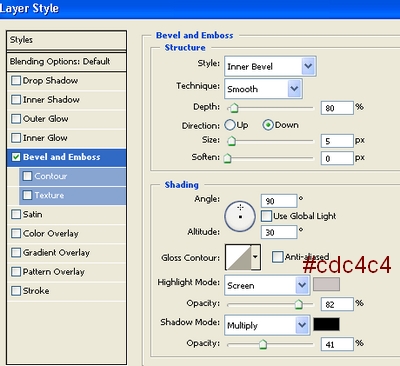
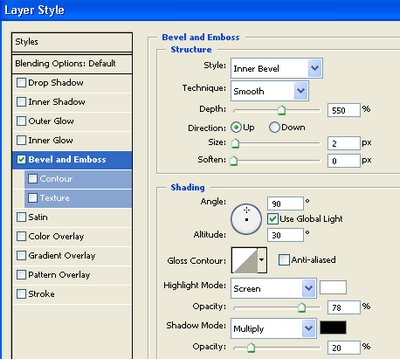
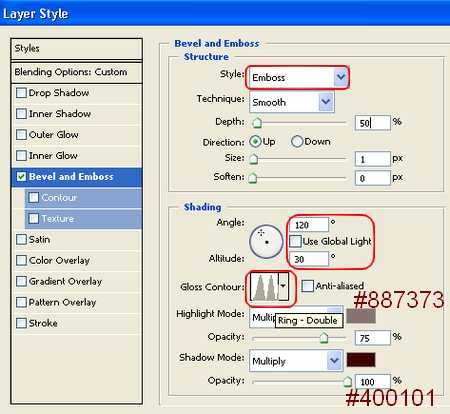
Apply Bevel and Emboss effect for claw:
 

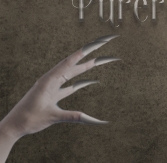
Duplicate claw layer 4 times and place on the top of fingers, remember to transform them to fit the movement of fingers.
13. Come back to girl copy layer. Make a selection on her arm:

Right click this selection, choose Layer via Copy: Now this part of her arm is on a new layer. Choose Filter-Liquify:
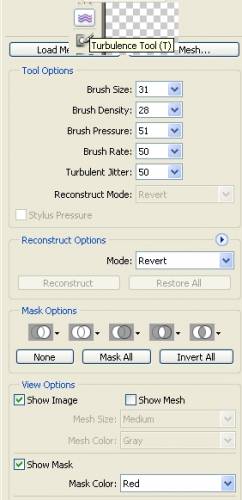
Use Turbulence tool to make this skin part stretched out:
 
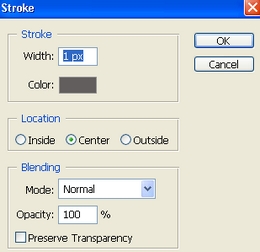
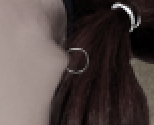
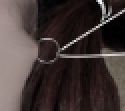
14. Make a new layer on the top. Use Elliptical Marquee tool to make a small circle near the skin part in step 13. Apply stroke with color #625e5e ( choose Edit-Stroke):
Use Bevel and Emboss effect for this circle:


Add layer mask, and use soft black brush, opacity 80% to blur the part of circle on her shoulder:
We have an iron hook.
15. Choose pullled skin part that was done in step 13. Add layer mask to erase a small part of it:

Its a tiny change but very important if you want your pic have a realistic look.
16. Add a new layer above iron hook layer, set to Overlay 100% like in step 6 except unchecking Use Previous Layer to Create Clipping Mask. Use Dodge tool to make a small highlight on the side of iron hook ( no need to be very brightened) to make the trace of it look like impressed from inside of pulled skin. Like step 15, its very important.
 
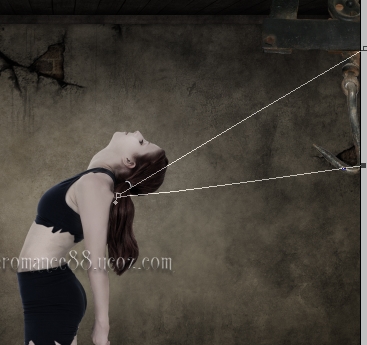
17. On a new layer, use Pen tool to make some lines as shown below:
Stroke with hard white brush, 1 px:
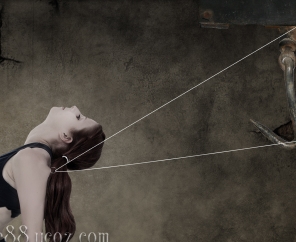
Add layer mask and touch with small hard black brush to make the string look like threaded through iron hook:

With same technique, we make another string and erase it to look like it is pulling another shoulder of the girl.
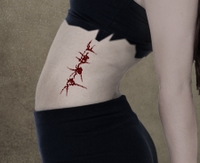
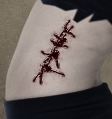
18. New layer again, use stitches brushes, number 80 and color #4b0202 to paint on her waist:
Set this layer to Multipy 100% and apply Blending options:
Make some other stitches:
19. New layer and set it above background. Use soft brush, color #510301 to paint on ceiling, set this layer to Overlay 100%:
Continue with some layers, with same mode and blood brushes to paint on background, wall, ceiling, floor, under model legs:
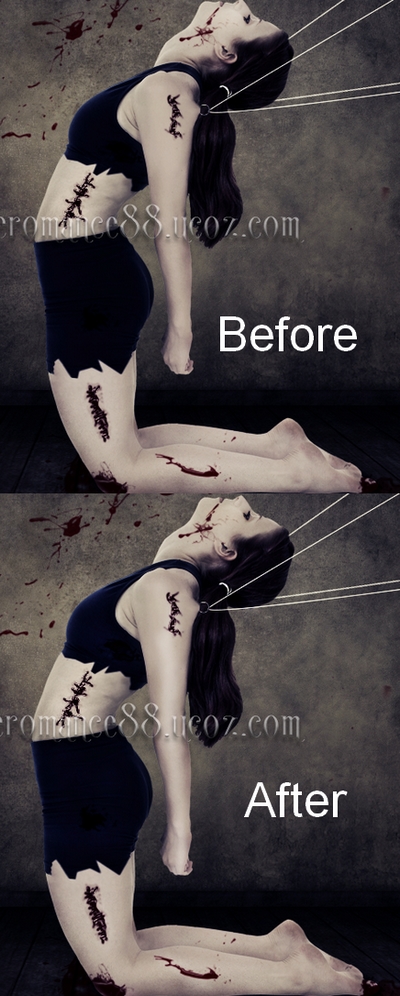
20. Now we will "decorate" model by blood. Create some layers on the top, use blood brushes again to pain near her mouth, legs, clothes, heel.
21. We are almost done! To make the arm with claws look more evil, create a new Curves layer above the arm, adjust shadow on RGB channels:
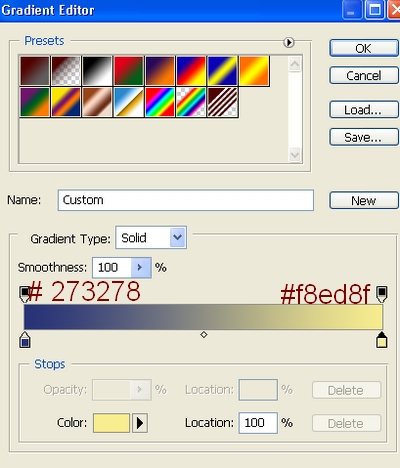
22. Create some new adjustment layers: Gradient Map:
Set this Gradient Map layer to Soft light 100%.
Color Balance:
Midtones: 0, 0, 8
Hue/Saturation:
23. Last step: Make a new layer with Overlay mode 100% to use Dodge and Burn Tool to retouch whole picture. Depending on your own pic you can use them to be suitable. For my pic, i almost done on model: Doge tool to reduce the contrast on hair, clothes and make highlight on the arm, Burn tool to decrease highlight on face and legs.
| 


 . But i've been enough bored and gave up on thinking what to do lol. Anyway i've tried some new techniques with this tutorial and i hope they will be useful for you
  .
. 






 ), use Cmd/Ctrl+T to transform it: