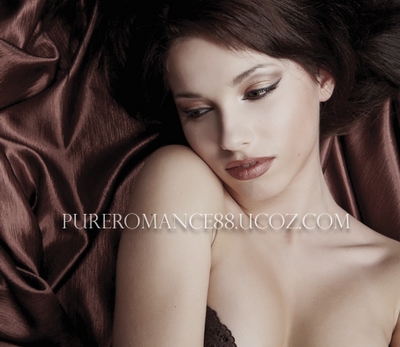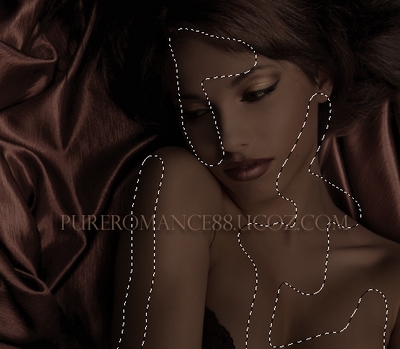
A short tutorial in busy time  . In this tutorial i will show you how to achieve sweet chocolate effect for . In this tutorial i will show you how to achieve sweet chocolate effect for
skin tone. This effect is suitable for portrait and get better result with
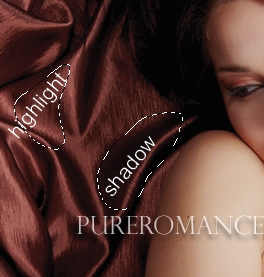
background that has contrast between highlight and shadow as you see in
stocks i use below.
Stock:
Model
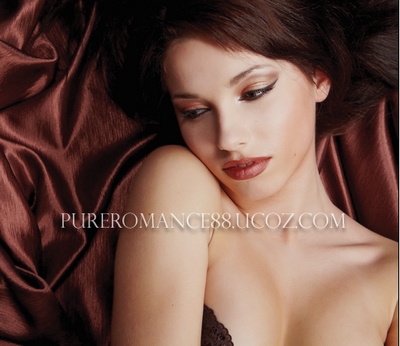
1. Open your model stock. As you see, the background of this photo has
highlight and shadow so it will get better and natural at the end.

You should retouch skin ( soften, remove blemishes...) before apply this effect. If you dont know how to retouch, just follow my retouch tutorial or find many good tutorials over the web.
As i use model with a pretty perfect skin so i skip this step.
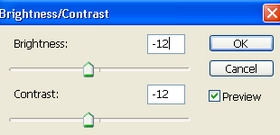
Create a new Brightness/Contrast layer:

The stock i use has high contrast on model face so i must
reduce it.
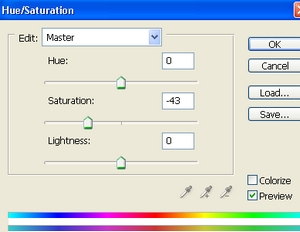
 2. Create a new Hue/Saturation layer, desaturate the picture. It depends on how saturated your photo is. For my own, i use this parameter:
 
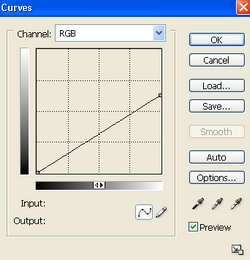
3. In this step i use Curves to reduce the light on whole picture:
 
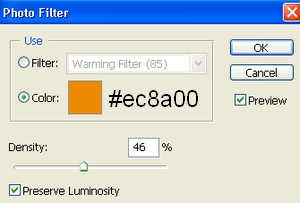
4. Create a new Photo Filter layer to add warm tone for picture:
You can increase or decrease this value depending on your own photo.
 
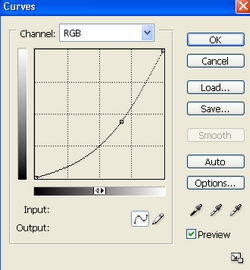
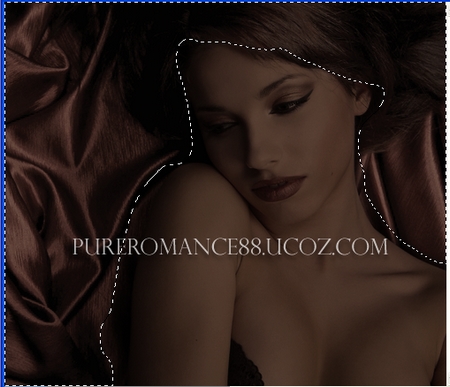
5. In this step we will use Curves again to get chocolate skin:

Then use soft black brush to erase background:

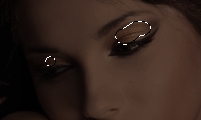
6. Create a new layer, use soft brush, color #f3d6ad to paint on eyelids , then set this layer to Soft light 20%:
 
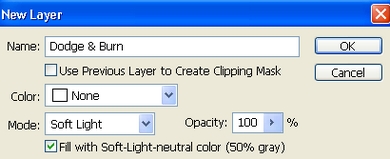
7. Create a new layer with Soft light mode:

Use Dodge tool to make highlight on eyelids, lips, cheek, neck, arm center, and Burn tool to darken arm sides, forehead, breast:

Depending on your picture you can use Dodge and Burn for approriate parts.
8. Last step: new Brightness/Contrast layer again to increase highlight then use soft black brush to keep the dark parts as shown below:

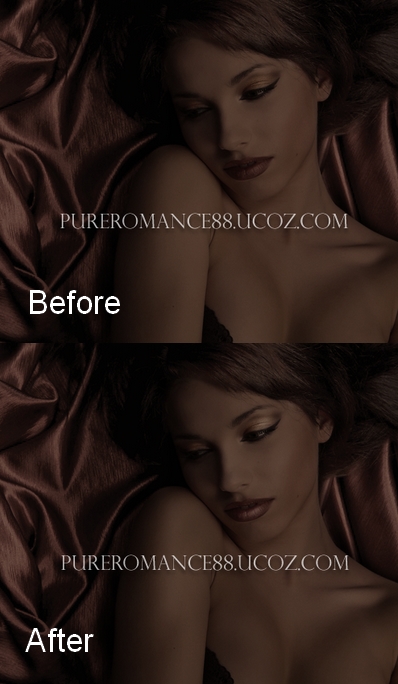
Final Result:

| 


